chocolate chip perfection

nyt-chocolate-chip-cookies.jpg

If you're on Pinterest, you've likely seen a pin floating around for what is supposed to be "the BEST" chocolate chip cookie recipe. It was first published in the New York Times about 4 years ago, and has taken on near legendary status since then. (Fun fact about me: if you put the words the best in front of something, I will nearly always say back to you challenge accepted. Best mac 'n cheese, ice cream, cupcake, chicken parm? I'll be the judge of that, thank you very much.) So I decided to finally try out this famous recipe for myself last weekend, and I'm pleased to report that it very much lived up to the hype. The secret? You let the dough rest for at least 24 hours. This apparently enables the egg to fully saturate the dough and therefore the cookies bake more evenly, and well - perfectly.

In full disclosure, I'm a loyal fan of the chocolate chip cookie recipe on the back of the Tollhouse chip bag. It's a classic, and hard to beat in my opinion. But this recipe is like the adult version of the Tollhouse recipe... the Big to Tollhouse's Aidan. They're classier, more substantial, and worth the wait.

The part of the recipe that really blew my mind was this "Repeat with remaining dough, or reserve dough, refrigerated, for baking remaining batches the next day." You mean I can just make enough for myself and Jared? I don't have to make them all at once, inevitably taking the extras to work so that they can be enjoyed before going stale? Sorry, coworkers. They're all for me! (Okay, me and Jared.)

New York Times' Perfect Chocolate Chip Cookies

Time: 45 minutes (for 1 6-cookie batch), plus at least 24 hours’ chilling

Ingredients:

  • 2 cups minus 2 tablespoons (8 1/2 ounces) cake flour
  • 1 2/3 cups (8 1/2 ounces) bread flour
  • 1 1/4 teaspoons baking soda
  • 1 1/2 teaspoons baking powder
  • 1 1/2 teaspoons coarse salt
  • 2 1/2 sticks (1 1/4 cups) unsalted butter (or Vegan Buttery Sticks if making dairy-free)
  • 1 1/4 cups (10 ounces) light brown sugar
  • 1 cup plus 2 tablespoons (8 ounces) granulated sugar
  • 2 large eggs
  • 2 teaspoons natural vanilla extract
  • 1 1/4 pounds bittersweet chocolate disks or fèves, at least 60 percent cacao content (see note)
  • Sea salt.

Directions:

  1. Sift flours, baking soda, baking powder and salt into a bowl. Set aside.
  2. Using a mixer fitted with paddle attachment, cream butter and sugars together until very light, about 5 minutes. Add eggs, one at a time, mixing well after each addition. Stir in the vanilla. Reduce speed to low, add dry ingredients and mix until just combined, 5 to 10 seconds. Drop chocolate pieces in and incorporate them without breaking them. Press plastic wrap against dough and refrigerate for 24 to 36 hours. Dough may be used in batches, and can be refrigerated for up to 72 hours.
  3. When ready to bake, preheat oven to 350 degrees. Line a baking sheet with parchment paper or a nonstick baking mat. Set aside.
  4. Scoop 6 3 1/2-ounce mounds of dough (the size of generous golf balls) onto baking sheet, making sure to turn horizontally any chocolate pieces that are poking up; it will make for a more attractive cookie. Sprinkle lightly with sea salt and bake until golden brown but still soft, 18 to 20 minutes. Transfer sheet to a wire rack for 10 minutes, then slip cookies onto another rack to cool a bit more. Repeat with remaining dough, or reserve dough, refrigerated, for baking remaining batches the next day. Eat warm, with a big napkin.

Yield: 1 1/2 dozen 5-inch cookies.

Note: Disks are sold at Jacques Torres Chocolate; Valrhona fèves, oval-shaped chocolate pieces, are at Whole Foods.

Recipe from The New York Times

easiest peanut butter cookies

I love a cookie that I can make with ingredients I already have on hand. Add to that a recipe that requires one bowl and takes 15 minutes from start to mouth, and I'm sold. Enter - the easiest peanut butter cookies ever. No flour, no butter, just peanut butter, two kinds of sugar, vanilla, baking soda, and an egg. They take only 10 minutes in the oven, and are ever so delicious served warm. (They're pretty good at room temperature, too, but it's just not the same.) Like pretty much every other peanut butter cookie recipe, these get crunchy after a day (fun fact - this is how my mom prefers them. What a weirdo.) So if you're more of a chewy fan, it's best to eat as many as possible the day you make them. Jared liked them so much he requested I make them again after Rocco ate the remainders of the first batch straight off the kitchen counter. I hope you enjoy them as much as my boys did!

Ingredients:

  • 1 cup peanut butter (see note)
  • 3/4 cup natural cane sugar
  • 1/4 cup brown sugar
  • 1 egg
  • 1 teaspoon baking soda
  • 1/2 teaspoon vanilla
  • additional sugar for rolling

Directions:

Preheat oven to 375 degrees°F.

Mix all the ingredients up in a bowl. Roll walnut-sized pieces into balls and roll balls in the additional sugar. Place on a parchment-lined baking sheet and flatten slightly with a fork in a crisscross pattern. Bake for 10 minutes. Remove and let cool before removing from baking sheet.

Note: Peanut butter comes in all kinds of configurations and the kind you choose will influence your outcome. Some peanut butters are very sweet, some have been hydrogenated, some have a whole lot more in them than peanuts! Then there is the chunky versus smooth debate. I used a natural chunky version (Safeway brand) for this recipe that wasn't too sweet although it did have added cane sugar in the ingredient list.

Recipe from The Kitchn

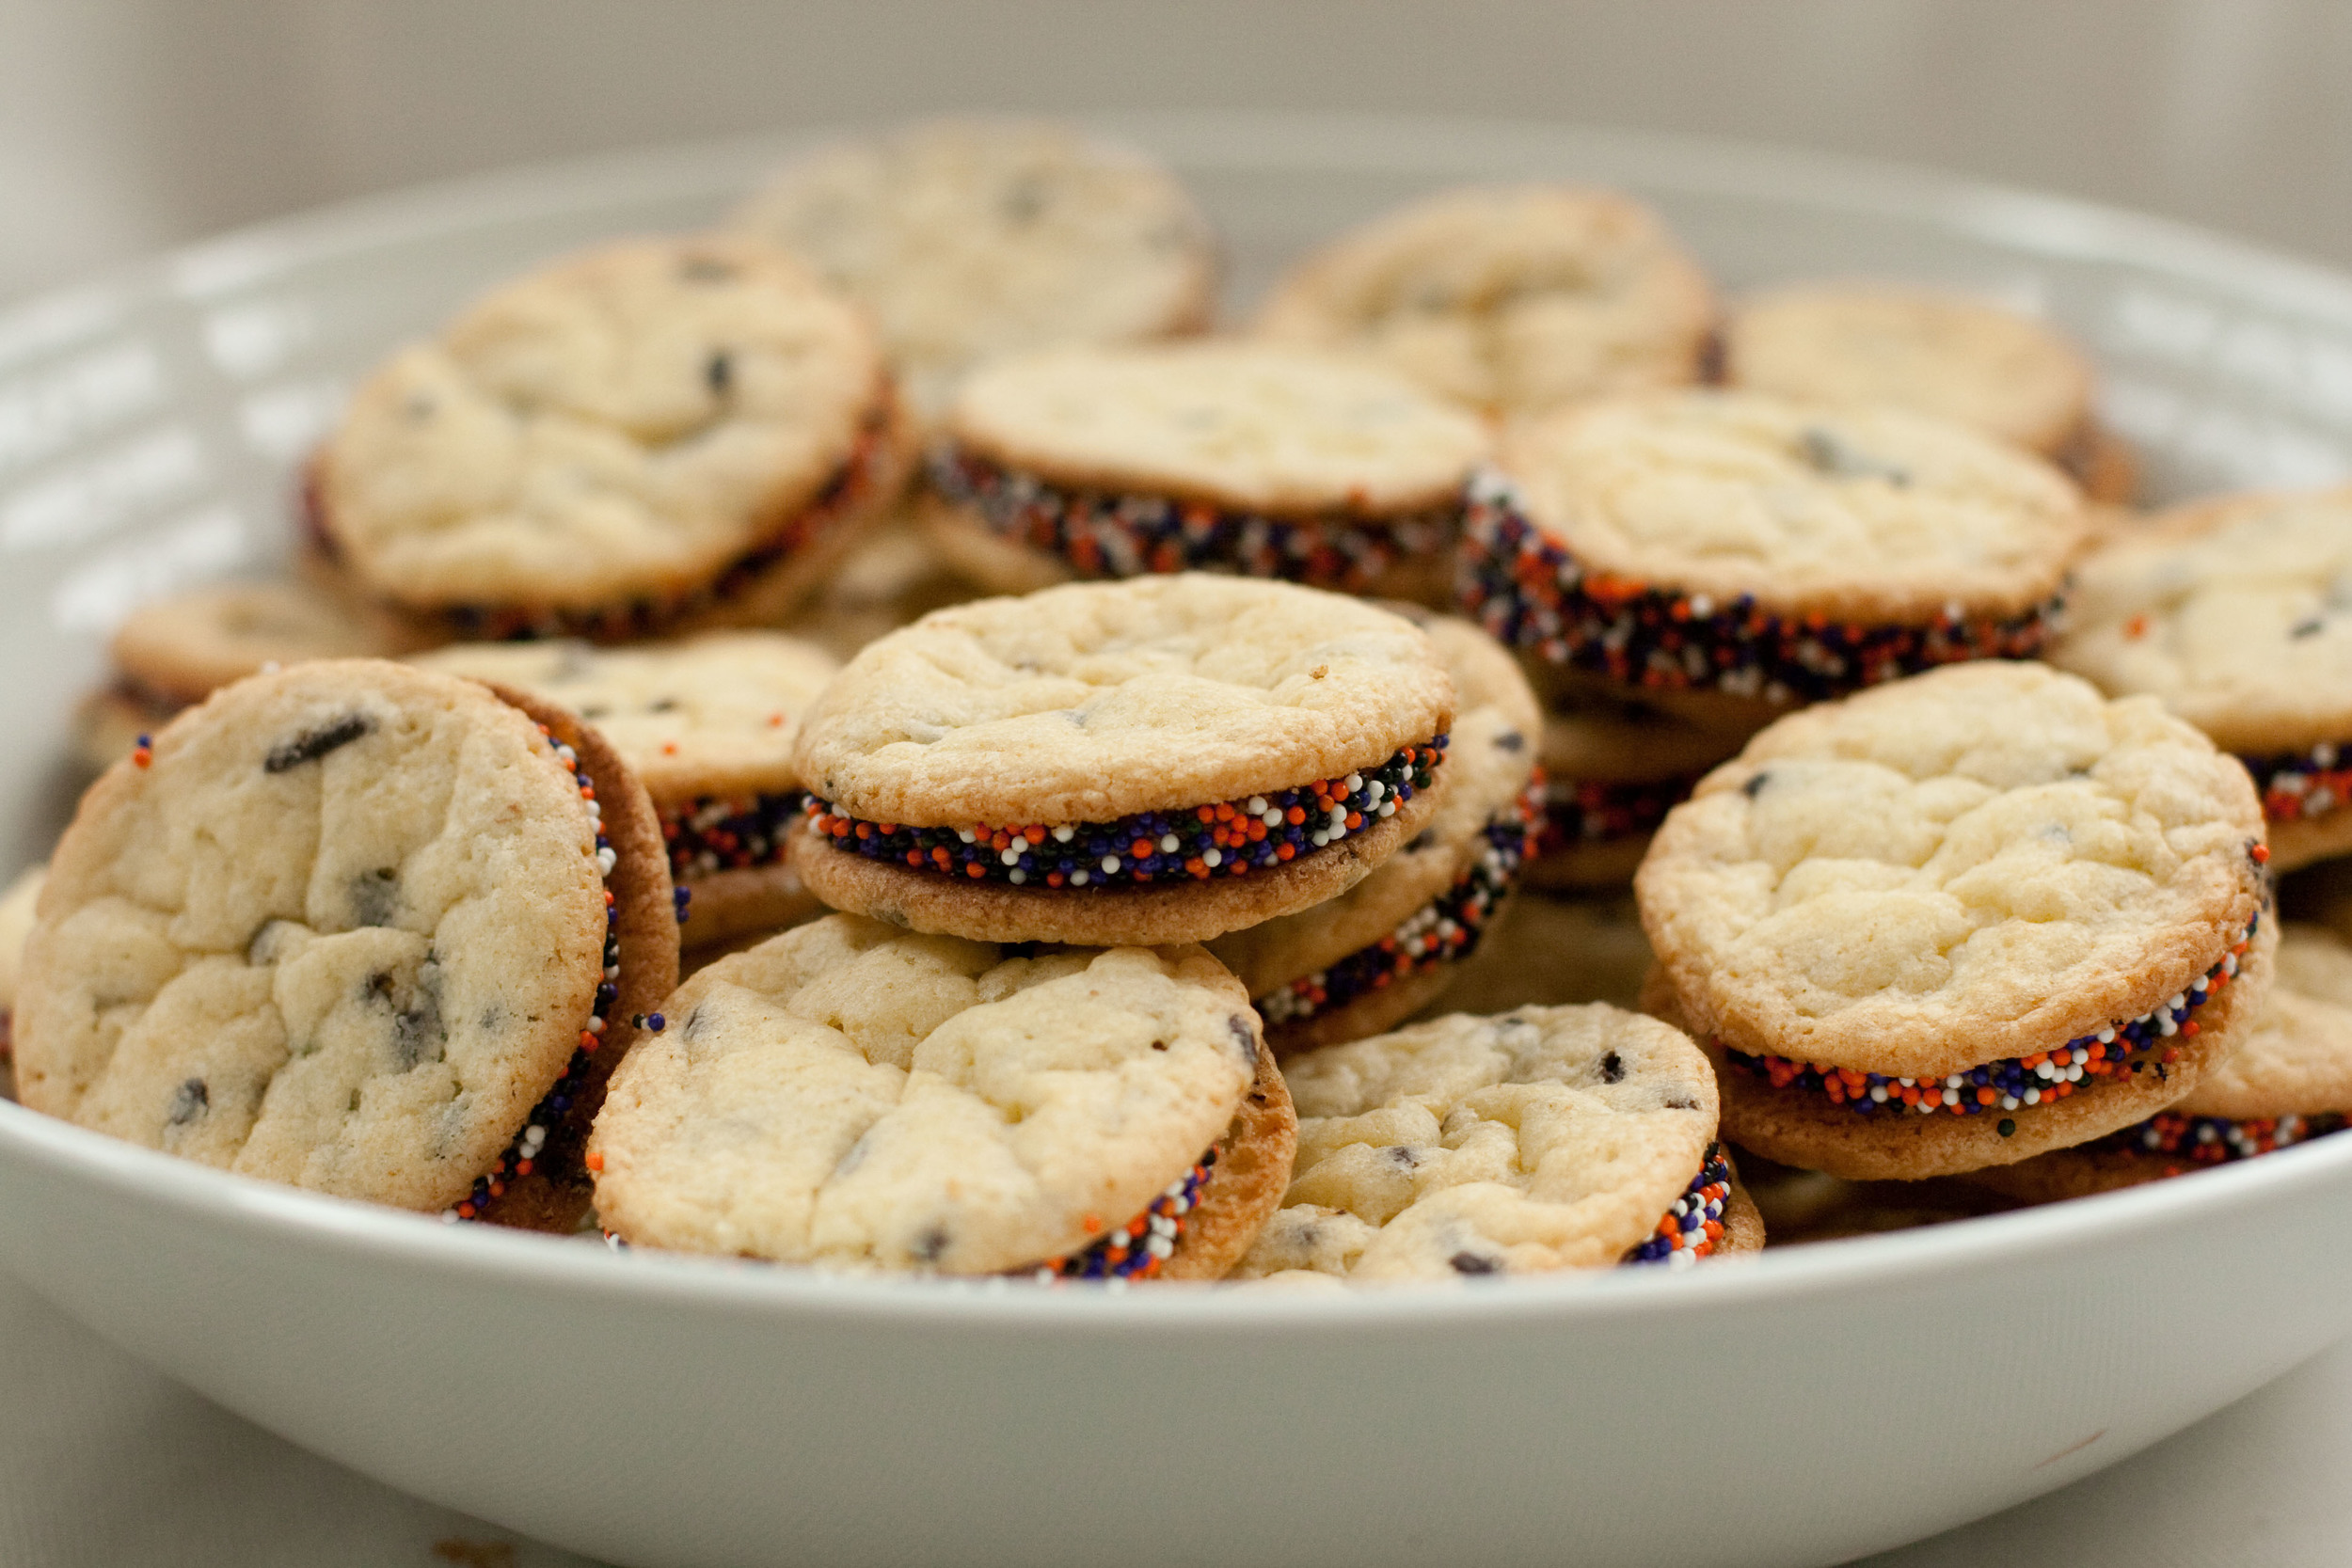
Halloween sandwich cookies

IMG_6473.jpg
halloween sandwich cookies

Hold on to your hats, folks... this may or may not be the start of me getting back to regular blogging. I'm putting it in writing so that it might come true. I'm really trying hard to find time to sew, craft, bake - whatever gets my creative juices flowing and doesn't take a lot of time - which means I may actually have stuff to blog about. Hooray!

I hope you all had a lovely, treat-filled Halloween. I did my best to get into the spirit of things, which was a lot easier this year now that I can deflect my costume wearing obligations onto my daughter. (Reason #143 to have a kid.) The mom's group I belong to had a Halloween get together on Sunday, and we signed up to bring Jared's suuuuper yummy chili and a dessert. (I swear I've blogged about the chili before, but I can't seem to find it, so you'll have to trust me on its awesomeness until I can get the recipe posted.) I'm still doing the no dairy thing, which makes dessert a bit challenging, but I've been determined to make a dairy-free version of the funfetti sandwich cookies that are all over Pinterest, and thought this would be a perfect opportunity. Here's my version...

Ingredients:

  • 1 box Duncan Hines yellow cake mix*
  • 2 eggs
  • 1/2 cup vegetable oil
  • 1 teaspoon baking powder
  • Chocolate sprinkles
  • Halloween sprinkles
  • Duncan Hines chocolate frosting*

*You can use a different brand if you don't need them to be dairy free. Duncan Hines just happens to be dairy free. (Yay!)

Preheat oven to 350F. Line two baking sheets with parchment paper.

In a bowl, mix cake mix, eggs, oil, and baking powder with a wooden spoon until combined. Add sprinkles and mix. Drop a teaspoon of dough onto the prepared sheets, leaving an inch between each cookie. Bake for 7-8 minutes until cookie has set but has not yet browned, rotating the pans halfway through the baking. Transfer cookies to a wire rack to cool.

Frost bottom cookie, place 2nd cookie on top. Roll in assorted sprinkles.

halloween sandwich cookies

They turned out very yummy, and if I hadn't made them I wouldn't have guessed they were dairy-free. And the recipe would be super easy to adapt for a variety of holidays. I'm still looking forward to making the original Funfetti cookies, but these are a nice alternative until I can have the real thing.

Oh, and in case you're wondering, Emma was a duck for Halloween... and if I do say so myself, she's pretty much the cutest little duck I've ever seen.