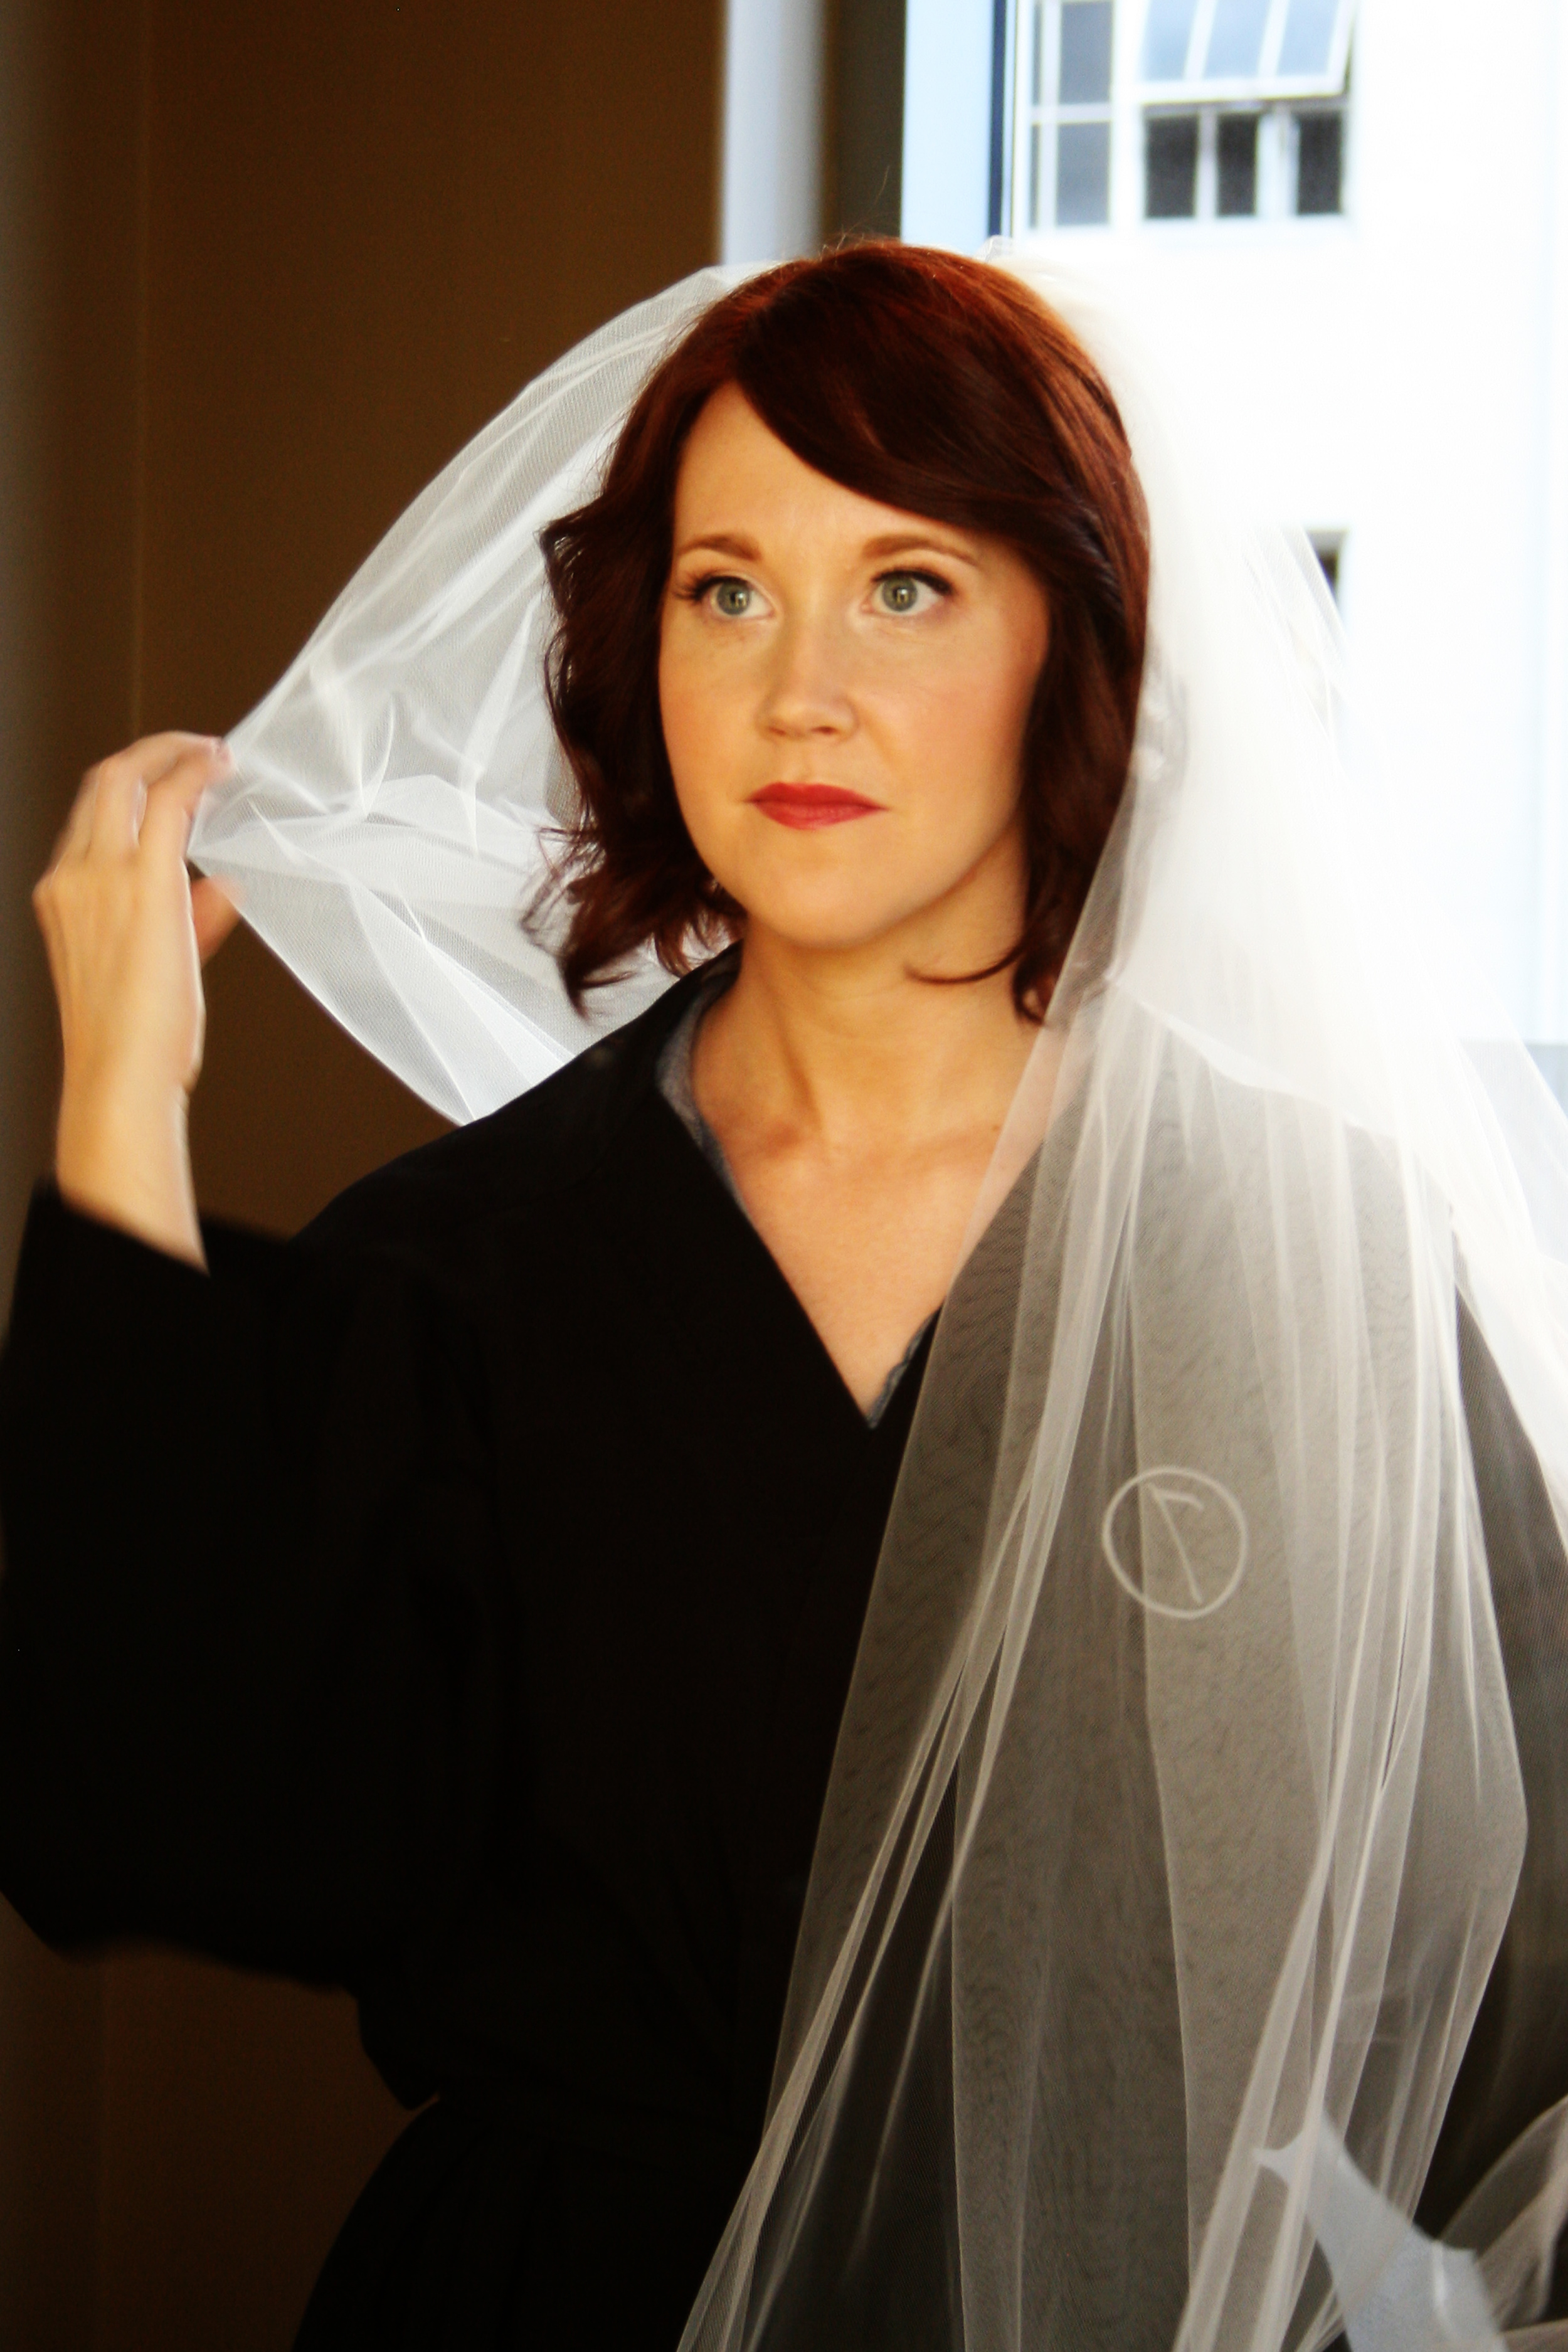
I mentioned last week that my dear friend, Heather, was getting married... well I'm happy to report that the wedding was perfect. I know I'm biased, but she was one of the most stunning brides I've ever seen!
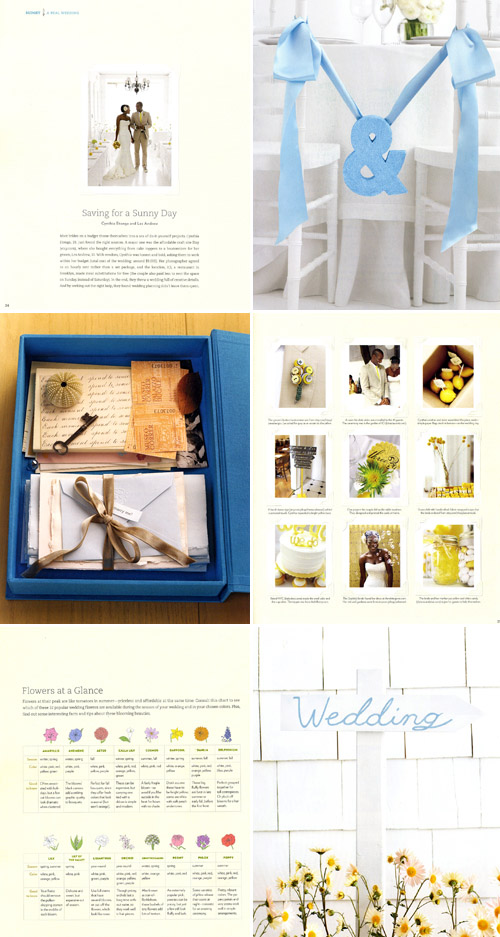
See? GORGEOUS! She and Alex are such a great couple and I was so honored to be a part of their big day. In addition to being a bridesmaid, I also had the pleasure of making a small design contribution to their reception. Heather came to me several months ago saying that she'd seen the perfect table numbers in Real Simple Weddings but couldn't find a good picture online to show me. My natural curiosity has led me to be somewhat of a master Googler and I love a good searching challenge. This was the link she sent me that had the page from the magazine:
The table numbers she wanted are the center pic in the cluster of 9 on the right... kinda hard to see, right? BUT, I noticed that if I hovered over the picture there was a photo credit for Angelica Glass. So I went to her website and - voila!
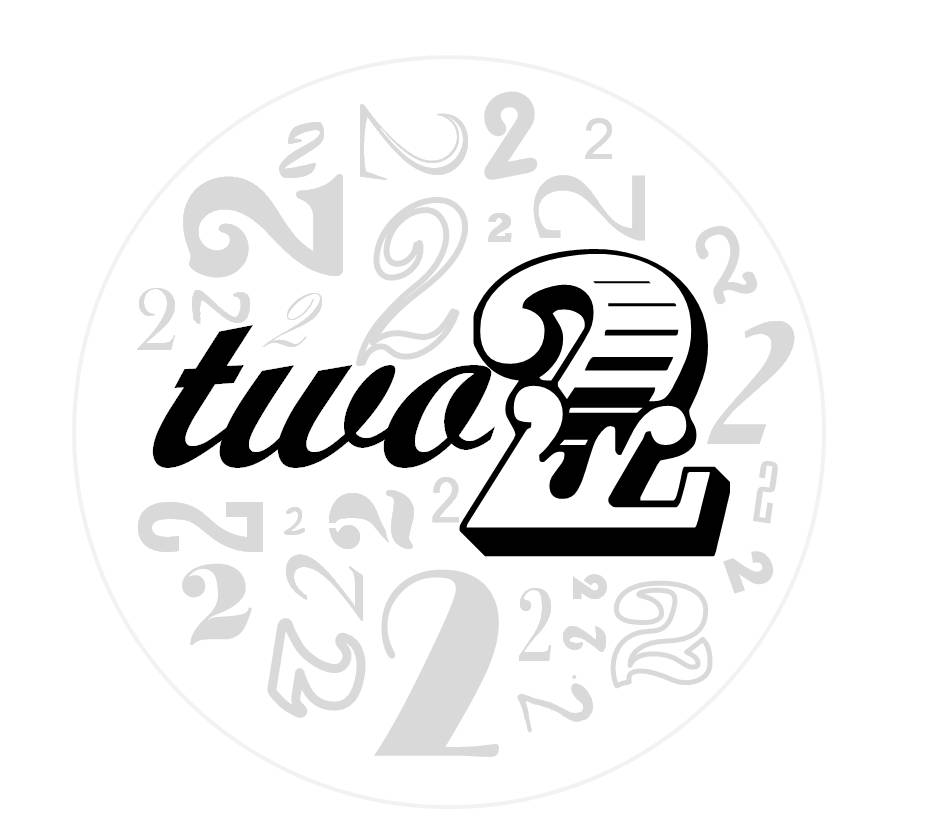
Heather and Alex were having a black & white wedding, so I set out trying to replicate the table numbers using black and gray ink on white cardstock. (I decided to use a clean edge for the circles instead of scalloped because I felt it matched the style of their wedding a bit better.) I was able to find the exact font used for the primary numbers: Cast Iron, available for free from DaFont. I used PowerPoint to create the design (I'm telling you, people, it's for more than just presenting!) and sent it off to Heather and Alex for their thoughts...
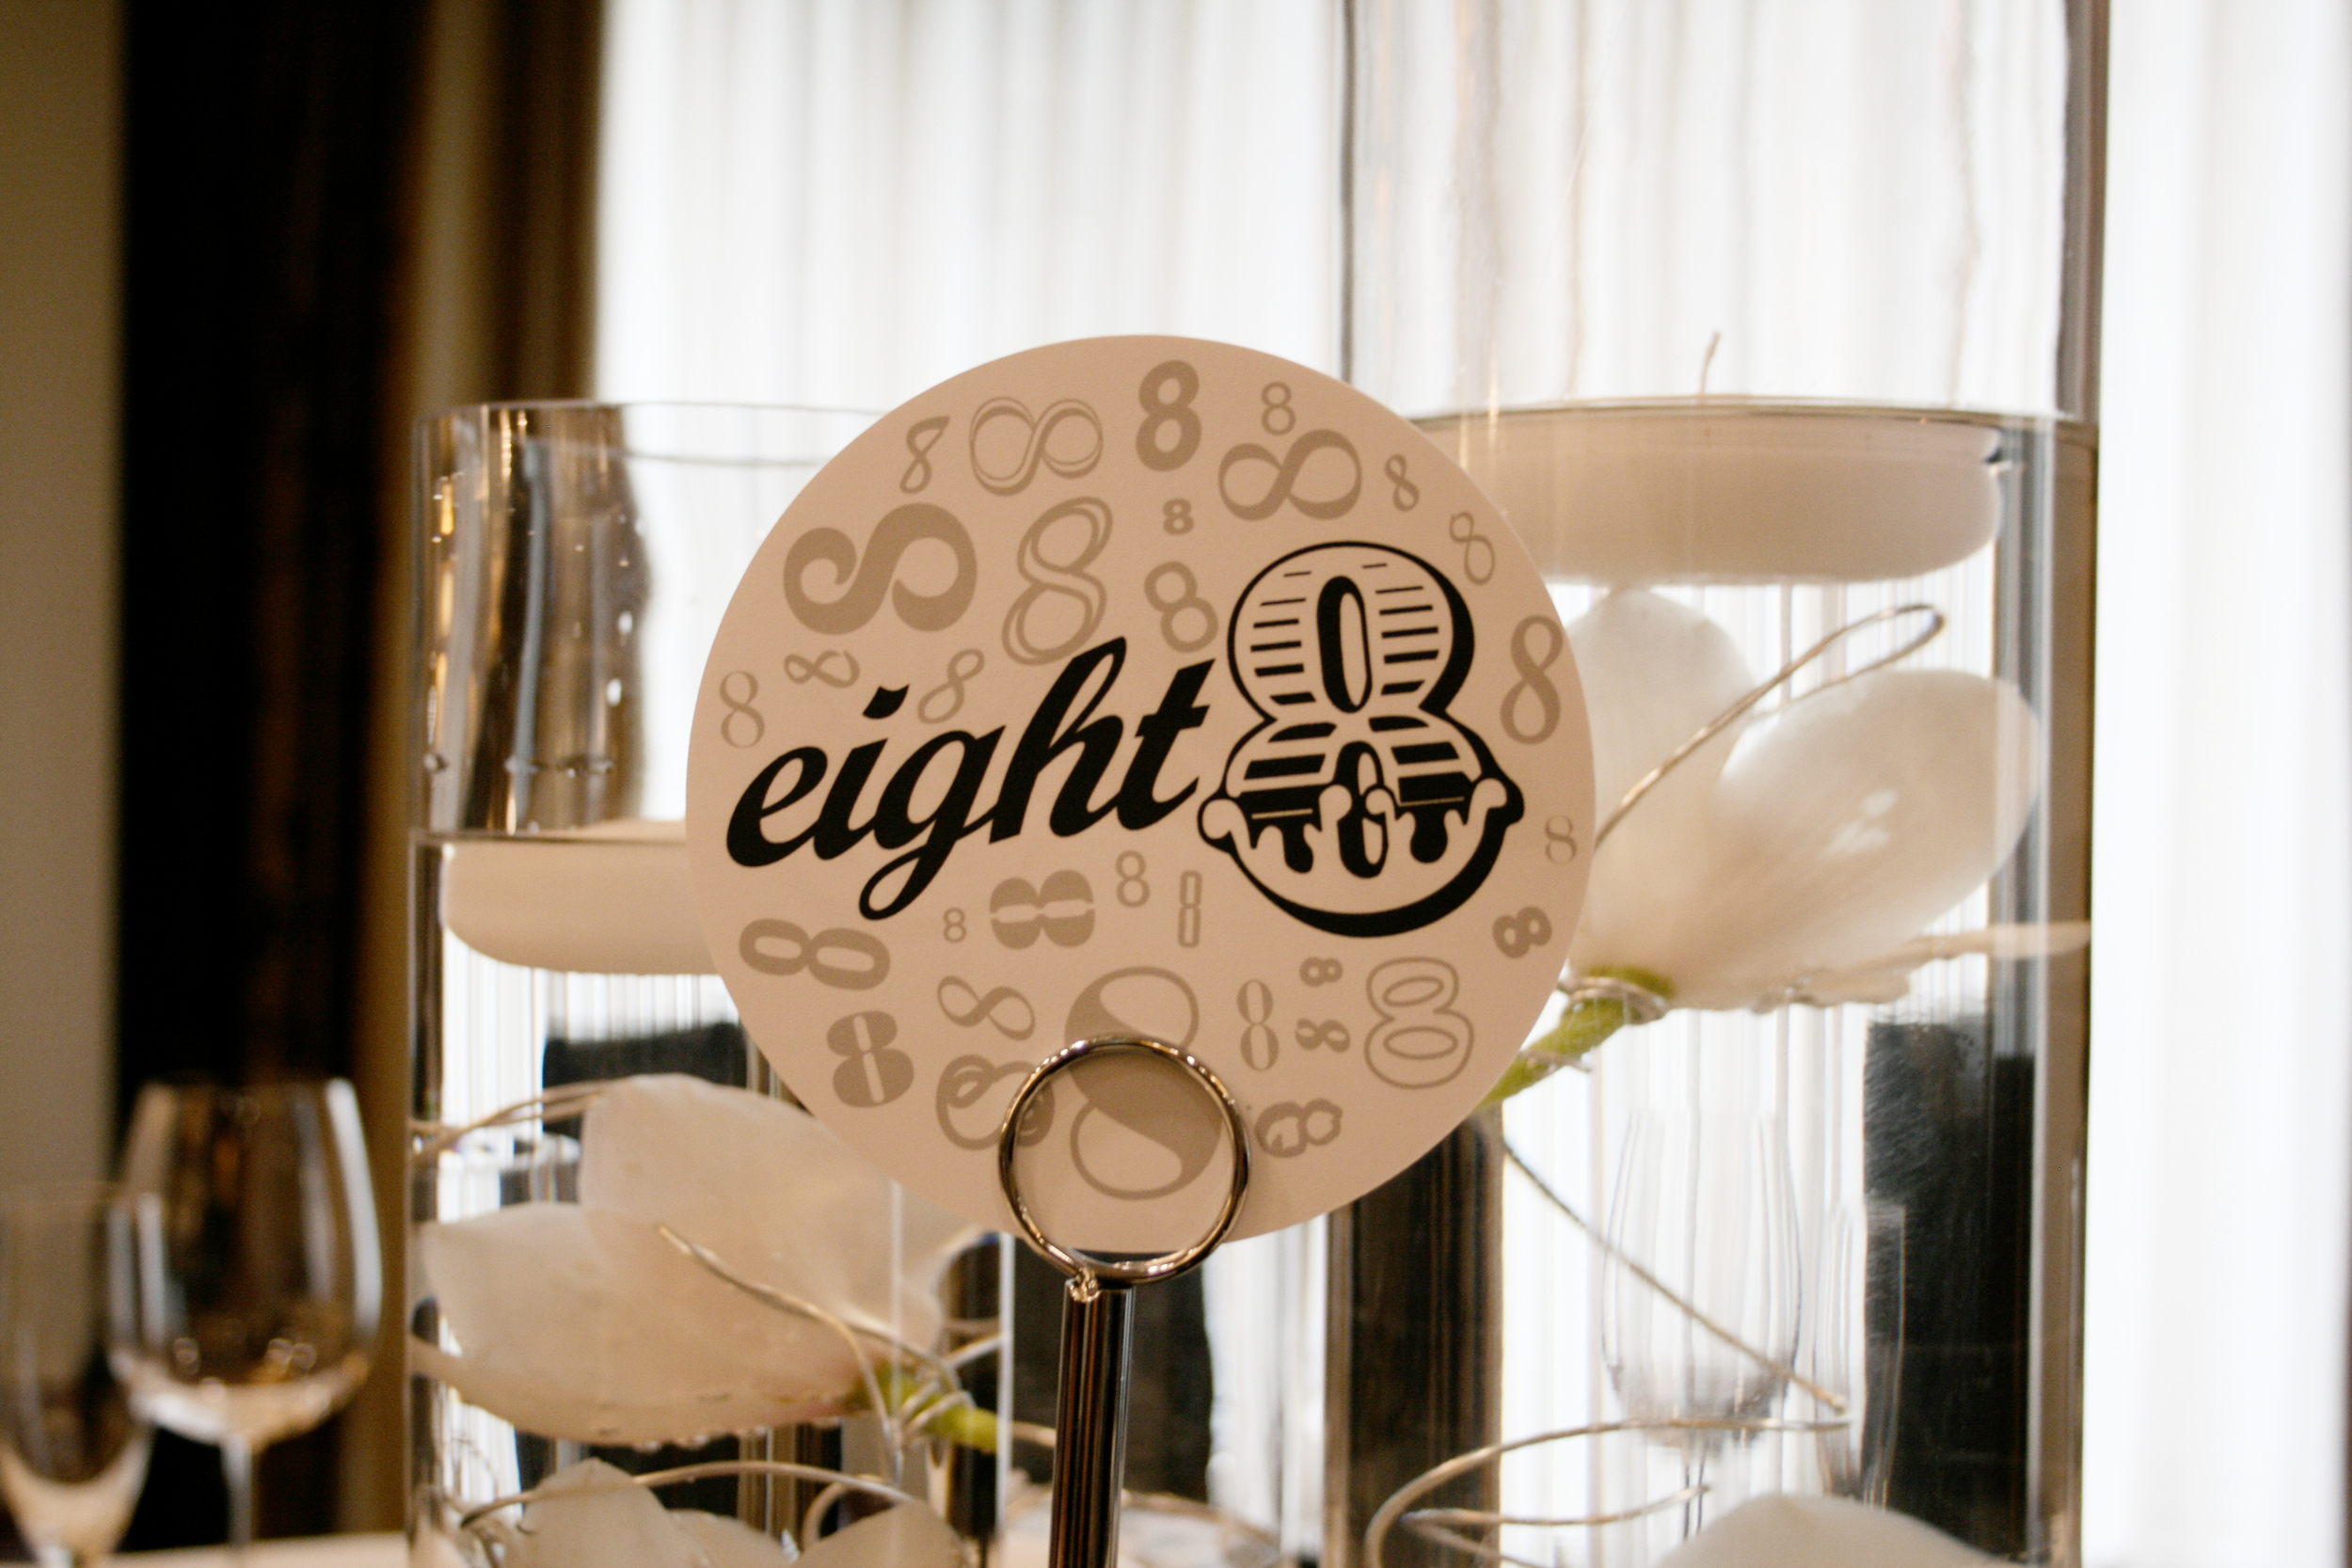
They loved it! I was so relieved. I designed the rest and printed them at home on medium weight cardstock using my highest quality printer and ink settings. Thankfully, our friend Sarah had this super handy circle cutter so they were pretty easy to cut out. I cut out two of each number and used Zots to glue them back to back (so you could see the number no matter where you were sitting at the table.) Here's how they looked!:
How amazing are those flowers, by the way??? Apparently Alex came up with that idea. Pretty impressive! If you're making your own table numbers and want to try this style (or tweak it to make it your own) here's the download for my PowerPoint file, complete with table numbers 1-9, and instructions for putting them together. Enjoy, and please let me know if you end up using them! I'd love to see pictures of how they turn out!
[dm]5[/dm]
PS... you'll need PowerPoint to be able to open the file, though it might work in Keynote. You'll also need to download Cast Iron from Dafont if you want to use that font.
Supplies:
- Medium weight cardstock
- Home printer (or you can take them to a print shop)
- Circle cutter
- Double sided tape or Zots
- Stand with photo/paper clip (the hotel provided Heather with these, but you could probably find them at a craft store or Target)
Instructions:
- Print out 2 of each table number using the highest quality settings your printer will allow. I recommend printing test pages on regular paper before trying it with your cardstock. Play around with the ink settings if you feel it's drying too dull. Make sure it's set to heavy or a slower drying time (depends on your printer.)
- Cut out the table numbers using a circle cutter, making sure to cut just inside the border.
- Attach two of the same table numbers back to back using double sided tape, Zots, or similar. Repeat until all of the table numbers are attached.
- Stick the table numbers in the stands, and you're done!
Have fun, and please let me know if you have any questions about using or downloading the file!


