easiest peanut butter cookies

I love a cookie that I can make with ingredients I already have on hand. Add to that a recipe that requires one bowl and takes 15 minutes from start to mouth, and I'm sold. Enter - the easiest peanut butter cookies ever. No flour, no butter, just peanut butter, two kinds of sugar, vanilla, baking soda, and an egg. They take only 10 minutes in the oven, and are ever so delicious served warm. (They're pretty good at room temperature, too, but it's just not the same.) Like pretty much every other peanut butter cookie recipe, these get crunchy after a day (fun fact - this is how my mom prefers them. What a weirdo.) So if you're more of a chewy fan, it's best to eat as many as possible the day you make them. Jared liked them so much he requested I make them again after Rocco ate the remainders of the first batch straight off the kitchen counter. I hope you enjoy them as much as my boys did!

Ingredients:

  • 1 cup peanut butter (see note)
  • 3/4 cup natural cane sugar
  • 1/4 cup brown sugar
  • 1 egg
  • 1 teaspoon baking soda
  • 1/2 teaspoon vanilla
  • additional sugar for rolling

Directions:

Preheat oven to 375 degrees°F.

Mix all the ingredients up in a bowl. Roll walnut-sized pieces into balls and roll balls in the additional sugar. Place on a parchment-lined baking sheet and flatten slightly with a fork in a crisscross pattern. Bake for 10 minutes. Remove and let cool before removing from baking sheet.

Note: Peanut butter comes in all kinds of configurations and the kind you choose will influence your outcome. Some peanut butters are very sweet, some have been hydrogenated, some have a whole lot more in them than peanuts! Then there is the chunky versus smooth debate. I used a natural chunky version (Safeway brand) for this recipe that wasn't too sweet although it did have added cane sugar in the ingredient list.

Recipe from The Kitchn

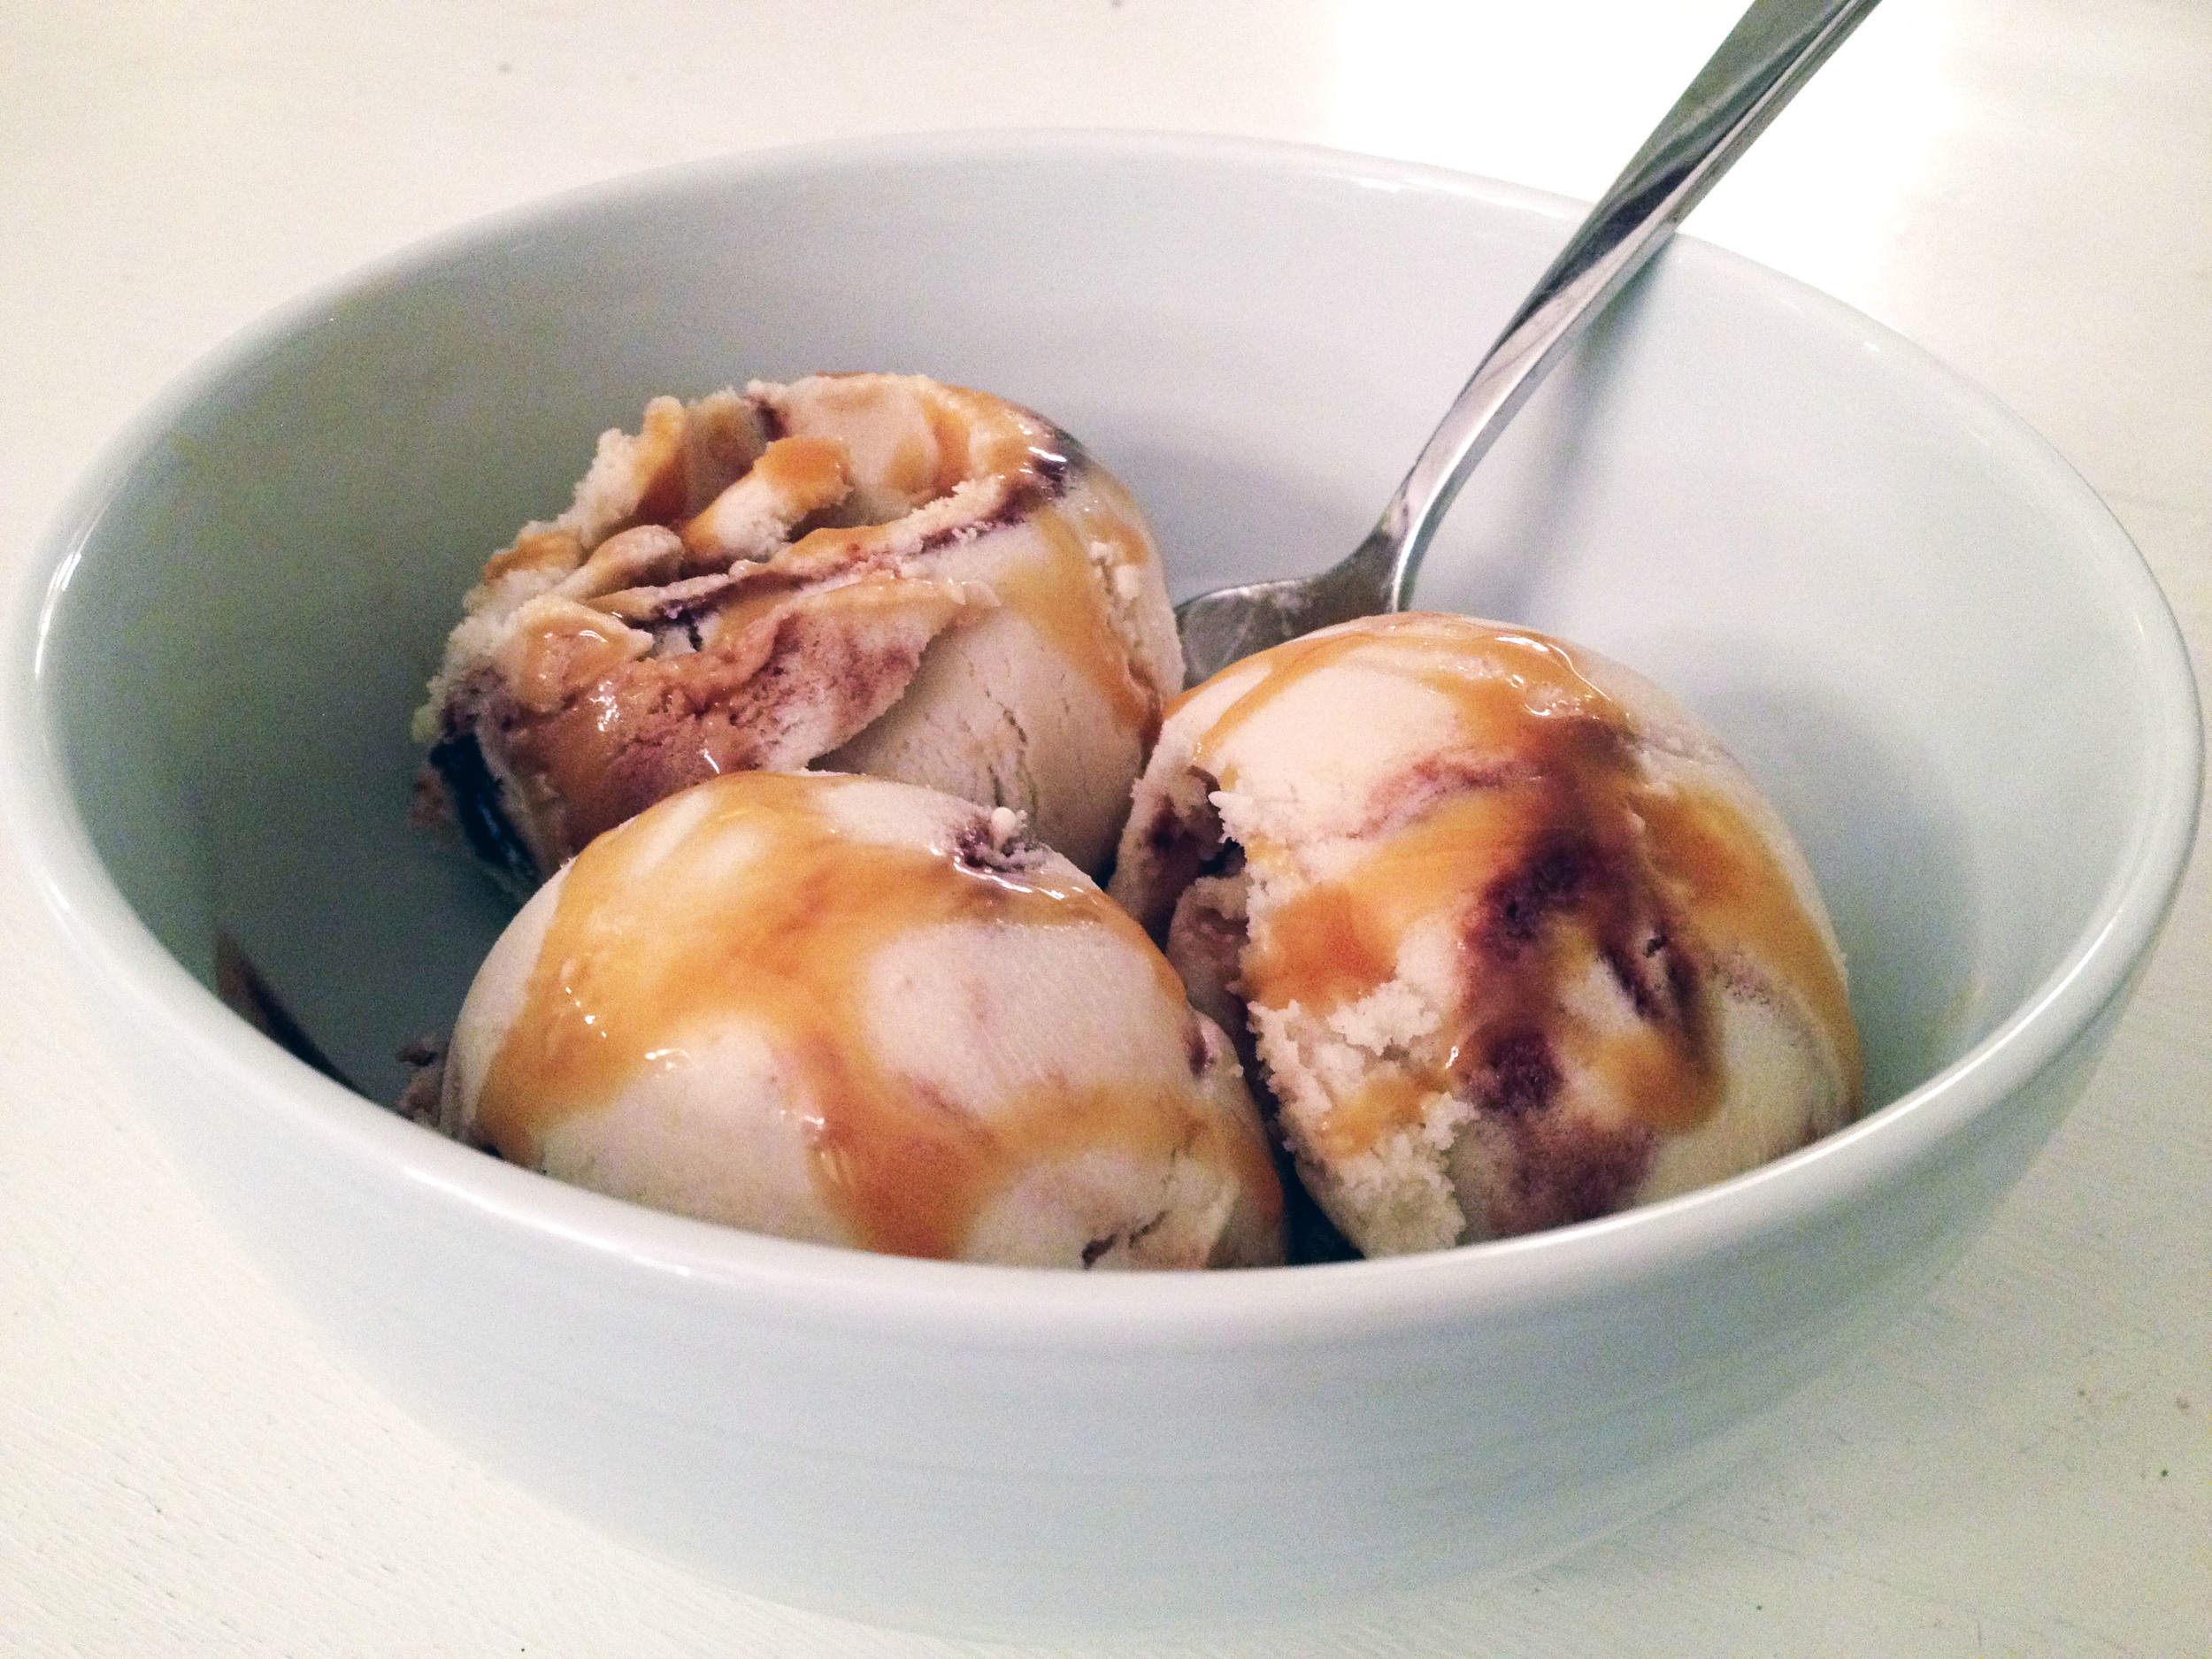
Coconut Ice Cream with Caramel and Fudge Ribbons

coconut-ice-cream-caramel-fudge.jpg

As I mentioned yesterday, the pièce de résistance of our Oscar Sunday was this Coconut Ice Cream with Caramel and Fudge Ribbons. It's easily one of the best ice creams I've ever made, and almost makes the lack of dairy in my life completely bearable. Oh, that's right - those three glorious gooey scoops have absolutely zero dairy. I concocted this recipe solely for the purpose of testing the limits of dairy free-dom... could there be such a thing as a dairy free ice cream I'd crave even after my dairy free days are behind me? Well, I'm happy to say I think I've found it. Here's how to make it...

Note that you don't have to make any of this dairy free. Just use regular heavy cream and butter where noted in the sauce ingredients. For the ice cream, make a regular vanilla ice cream base, substituting half the milk with coconut milk.

You'll need to make everything separately - the caramel sauce, the hot fudge sauce, and the coconut ice cream. Yes, it's a lot of steps, but both sauce recipes make way more than you'll need for the ice cream, so you could make the ice cream 3 or 4 more times and only have to make the sauces once. Or you could just grab a spoon and eat the leftover sauce right out of the jar. I won't judge. Either way, you'll need to start by making my faux heavy cream using a couple cans of coconut milk.

Coconut milk heavy cream substitute

Ingredients:

  • 2 cans of full fat coconut milk (I recommend Thai Kitchen brand)

Directions:

Open both cans of coconut milk and spoon the coconut fat ONLY (the thick white stuff at the top) into a medium size bowl. Then, add all of the liquid from one can and half of the liquid from the other can into the bowl. Whisk until smooth. Note that this will appear much thicker than regular heavy cream. That's okay. (I tried thinner - and even thinner than that - versions and this thickness worked best.)

Dairy Free Caramel Sauce

Ingredients:

  • 1 cup sugar
  • 1¼ cups coconut milk heavy cream substitute (or regular heavy cream if not making it dairy free)
  • ¼ tsp. coarse salt
  • ½ tsp. vanilla extract

Directions:

Spread the sugar in an even layer over the bottom of a large, heavy-bottomed saucepan. Place over medium-low heat, watching carefully. When the sugar begins to liquefy around the edges, use a heatproof spatula to gently stir it towards the center. Continue stirring very gently until all the sugar is melted, taking care not to over stir. Measure out the coconut milk heavy cream substitute in a liquid measuring cup and set aside. Once the caramel reaches a deep amber color, immediately remove the sauce pan from the heat. Carefully whisk in half of the coconut milk heavy cream substitute. The mixture will steam and bubble violently. Stir until the cream is well incorporated, then whisk in the remaining cream. Stir in the salt and the vanilla. If any sugar has hardened, place the saucepan over low heat and whisk until smooth.

Store in an airtight container in the refrigerator. If needed, it can be rewarmed in the microwave or in a saucepan over low heat.

If you're attempting this recipe, you really must read this post by David Lebovitz on making the perfect caramel. Even following his extremely helpful advice, it took me 3 tries to get the caramel just right. It's tricky, but it's so worth it.

Source: adapted from The Perfect Scoop by David Lebovitz

Dairy Free Hot Fudge Sauce

Ingredients:

  • 3/4 cup coconut milk heavy cream substitute (or regular heavy cream if not making it dairy free)
  • 1/4 cup packed dark brown sugar (if you don't have dark, just use light and add a teaspoon of molasses)
  • 1/4 cup unsweetened Dutch-process cocoa powder
  • 1/2 cup light corn syrup
  • 6 ounces bittersweet or semisweet chocolate, chopped
  • 1 tablespoon dairy free butter substitute (I like Earth Balance), cut into small pieces (or use regular salted butter if not making it dairy free)
  • 1/2 teaspoon vanilla extract

Directions:

Mix the cream, brown sugar, cocoa powder, and corn syrup in a large saucepan. Bring to a boil and cook stirring frequently, for 30 seconds.

Remove from the heat and add the chocolate and butter, stirring until melted and smooth. Stir in the vanilla. Serve warm.

(This sauce can be stored in the refrigerator for up to two weeks. Rewarm gently in the microwave or by stirring in a saucepan over very low heat)

Alright, with the special ingredients all prepped, you're ready to make the ice cream!

Coconut Ice Cream with Caramel and Hot Fudge Ribbons

Ingredients:

  • 2 14 oz. cans of full fat coconut milk (I like Thai Kitchen)
  • 4 eggs
  • 2 tbsp vanilla extract
  • 6 tbsp raw honey
  • Caramel sauce
  • Hot fudge sauce
  • ice cream maker

Directions:

Set up a double boiler by placing a heat proof bowl over a pot of simmering water (be sure it’s simmering and not a full rolling boil, as this will give you better control later). Add the coconut milk and vanilla extract to the bowl. Stirring fairly frequently, heat until the coconut milk is hot but not boiling.

Meanwhile, whisk the eggs well in a separate bowl. Once the coconut milk is hot, add a ladleful to the eggs while you’re whisking – you want to bring the eggs up to the temperature of the coconut milk without scrambling them. Add in another ladleful of hot coconut milk to the egg mixture while whisking. Take the now hot egg mixture and whisk it into the bowl of coconut milk on the double boiler.

Now, whisk constantly until the mixture thickens to a custard. This may take several minutes. If it’s getting too hot and starting to scramble, remove from the heat immediately but keep whisking, then return it to the double boiler. Once it has thickened to a custard, remove the bowl from the heat and let it cool.

Once the custard is cool enough for you to stick your finger in it and hold it there without burning, whisk in the raw honey. Put the custard base in the refrigerator for at least 6 hours (preferably overnight). Freeze in your ice cream machine per the manufacturer’s instructions.

Spoon a small amount of the ice cream into a large, sealable bowl. Then spread a small layer of the fudge sauce onto the ice cream. Spoon more of the ice cream into the bowl, then a layer of caramel, then more ice cream, etc. Keep going, working in layers until all of the ice cream is in the bowl. Now run a butter knife through the ice cream (I found a figure eight worked well, but use whatever motion you'd like - just make sure not to overmix!)

That's it! Okay, I know it seems like a lot of work. But, I promise it's worth it. Especially if you love ice cream but can't have dairy. And it's perfect for kids with dairy allergies who never get to enjoy fun stuff like caramel sauce and hot fudge. My heart aches for their deprived taste buds.

Please, please let me know if you make this or if you're thinking about attempting it and have any questions!

And the Oscar goes to...

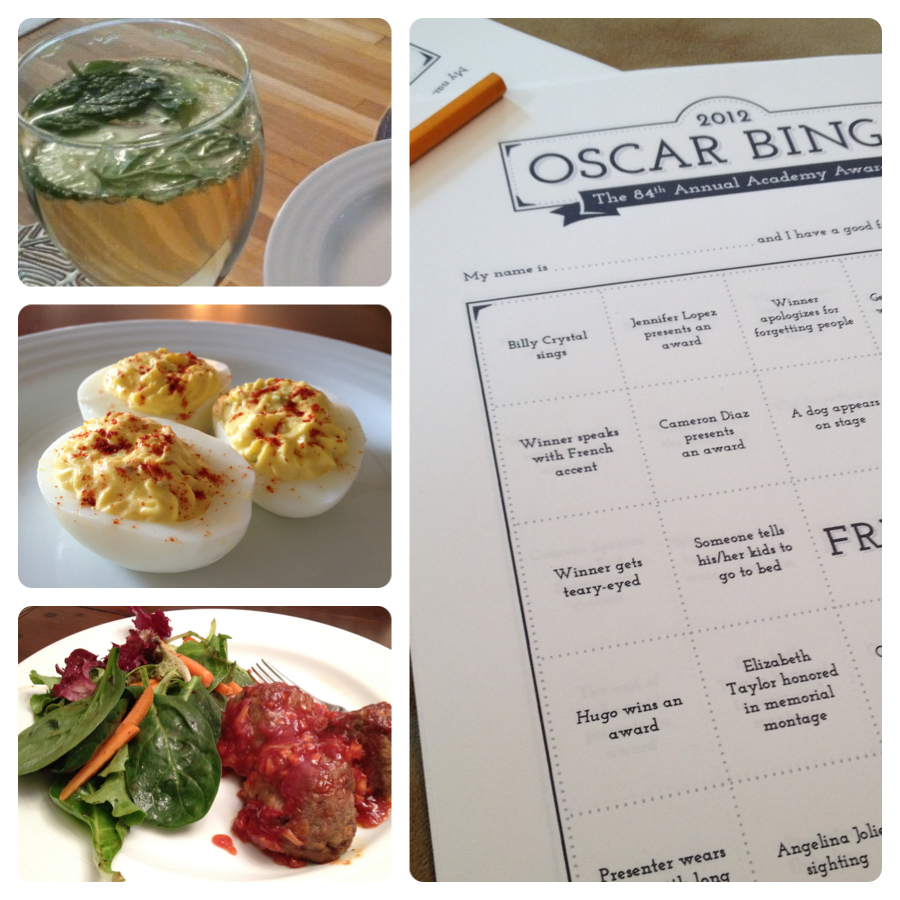
As I mentioned on Friday, I looove Oscar Sunday. It's like my Super Bowl. And this year I pulled out all the stops. (Well, all the stops I had the energy to pull.) My friend Ailsa came by, and she and Jared did their best to get on board with my enthusiasm. We had Oscar inspired food, and we even played Oscar Bingo (courtesy of How About Orange), which I highly recommend if you're trying to get people to sit through all 18 hours and 37 minutes of the Oscar telecast.

Ailsa started out our afternoon with some delicious elderflower champagne cocktails, which we figured covered the whole French contingent: Midnight in Paris, The Artist, and Hugo. I loved the combination of the St. Germain and mint in these cocktails. If you have a bottle of champagne leftover from a party, this would be a great way to jazz it up.

Then it was time to scarf down delicately eat a few traditional Southern Deviled Eggs, inspired by The Help. I don't know why deviled eggs get relegated to holidays and showers. They are entirely too delicious to only be eaten a few times a year.

For dinner we made Pioneer Woman's BBQ Comfort Meatballs (or Moneyballs... hey-o!) and they were everything PW promised they would be. Like little meatloaf balls of heaven. Make these for anything - Oscars, a potluck, Saturday snacktime. They'll be a hit. Unless you're a vegetarian.

For dessert... well, for dessert I really pulled out all the stops. I made Coconut Ice Cream with Caramel and Fudge Ribbons. I wanted to call it "Descending into Decadence" for the Descendants, but Jared rolled his eyes so many times at that name I figured I'd better drop it and let the coconut be homage enough. This was my own little concoction, so I was crossing everything I had that it would be good... and it was. Oh, holy hannah, it was good. Homemade caramel sauce, homemade hot fudge sauce, it was all worth it. The whole thing was dairy free, but it doesn't have to be. I'll be posting the recipe tomorrow so be sure to check back.

I hope you all enjoyed Oscar Sunday as much as I did! :-)

coconut cookies & cream ice cream

I know this combination of flavors might seem a little strange - coconut and Oreos? But I promise you, it's delicious. This is one of the best ice creams I've ever made, and easily the best dairy free ice cream I've ever made (I've only made two, but the first one was pretty bleh.) If you like coconut (or if you're a nursing mama whose baby still can't tolerate real milk and have learned to embrace coconut), you really need to try this...

Ingredients:

  • 2 14 oz. cans of Thai Kitchen full fat coconut milk (brand matters here... I've tried other brands and they're not nearly as good)
  • 4 eggs
  • 2 tbsp vanilla extract
  • 6 tbsp raw honey
  • Oreos (I used about 15, but I like a lot of cookie in my cookies and cream)
  • ice cream maker

Directions:

Set up a double boiler by placing a heat proof bowl over a pot of simmering water (be sure it's simmering and not a full rolling boil, as this will give you better control later). Add the coconut milk and vanilla extract to the bowl. Stirring fairly frequently, heat until the coconut milk is hot but not boiling.

Meanwhile, whisk the eggs well in a separate bowl. Once the coconut milk is hot, add a ladleful to the eggs while you're whisking - you want to bring the eggs up to the temperature of the coconut milk without scrambling them. Add in another ladleful of hot coconut milk to the egg mixture while whisking. Take the now hot egg mixture and whisk it into the bowl of coconut milk on the double boiler.

Now, whisk constantly until the mixture thickens to a custard. This may take several minutes. If it's getting too hot and starting to scramble, remove from the heat immediately but keep whisking, then return it to the double boiler. Once it has thickened to a custard, remove the bowl from the heat and let it cool.

Once the custard is cool enough for you to stick your finger in it and hold it there without burning, whisk in the raw honey. Put the custard base in the refrigerator for at least 6 hours (preferably overnight). Freeze in your ice cream machine per the manufacturer's instructions, adding in the Oreo cookie chunks once the mixture has started to freeze a bit.

Straight out of the machine this ice cream has a creamy soft serve texture. If you store it in the freezer for later, just let it sit at room temperature for about 10 minutes before eating to let it soften up a little bit.

Recipe adapted from Caveman Food

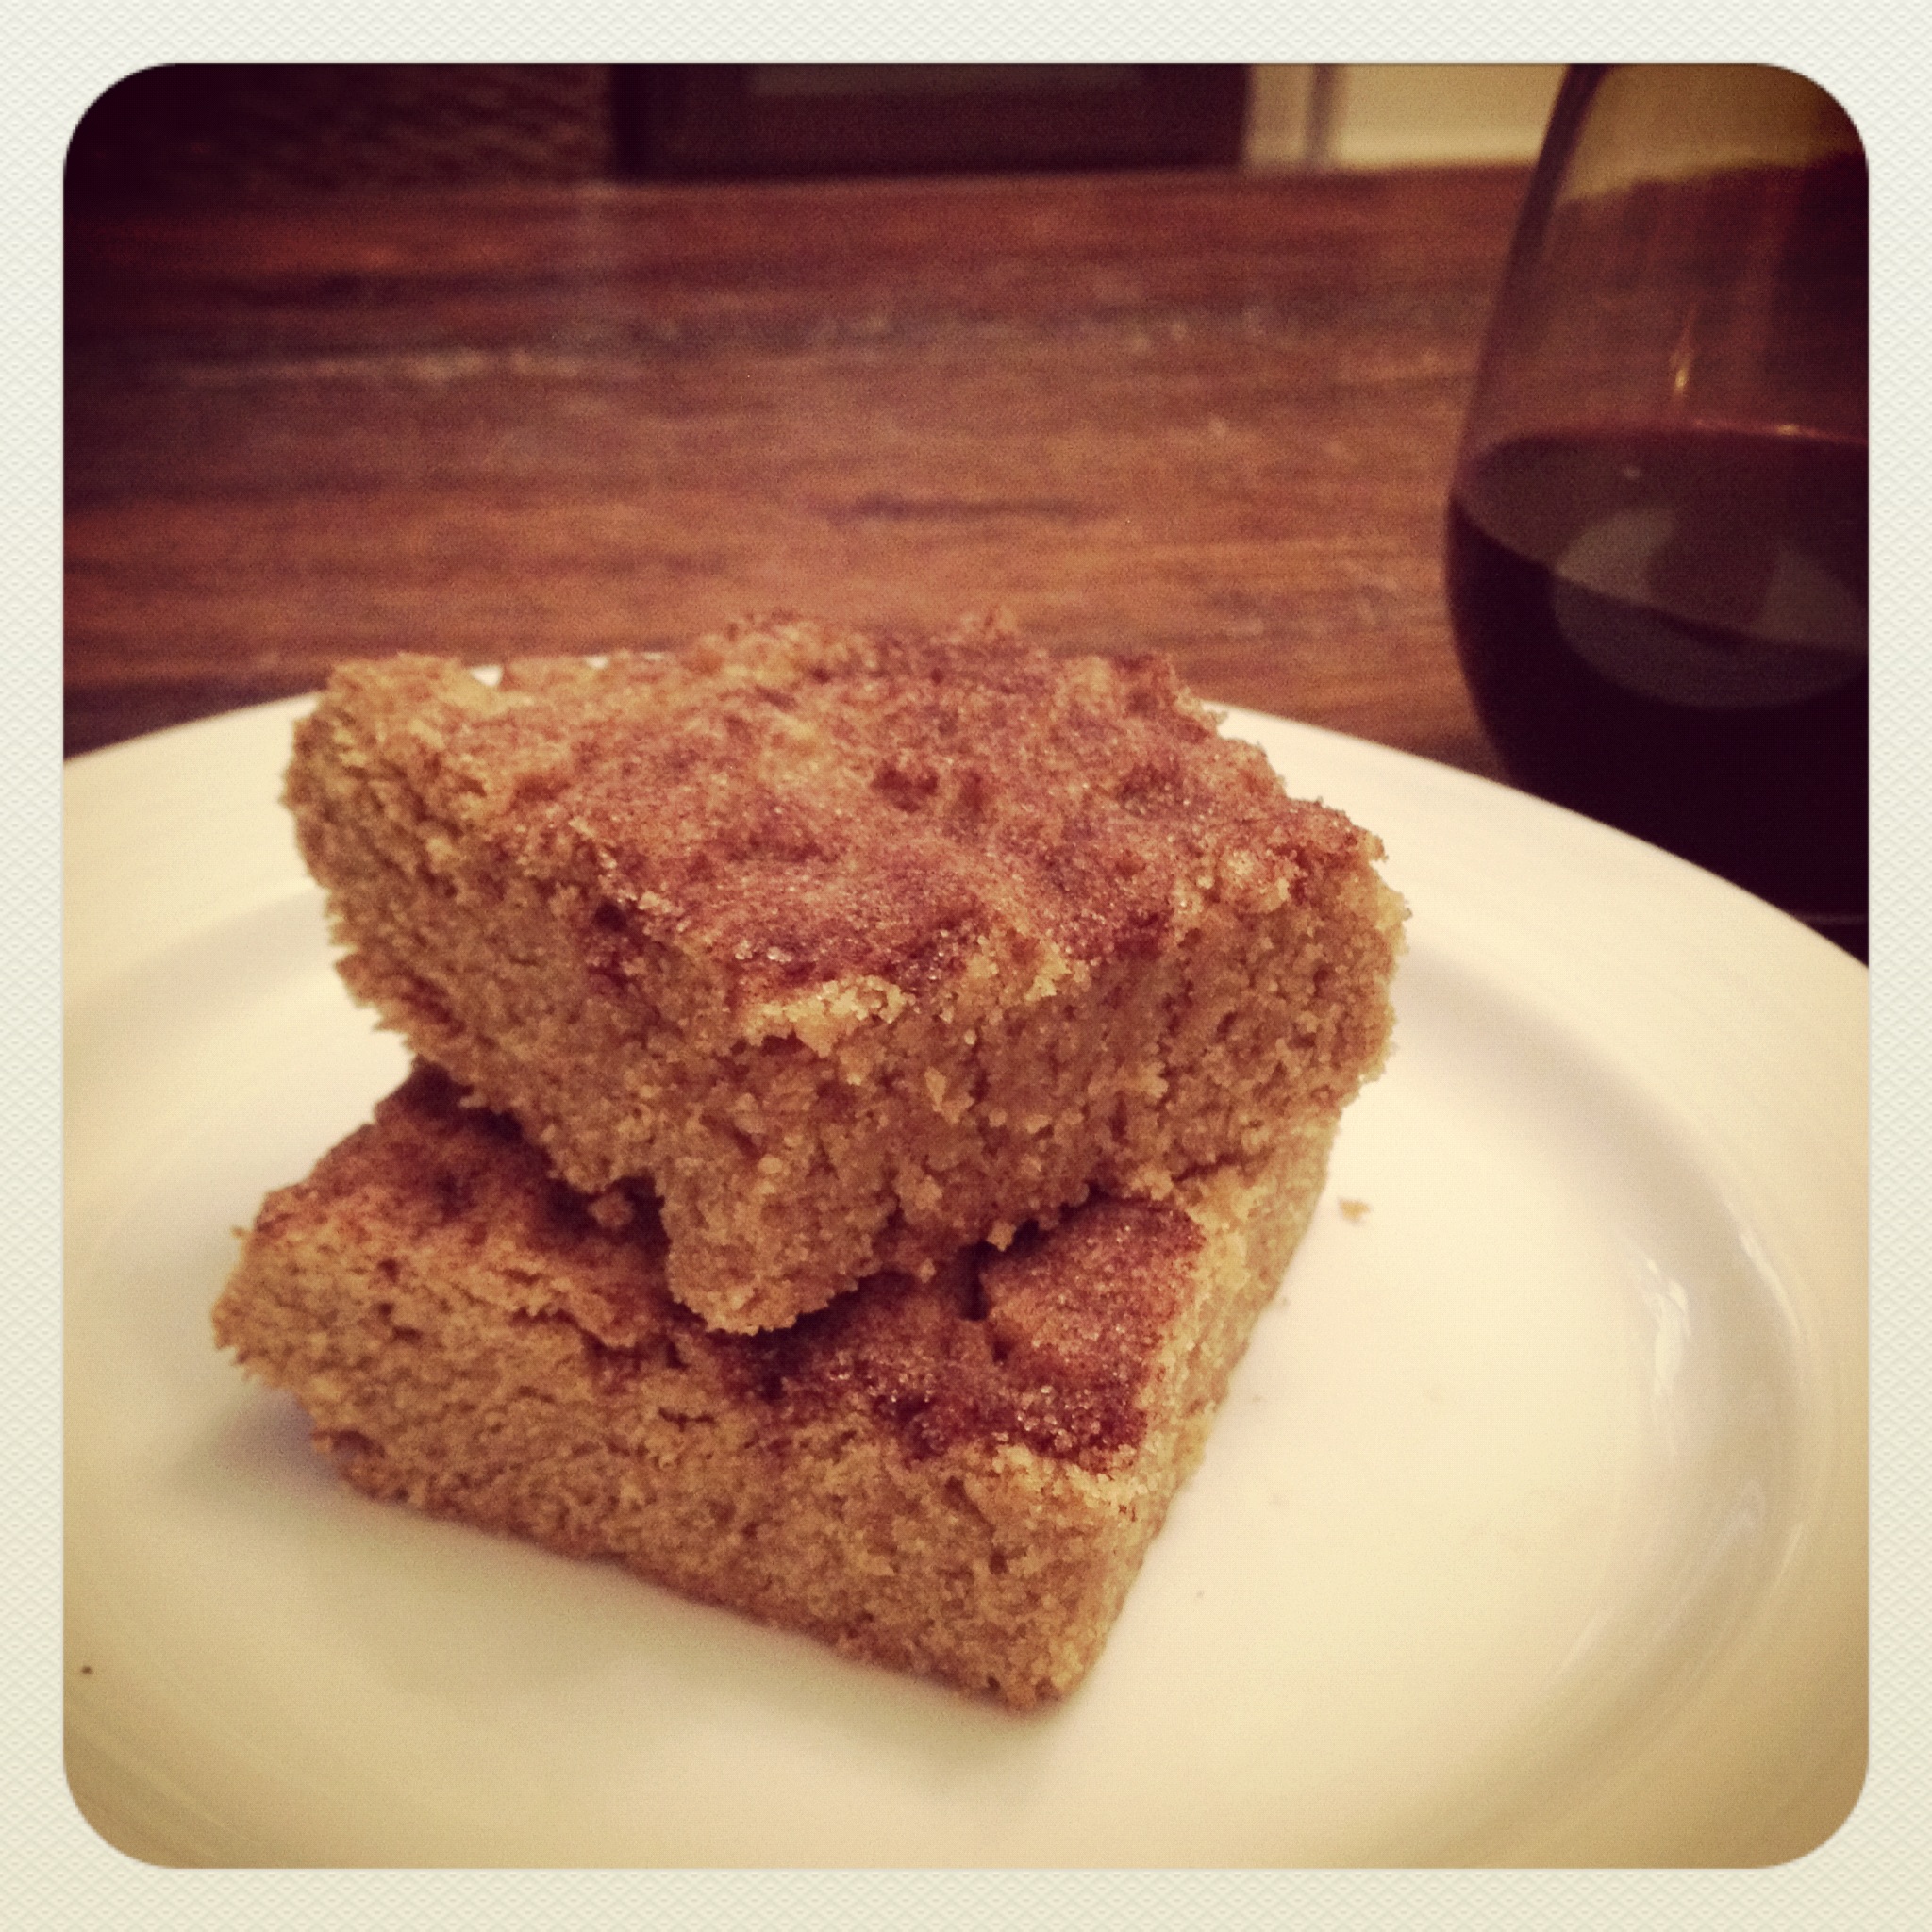
Snickerdoodle Blondies

I was craving something sweet this weekend (when am I not) so I whipped up these Snickerdoodle Blondies I found on Pinterest. I made them dairy free, but I'm sure they'd be even better with real butter. The flavor was more savory than sweet because of the cinnamon and nutmeg, but they made for a great rainy winter night dessert. Here's the recipe:

Ingredients

  • 2-2/3 Cups All-Purpose Flour
  • 2 Teaspoons Baking Powder
  • 3 Teaspoons Ground Cinnamon, divided
  • 1/4 Teaspoon Ground Nutmeg
  • 1/2 Teaspoon Salt
  • 2 Cups Packed Dark Brown Sugar
  • 1 Cup butter, at room temperature (or use a dairy-free butter substitute)
  • 2 Large Eggs, at room temperature
  • 1 Tablespoon Real Vanilla Extract
  • 2 Tablespoons Sugar

Instructions

  1. Preheat your oven to 350ºF and lightly grease a 9×13 inch pan.
  2. In a medium-sized bowl, combine the flour, baking powder, 1 teaspoon of the cinnamon, nutmeg and salt and set aside.
  3. In large bowl, beat together butter and brown sugar until well combined.
  4. Add the eggs and vanilla, and beat until smooth.
  5. Stir in the flour mixture until well blended.
  6. Spread the batter evenly in your prepared pan (I lightly greased a spatula for easy stick-free spreading).
  7. Combine the 2 tablespoons of sugar and the remaining 2 teaspoons of cinnamon in a small dish. Evenly sprinkle the mixture atop the blondie batter (it may seem like a lot, but go for it).
  8. Bake the blondies for 25 to 30 minutes or until the surface springs back when gently pressed. They will be firmer and raised around the edges, sinking in the middle. No worries, this is okay.
  9. Let the blondies cool in the pan completely before cutting.

Recipe from Go Dairy Free

our (secretly dairy-free) Thanksgiving

I was really (realllly) hoping Emma would be able to tolerate dairy in time for Thanksgiving, but it sadly wasn't meant to be. Jared and I debated our options - make everything as we normally would (chock full 'o dairy) and deplete my pumped reserves so Emma could still get dairy-free milk for a couple of days, or try to do Thanksgiving completely dairy-free. Neither option was all that appealing, and in the end we decided to chance it and have a dairy-free Thanksgiving. The only thing was that we had to be able to fool my dad - a man who for the past two years has scowled when we told him we got an organic turkey. Having to explain that he wouldn't be able to tell the difference thanks to "vegan buttery sticks" and almond milk would have gone over about as well as raisins on Halloween... so we decided it was best to just not tell him. And by some miracle, we actually managed to fool him! (Shhh!) Here's what we made:

  • The same turkey as last year but with Earth Balance Vegan Buttery Sticks (EBVBS) instead of butter
  • Whole berry cranberry sauce from Whole Foods (canned... yes, I'm a cheater)
  • Caramelized Onion and Cornbread Stuffing - I used this recipe for dairy-free cornbread, and substituted EBVBS for the butter and MimicCreme Almond & Cashew Cream for the heavy cream. It was a little on the dry side, so I added some more chicken stock and that did the trick.
  • Not Your Mama's Green Bean Casserole - This was easily my favorite dish of the whole meal. I wouldn't shut up about it. Dairy or no dairy, it's the best green been casserole I've ever had. Like most of the reviewers, I ended up using French's Fried Onions after burning the onions the way Alton says to cook them. Once again, I subbed EBVBS for the butter and MimicCreme Almond & Cashew Cream for the half and half. We definitely couldn't notice the lack of dairy in this one.
  • Creamy Dairy-Free Mashed Potatoes - These were the real low point of our dairy-free Thanksgiving experiment. The recipe called for faux sour cream, and we used Wayfare "We Can't Say It's Sour Cream." It also called for white potatoes instead of russet, and ours were a little more green than white. The whole thing turned into a green, tangy mess. We told my dad that we had tried a new recipe and it didn't turn out so well (not a lie) and he was a sport and tried them anyway. Jared and I didn't even bother. That's how bad they were.
  • Pillsbury Crescent Rolls - Dairy-free! Who knew?!?
  • Vegan Pumpkin Pie - This was my first time making pumpkin pie from scratch (well the filling anyway) so my only comparison is store-bought, but it was really yummy. Vegan baked goods can sometimes have that "not quite right" taste or texture to them, but that wasn't the case with this recipe at all.
Hopefully that's the last time we ever have to have a dairy-free Thanksgiving, but it's good to know that it can be done and still be super tasty. Besides, this funny little one is totally worth it...

{made for dinner} recipe round-up

I've been too busy this week to keep up with my Google Reader (and even Pinterest - gasp!), so instead of Link Love I thought I'd recap a few of the recipes we've made lately. I found all of these on Pinterest, and am happy to report that they all turned out very well.

  • Avocado Pesto Pasta on Chef Chloe - Good dairy-free pasta recipes have been surprisingly hard to come by, so my taste buds perked up when I saw this unique take on a traditional pesto pasta. It's super easy to make, and the avocado makes it very smooth and creamy. I was worried the dish would end up tasting too much like avocado, but it's surprisingly subtle and is balanced very nicely by the basil. It does make the pasta pretty rich, though, so small servings are more than enough.
  • Pasta with Asparagus, Pancetta, and Pine Nuts on Cooking Light - This pasta is also very tasty, even without the parm (Jared added it to his... lucky guy). The pine nuts and pancetta cook while the water and pasta are boiling, making this a fairly quick weeknight dish. And you could easily substitute bacon for the pancetta.
  • Baked Turkey Teriyaki Meatballs on Tasty Kitchen - These are supposed to be little appetizers for a party, but we made them regular sized and served them over rice and steamed broccoli for dinner. I especially loved the teriyaki sauce, which could be used in a lot of different applications. I'd be interested to try these with ground pork, for a slightly less healthy but tastier alternative.
I hope you all have a great weekend! We're heading up to Seattle for the going away party of two very dear friends who are leaving the rainy Pacific Northwest for sunny California. I'll be very jealous of them until approximately next July. Oh, and I had a wonderful 30th birthday. Pics and a party recap coming soon! (While I'm still 30, I promise.) :-)

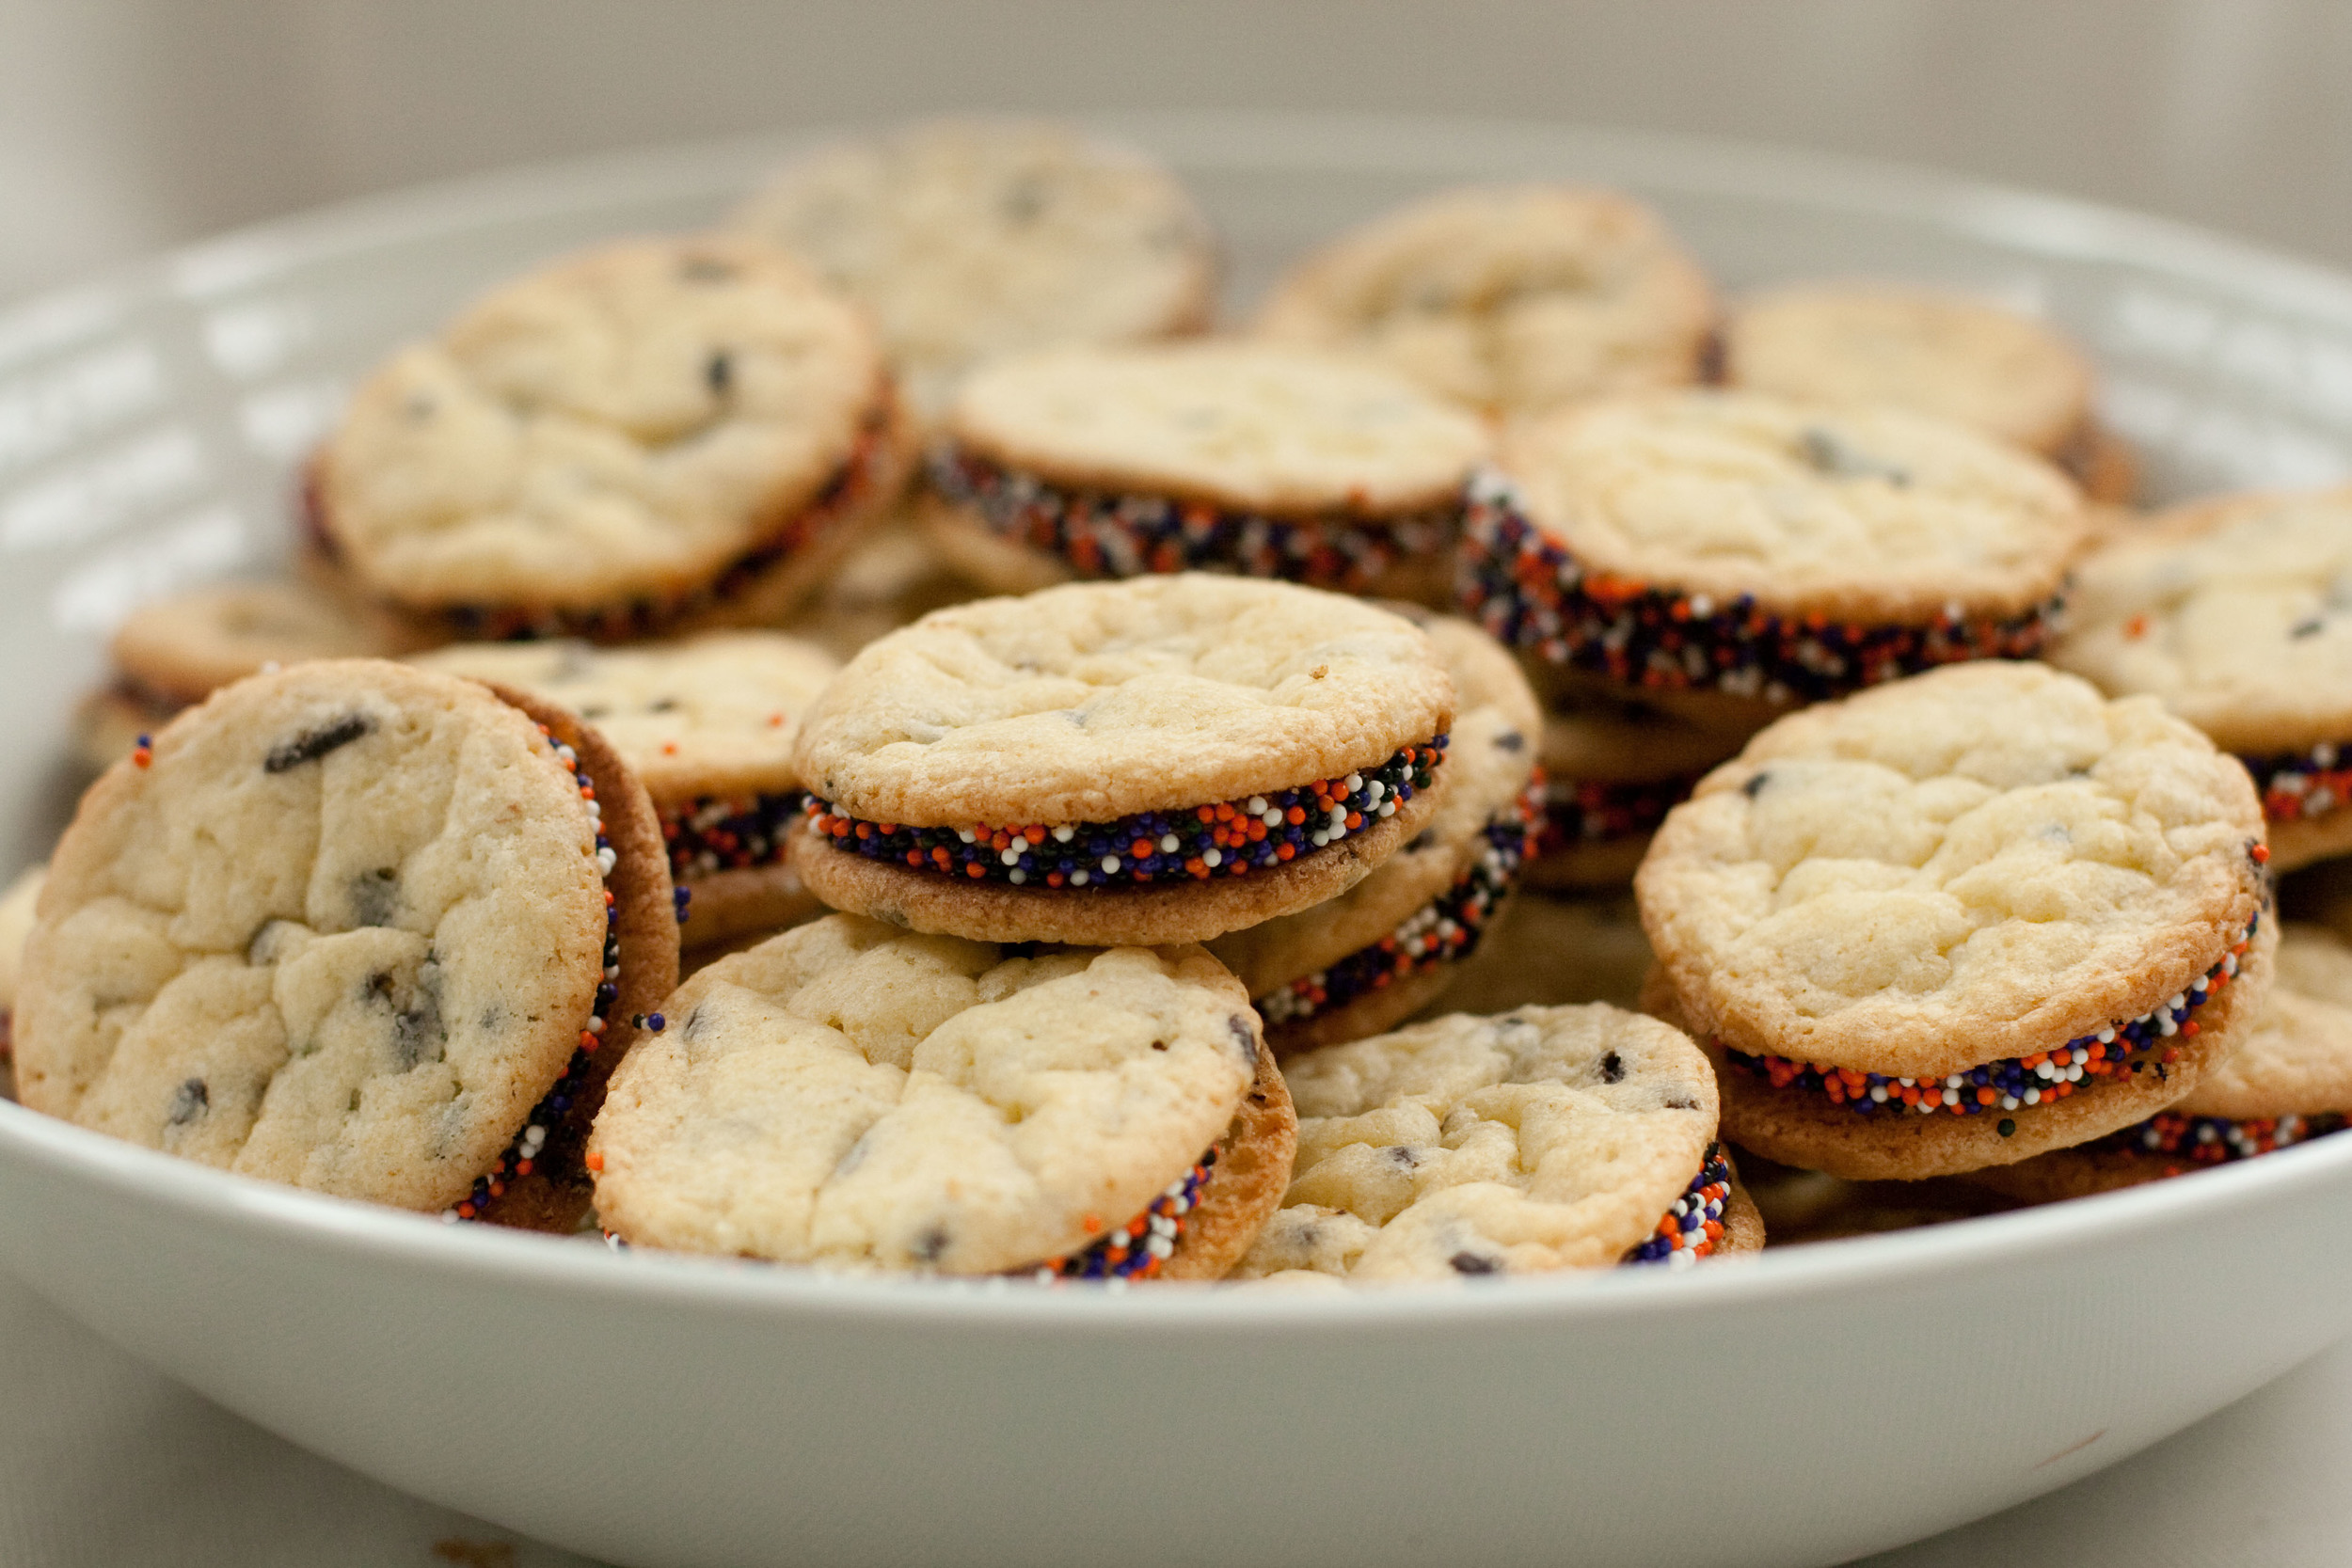
Halloween sandwich cookies

IMG_6473.jpg
halloween sandwich cookies

Hold on to your hats, folks... this may or may not be the start of me getting back to regular blogging. I'm putting it in writing so that it might come true. I'm really trying hard to find time to sew, craft, bake - whatever gets my creative juices flowing and doesn't take a lot of time - which means I may actually have stuff to blog about. Hooray!

I hope you all had a lovely, treat-filled Halloween. I did my best to get into the spirit of things, which was a lot easier this year now that I can deflect my costume wearing obligations onto my daughter. (Reason #143 to have a kid.) The mom's group I belong to had a Halloween get together on Sunday, and we signed up to bring Jared's suuuuper yummy chili and a dessert. (I swear I've blogged about the chili before, but I can't seem to find it, so you'll have to trust me on its awesomeness until I can get the recipe posted.) I'm still doing the no dairy thing, which makes dessert a bit challenging, but I've been determined to make a dairy-free version of the funfetti sandwich cookies that are all over Pinterest, and thought this would be a perfect opportunity. Here's my version...

Ingredients:

  • 1 box Duncan Hines yellow cake mix*
  • 2 eggs
  • 1/2 cup vegetable oil
  • 1 teaspoon baking powder
  • Chocolate sprinkles
  • Halloween sprinkles
  • Duncan Hines chocolate frosting*

*You can use a different brand if you don't need them to be dairy free. Duncan Hines just happens to be dairy free. (Yay!)

Preheat oven to 350F. Line two baking sheets with parchment paper.

In a bowl, mix cake mix, eggs, oil, and baking powder with a wooden spoon until combined. Add sprinkles and mix. Drop a teaspoon of dough onto the prepared sheets, leaving an inch between each cookie. Bake for 7-8 minutes until cookie has set but has not yet browned, rotating the pans halfway through the baking. Transfer cookies to a wire rack to cool.

Frost bottom cookie, place 2nd cookie on top. Roll in assorted sprinkles.

halloween sandwich cookies

They turned out very yummy, and if I hadn't made them I wouldn't have guessed they were dairy-free. And the recipe would be super easy to adapt for a variety of holidays. I'm still looking forward to making the original Funfetti cookies, but these are a nice alternative until I can have the real thing.

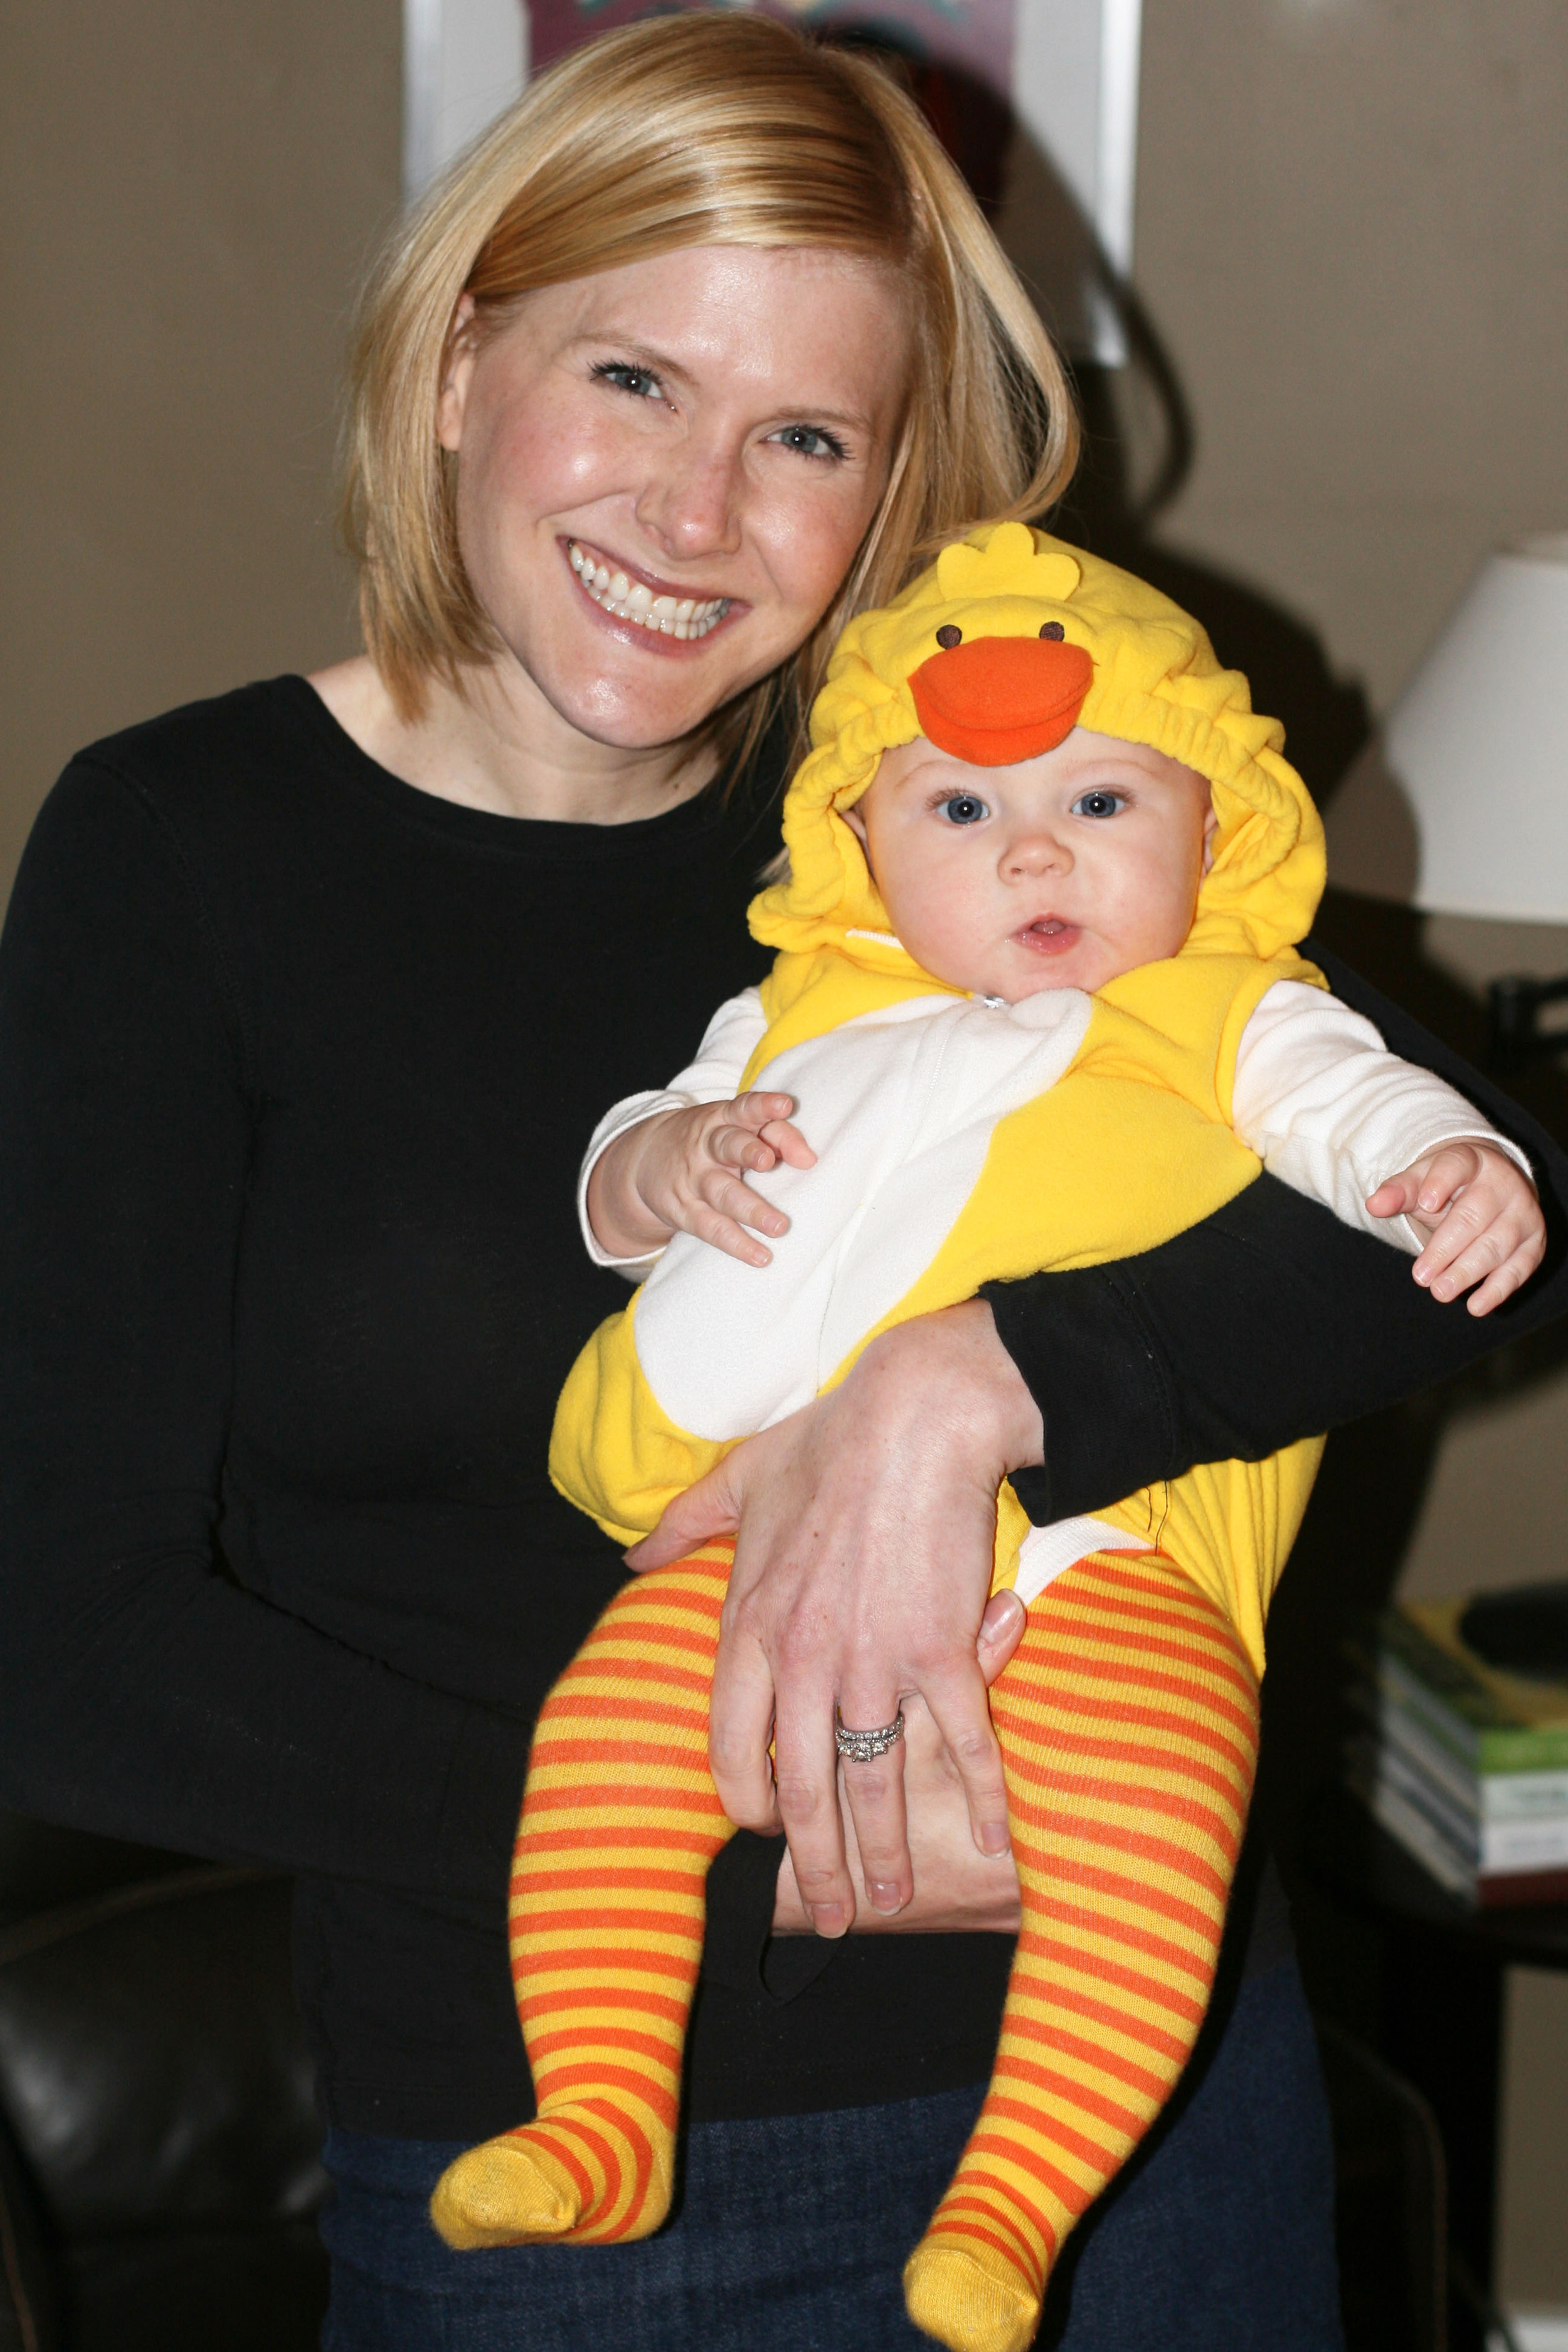
Oh, and in case you're wondering, Emma was a duck for Halloween... and if I do say so myself, she's pretty much the cutest little duck I've ever seen.

no moo for me

I mentioned in my Link Love post a couple weeks ago that I had to give up dairy for a while because Emma is super sensitive to milk protein. We thought we just had a really fussy baby on our hands, but after describing her symptoms (I'll spare you the details) my lactation consultant suggested cutting out dairy to see if they improve. A life without dairy sounded truly awful. Just look at my bio... cheese and ice cream are among my favorite things in the whole world! BUT, this is my baby we're talking about - and if cutting out dairy meant a happier, less gassy, etc. (trust me you don't want me to elaborate) baby, then it was worth it. So off I went, kicking and screaming (okay, mostly just whining and pouting) into the land of the dairy-free. And within 48 hours, Emma was like a whole new baby. She slept better during the day, she fussed WAY less, and her diapers were far more pleasant to change - well, as pleasant as that sort of thing can be. As much as I hated cutting out dairy, I found myself wishing we'd known to try it much sooner than 2 months in.

So what can't I eat? More than you'd think... milk, butter, cheese, ice cream... the list goes on and on and on. My biggest challenges so far have been eating out and traveling. I now have to be that person who asks what stuff was cooked in, does it have this, does it have that. It's not the asking I mind so much, it's the having to make sure all the things I really want to be included are left off the plate. It's amazing how much stuff includes dairy. Stuff you wouldn't think - like BBQ potato chips. I will say that the FDA has done a fantastic job of updating the labeling requirements for packaged foods. It very clearly states on most foods "CONTAINS MILK." Very helpful.

Where does that leave me? Well, wouldn't you know it - Emma's also sensitive to soy (which is fairly common among babies with a milk protein intolerance), which is unfortunate because there seems to be a soy substitute for almost every dairy thing you can think of. So, I replaced regular milk for almond milk in my cereal. My favorite brand I've tried is Almond Breeze (Original.) I replaced coconut ice cream for the real thing (a poor substitute, but it helps partially fill a gaping void.) If we absolutely have to use butter in something we use these Earth Balance vegan "buttery sticks." I've found myself pulling Elie Krieger's book The Food You Crave off the shelf quite a bit because healthier recipes often get that way because they exclude dairy.

I'm nearly 2 months in, and while it has gotten easier, I still have to fight the urge to start gnawing on the big block of Tillamook cheddar that's currently in our fridge. I thought an upside to all this would be that the rest of my pregnancy weight would fall off, but I've been hitting the coconut milk ice cream pretty hard in an effort to curb my dairy cravings, so I've only lost another pound or 2. I really am going to have to start working out again. Depressing.

I've read that a lot of babies grow out of their milk protein intolerance around 6 months, which would be just in time for the holidays. I've already let Santa know that all this girl wants for Christmas is a pint of Haagen Dazs in one hand, some baked brie in the other, and a gigantic chocolate milkshake to wash it all down with. Yep, definitely going to have to start working out again.

PS... did you know that Oreos are completely dairy free??! It's sort of frightening that a chocolate wafer and cream cookie has zero dairy in it... but not so frightening that I won't eat them. Let's not get crazy here, folks.