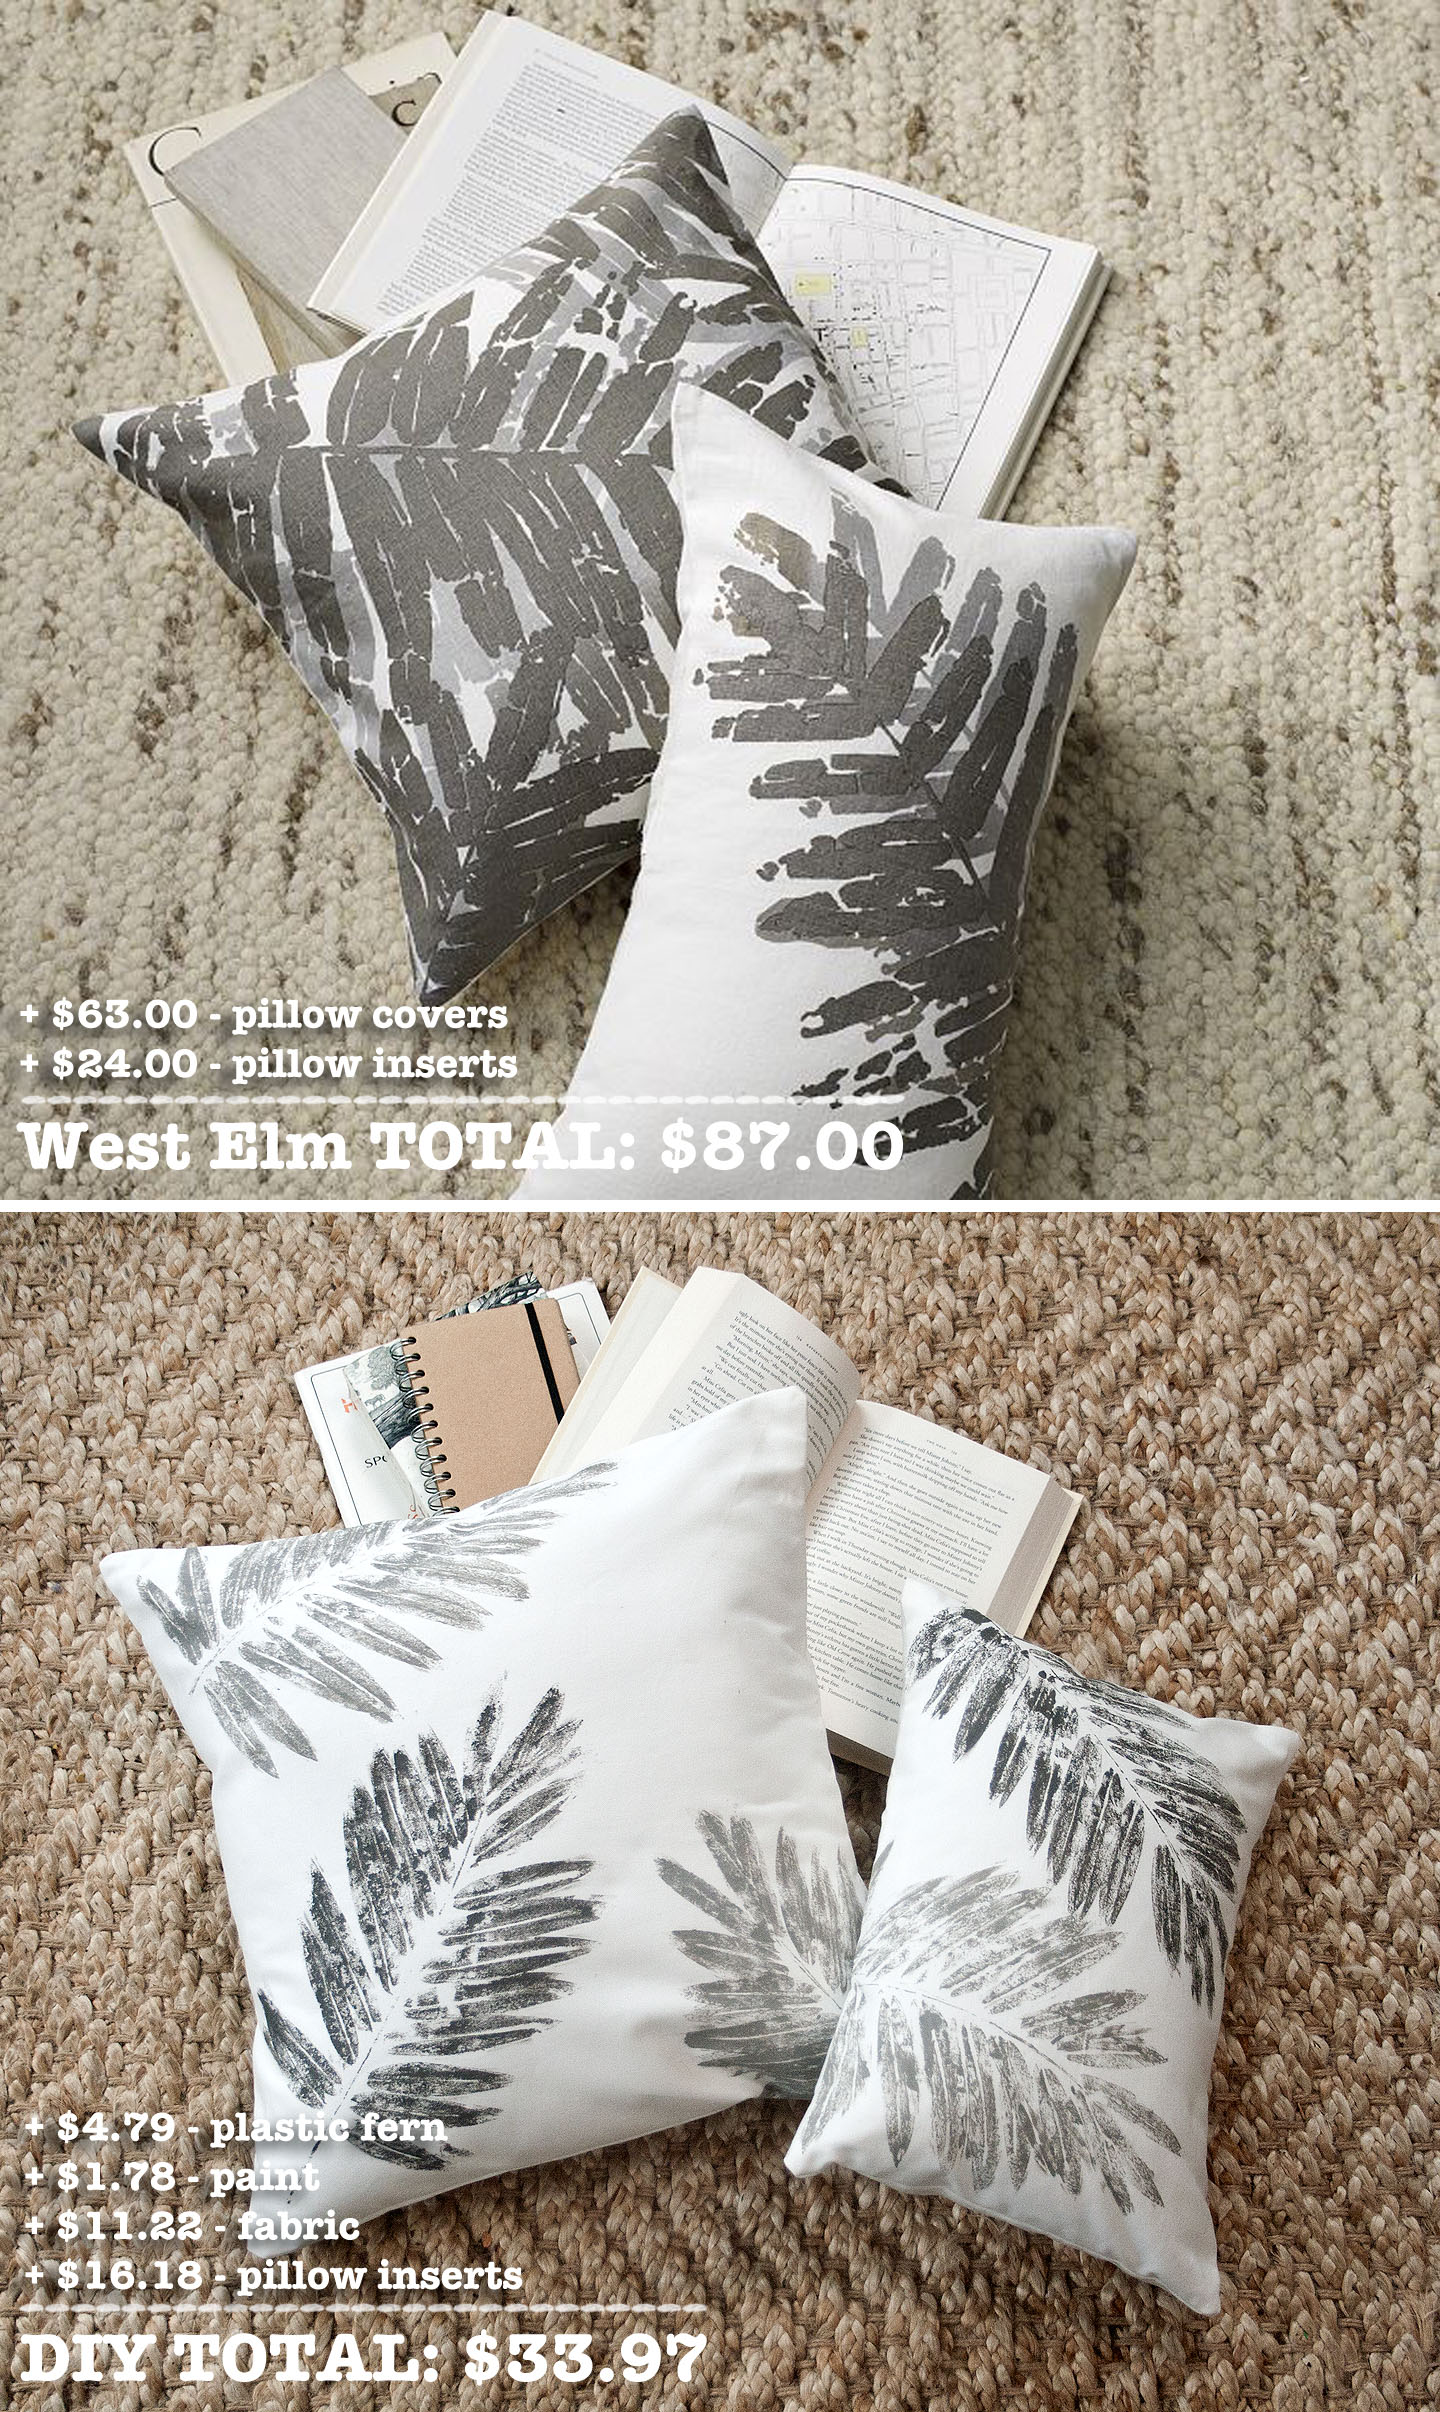
{craft the catalog} West Elm Shadow Fossil Leaf Pillow Covers

I immediately fell in love with these pillows when I saw them in the West Elm catalog. They seemed so unique and I love the go-with-anything grays. But I have a hard time spending a lot of money on throw pillows, so I got to wondering if I could DIY something similar using a fake fern as a stencil. The result? Well, see for yourself...

I love them! And I hope you do, too. Plus, hello... less than half the cost! Here's what you'll need to recreate the look.

Supplies:

  • 1 1/2 yds fabric (heavy weight cotton)
  • 2 shades of gray paint (I used Folk Art Steel Gray and Medium Gray)
  • 2 fake ferns (I got mine in a bunch from Michaels)
  • 18x18 pillow insert
  • 12x16 pillow insert

Start by cutting your fabric... you'll need:

  • 1 piece that's 18.5x18.5
  • 2 pieces that are 18.5x12.25
  • 1 piece that's 12.5x16.5
  • 2 pieces that are 12.5x11.25
Then lay out some trash bags to protect whatever you're working on, and paint your first fern the lighter shade of gray. You can use whatever you want to paint the fern... I found a foam brush worked pretty well. Try to get good coverage with your paint, and make sure to get the stem.

Then stamp the 18.5x18.5 and 12.5x16.5 pieces of fabric. Press firmly, but don't worry about any imperfections. This isn't supposed to look perfect.

Wait a few minutes (not several, just a few... if the paint dries on the fern it will peel off when you go to re-stamp) and re-stamp over what you just did with the same paint color. I found that double stamping made it look much better. Again, try to line it up but it doesn't have to be perfect. Then repeat with your darker paint color. The West Elm pillows have the darker gray layered over the lighter gray, but I tried that and it just looked like I screwed up. So this was my alternative.

Let the fabric dry overnight, then heatset with a dry iron. Use your other fabric pieces to sew a basic envelope pillow. I won't bore you with a tutorial since there are already several good ones online. I particularly like this one.

Here's how they look in their final resting place... our bedroom!

Let me know if you have any questions about the tutorial! I hope you guys are liking these DIYs. I have one more planned out for now and am looking for more, so let me know if you see anything you think is ripe for knocking off. :-)

{craft the catalog} West Elm glass terrariums

As I mentioned on Friday, I'm starting a new feature on the blog called Craft the Catalog and I'm so excited to share the first installment! I got the idea for Craft the Catalog while browsing through the latest West Elm catalog before bed one night... I spotted these beautiful terrariums and thought how nice they'd look in our living room. Aaaaand then I looked at the price. $29 for a fish bowl? $69 for a slightly fancier terrarium?? And that doesn't even include the plants (which, let's face it, I'll eventually kill.) I was certain that with a little searching and elbow grease I could recreate the look for a lot less. And (thankfully) I was right...

{Ikea lantern / Petsmart fishbowl / plants and soil from Home Depot}

Not an exact match, but considering how much I saved I'm thrilled with the end result. I don't have a before picture, but they definitely brought some much needed life to the top of our bookshelf...

I already have two more projects planned, so I hope you guys like this new feature. I'm planning to do both home goods and clothing, making only things I'd actually want to buy (I set this rule for myself so that I wouldn't just make things because they were easy to DIY.) Look for the next project in a few weeks!

DIY Modern Farm Dining Table

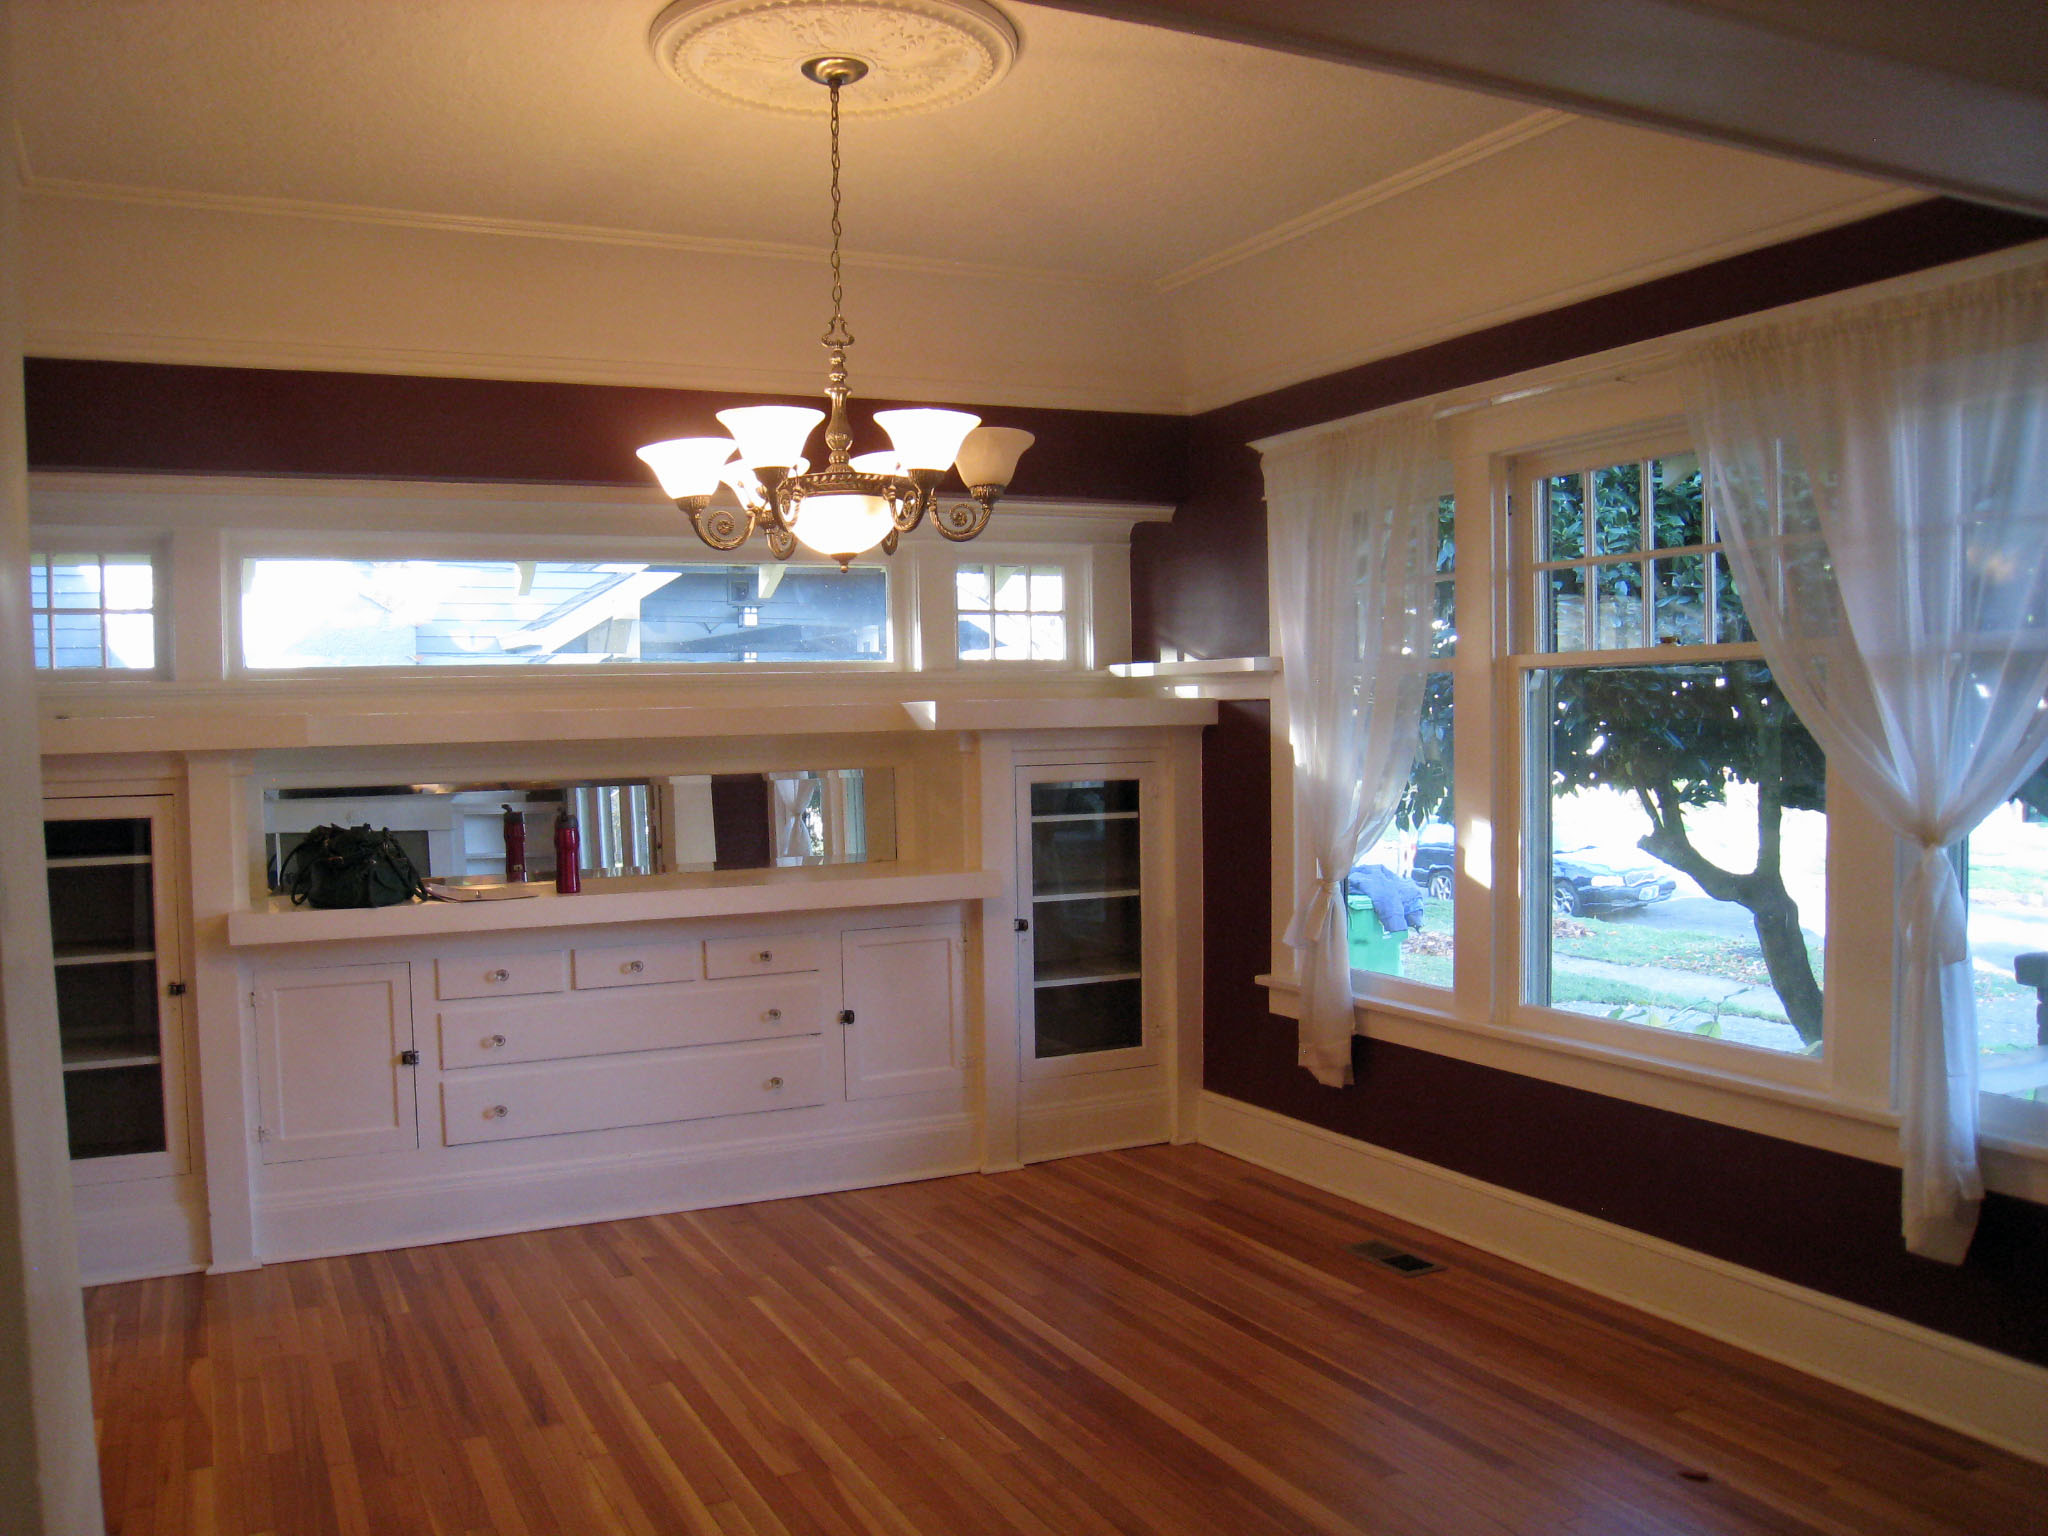
When Jared and I bought our first house earlier this year the one room that we had absolutely zero furniture for was our dining room.  This was the blank slate we had to fill:

I got as far as painting those plum walls a nice warm red, and then went looking for decor inspiration.  I immediately fell in love with this collection from Pottery Barn:

Unfortunately the table and chairs in the picture came to about $4,000.  Thankfully, it was around this same time that I discovered Knock Off Wood.  I saw the plans for the Modern Farmhouse Table and convinced Jared that we could just build our own table. Yet another shining example of my tendency to bite off way more than I can chew!  But it did make sense for us - we wanted a hard wood table that would last us several years and everything in our budget was wood veneer (including the table this plan is based on at West Elm.)  So we bought a miter saw and headed to Wood Crafters here in Portland.  Why didn't we just go to Home Depot and get all our lumber for $30 like the plan says?  Because if we were going through all the effort to build a dining room table that was to last a generation, we were going to use high quality - and most importantly - STRAIGHT boards.  I can't stress how important it is to have straight boards when building this table.  So, we ended up spending about $500 on wood, and received priceless advice from the kind folks at Wood Crafters who took pity on us and didn't make us feel like our stupid questions were - well, stupid.

The table frame was easier than we thought to put together and get square.  A little too easy, actually, since the next steps would prove rather frustrating.

One plank in!  So easy!  Yeah, one goes in great - it's getting all 6 in place that makes you want to give up and start rationalizing how artsy and different a one planked dining table would be.  Apparently, no matter how straight and perfect boards look to the naked eye, when you try to squeeze them in together you discover that each has its own little geographical quirks and that you'll need to try every combination possible before finding the perfect fit.  Fun.

A million screws and 10+ passes with the sander later, and we were ready to stain.  We used gel stain at the recommendation of the guys at Wood Crafters and it was about how I thought it would be - a pain in the rear, unforgiving, and a complete mess.  But the result was beautiful.

The final step was to apply multiple coats of table top varnish.   Then it was off to West Elm for chairs and a rug (Garvey leather chairs and the Jute Boucle rug, to be exact.)  A few candles, a handful of plants, a lot of picture frames and we finally had a formal dining room...

What I love about this table is that if it ever gets screwed up, we can sand, stain, re-coat with varnish, and it'll be as good as new.  You can't do that with wood veneer!  (I repeated those last two sentences to myself about 50 times during the course of making this table.)  In the end, we probably ended up spending about $600 to build and finish the table, and about $1500 for the chairs and rug.  We got the rustic formal dining room of my dreams for a lot more work but almost half the cost.  Not too shabby.