{craft fail} natural egg dyes

photo-2-1.jpg

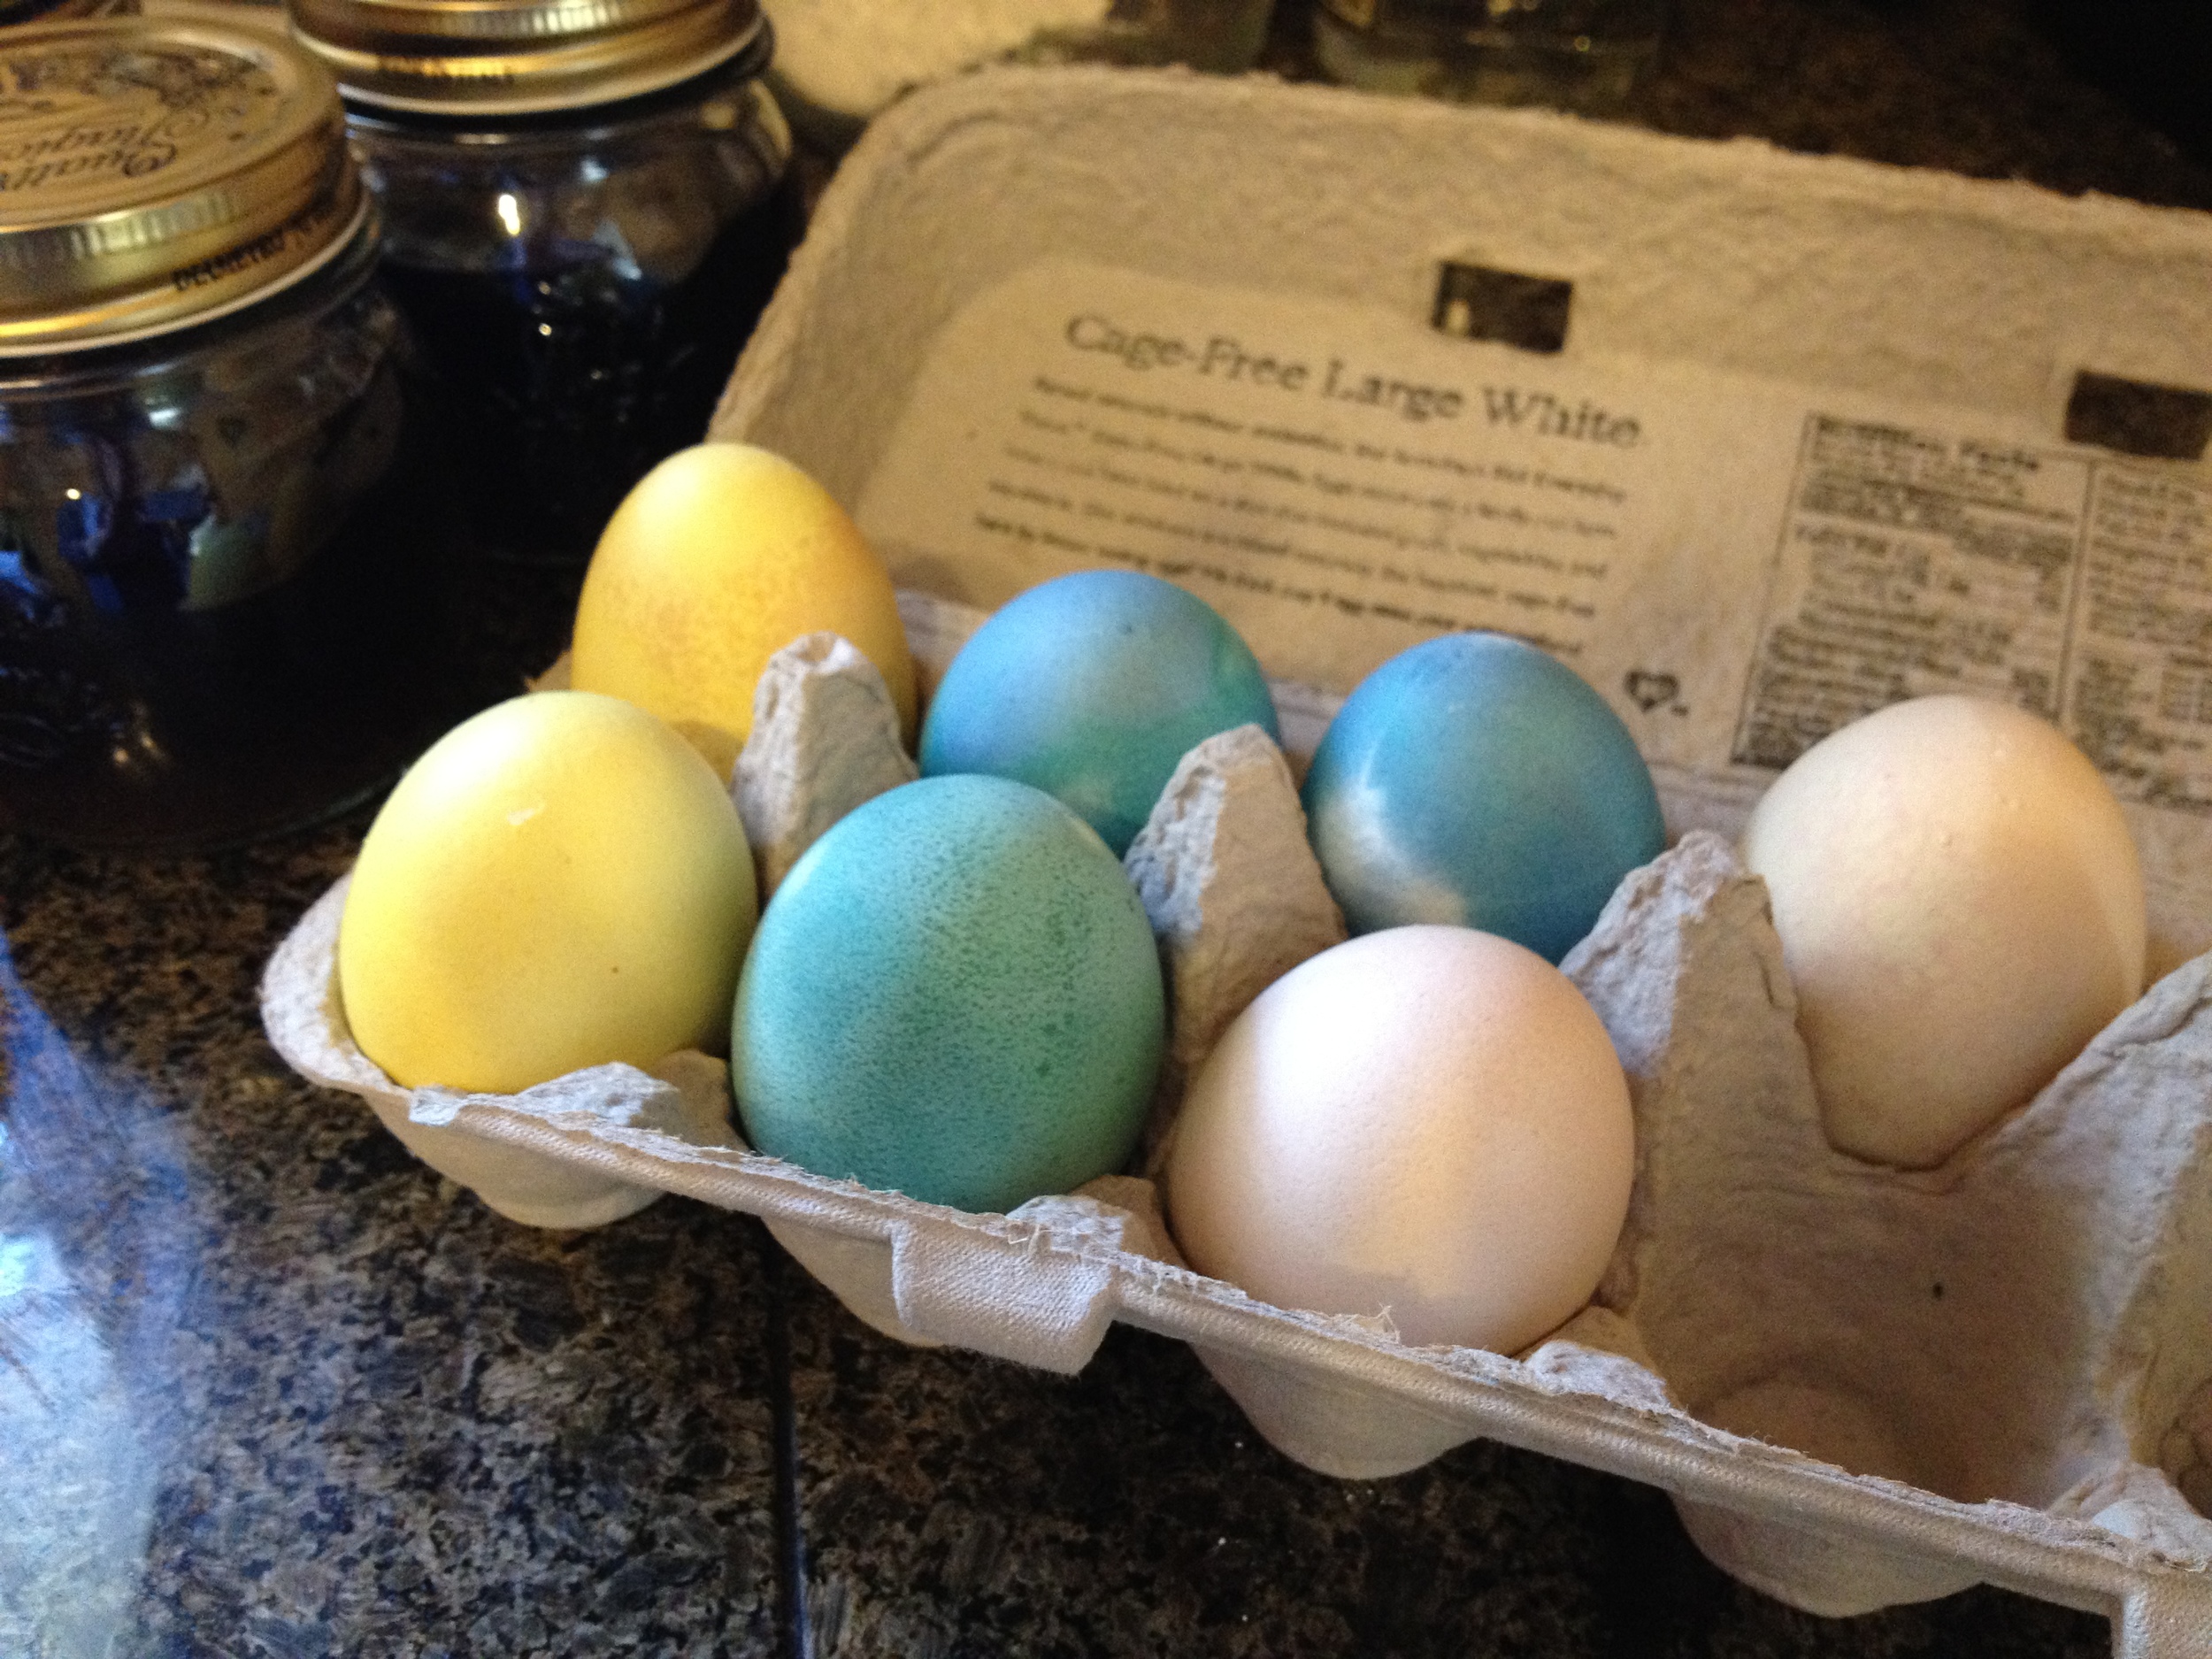
I try hard to be a green mama, but sometimes it ends up being more trouble than it's worth. I mentioned on Friday how we were planning to dye our Easter eggs using natural dyes. It was great in theory, and I was looking forward to seeing the effect of the different ingredients. I picked up a variety of veggies from Whole Foods, and even bought these cute little canning jars from Sur la Table. I followed the instructions on this site to make the following dyes:

  • Yellow (tumeric)
  • Blue (red cabbage)
  • Pink (beets)
  • Green (red cabbage and tumeric)

See, look how cute they are in their little jars. I felt like Super Eco Mom. I let them sit in their dyes overnight, and when I took them out in the morning...

Wah waaaaahhh. I'm grateful Emma's too young to remember her first Easter eggs, because no kid would get excited about these. They're the Easter equivalent of handing out raisins at Halloween. I've seen photos of other people's naturally dyed eggs, and they look great - so I have no idea why mine were such a bust. But they really really were. Looks like we'll be trying Kool-Aid to dye them next year!

PS... It wasn't actually a total bust. I used the leftover beets to make a puree for Emma which she liked but was a complete and utter mess, and the leftover cabbage to make a crazy delicious coleslaw. I used this recipe (minus the celery), and highly recommend it if you like vinegar based coleslaws (which are far superior to mayonnaise slaws, IMO.)

DIY sewing labels!

Ack!  My very own "made by bird" labels!  I know I shouldn't be so excited about such a little thing... but I am.  I really really am.  As I mentioned in my last post, I added these to the baby shower gifts I gave my friend Angela.  I've been experimenting with labels for a while now, and these are by far my favorite.  I tried the printing on fabric approach and while I was super impressed with printed fabric in general, I wasn't crazy about the finished labels.  They were too stiff for my liking and the Fray Chek was still visible once it dried.  On a whim, I tried using iron-on transfer paper and twill tape and it worked soooo much better than I thought it would.  Here are the steps I followed:

  1. Design the labels in the program of your choice.  (I actually used PowerPoint for mine.)  Just remember to flip the image before you print.
  2. Cut out the label from the transfer paper (I only cut as many as I needed for the gifts so I didn't have to worry about losing a bunch of tiny little pieces of paper.)
  3. Cut as close to the design as possible.
  4. Decide how you're going to attach the label to your item.  If you want a loop (as pictured above), fold the twill tape in half leaving a 1/4 inch or 1/2 inch extra so you can sew the label into your seam.  If you want them "flat," leave a 1/2 inch extra on each side of your label design so you can fold the ends in a 1/4 inch and attach the label to your item using a zig-zag stitch.  (I used the latter approach for the burp cloths, but forgot to take a picture.  I'll be sure to add an example to this post the next time I sew the labels on that way.)
  5. Transfer the label design to the twill tape (following the instructions that came with your iron-on transfer paper)
  6. Here's the important part: only let the label cool for a few seconds before peel off the backing paper.  I think this really helps reduce the visibility of the film the iron-on paper leaves on your labels.
  7. Attach the label to your item as indicated in step 4, and you're done!

a Yudu-tastic birthday

I woke up last Friday the 13th still feeling a little too sleepy to celebrate my birthday, but Jared insisted on giving me by present that morning, and who was I to argue?  I had no idea what he’d gotten me, and had even less of a clue when he began pushing this huge wrapped box into our bedroom.  I began tearing off the paper and saw the ProvoCraft logo… and then Yudu!  Seriously, I have the best husband ever. Did I mention that he intentionally ordered it from Paper Source to make sure I got the $50 PS gift card that comes with it?  Yeah, best husband ever.  :-)

I can’t wait to start using this thing.  Nothing in my house is safe from the impending screen-printing insanity.  Just when I thought I had all my Christmas projects planned out! I already have some printing ideas, but first I have to figure out how to actually use it.  Stay tuned for a review, tips, and hopefully some project pics.