Heather & Alex's table numbers

IMG_4140-copy.jpg

I mentioned last week that my dear friend, Heather, was getting married... well I'm happy to report that the wedding was perfect. I know I'm biased, but she was one of the most stunning brides I've ever seen!

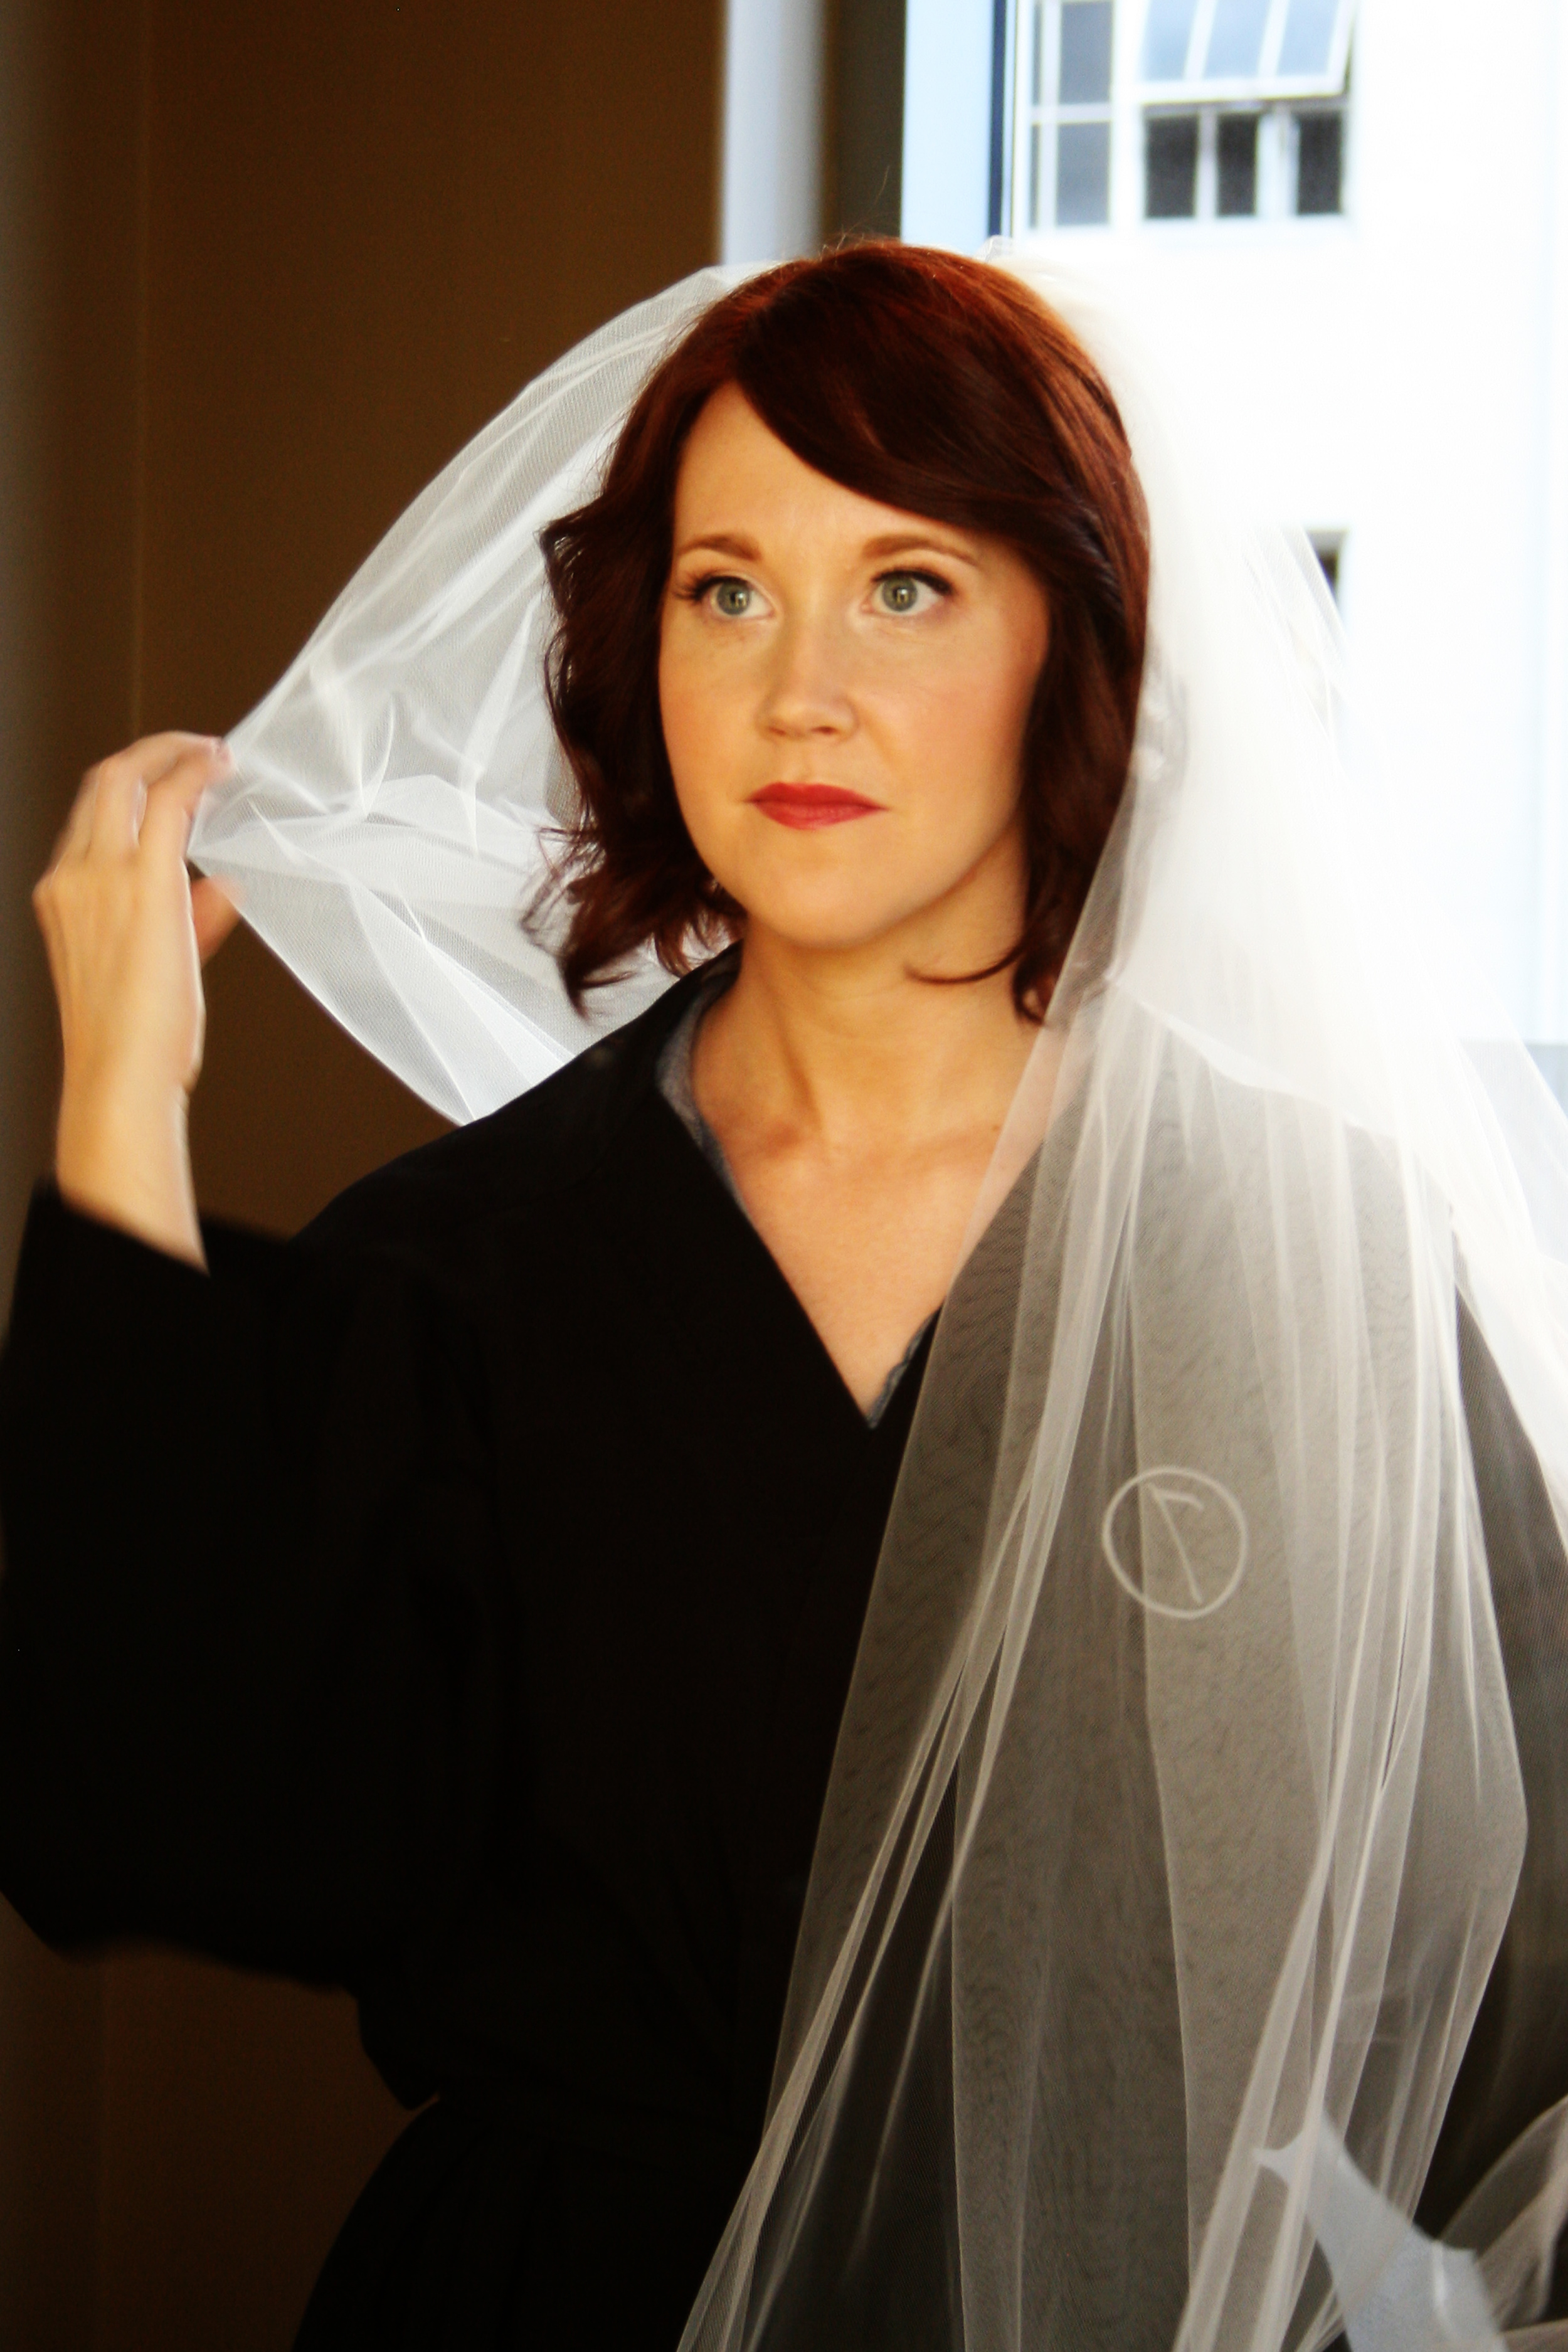
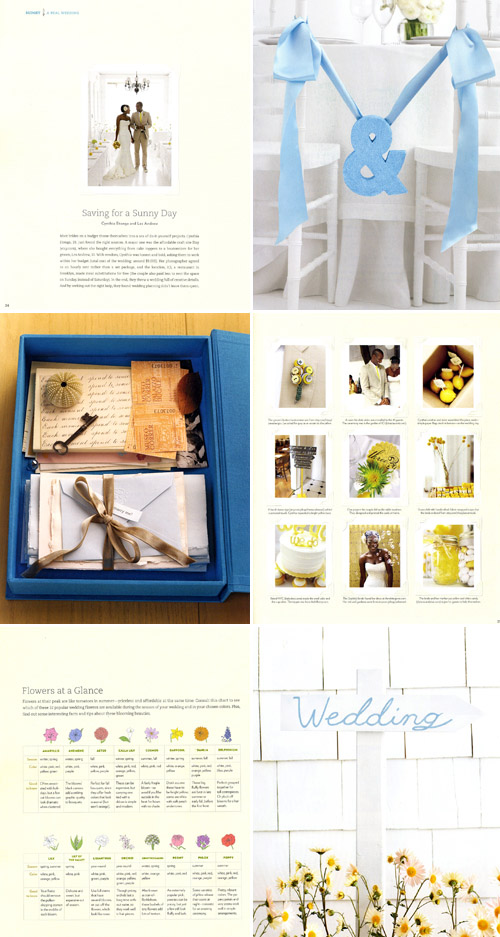
See?  GORGEOUS!  She and Alex are such a great couple and I was so honored to be a part of their big day.  In addition to being a bridesmaid, I also had the pleasure of making a small design contribution to their reception.  Heather came to me several months ago saying that she'd seen the perfect table numbers in Real Simple Weddings but couldn't find a good picture online to show me.  My natural curiosity has led me to be somewhat of a master Googler and I love a good searching challenge.  This was the link she sent me that had the page from the magazine:


The table numbers she wanted are the center pic in the cluster of 9 on the right... kinda hard to see, right?  BUT, I noticed that if I hovered over the picture there was a photo credit for Angelica Glass.  So I went to her website and - voila!

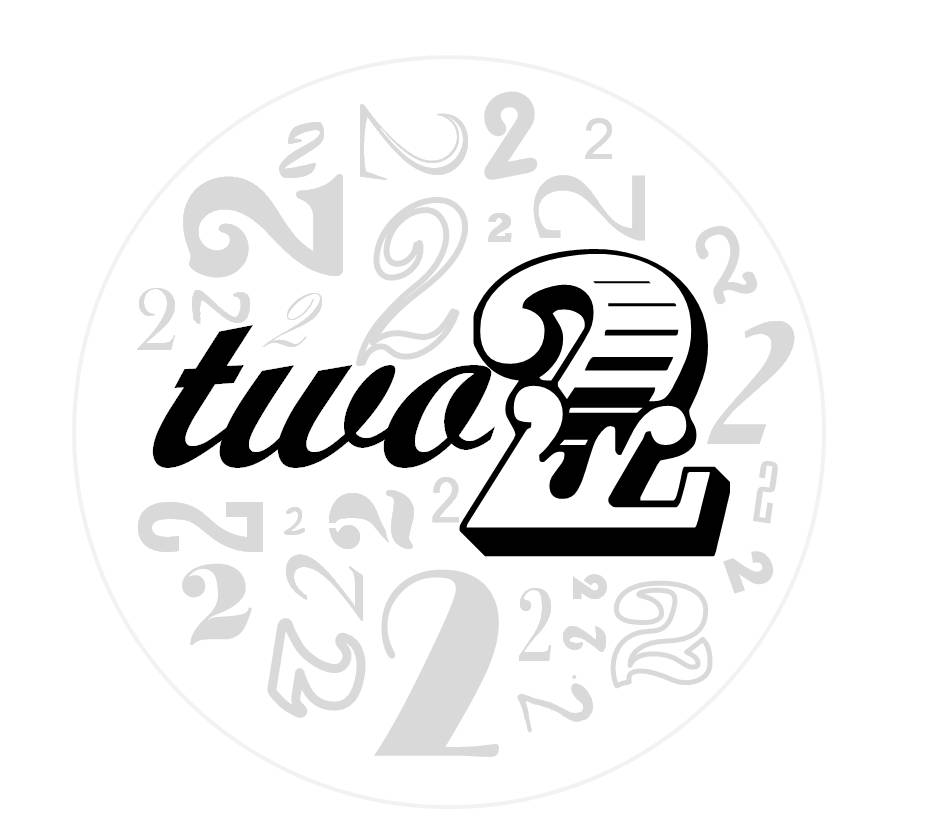
Heather and Alex were having a black & white wedding, so I set out trying to replicate the table numbers using black and gray ink on white cardstock.  (I decided to use a clean edge for the circles instead of scalloped because I felt it matched the style of their wedding a bit better.)  I was able to find the exact font used for the primary numbers: Cast Iron, available for free from DaFont.  I used PowerPoint to create the design (I'm telling you, people, it's for more than just presenting!) and sent it off to Heather and Alex for their thoughts...

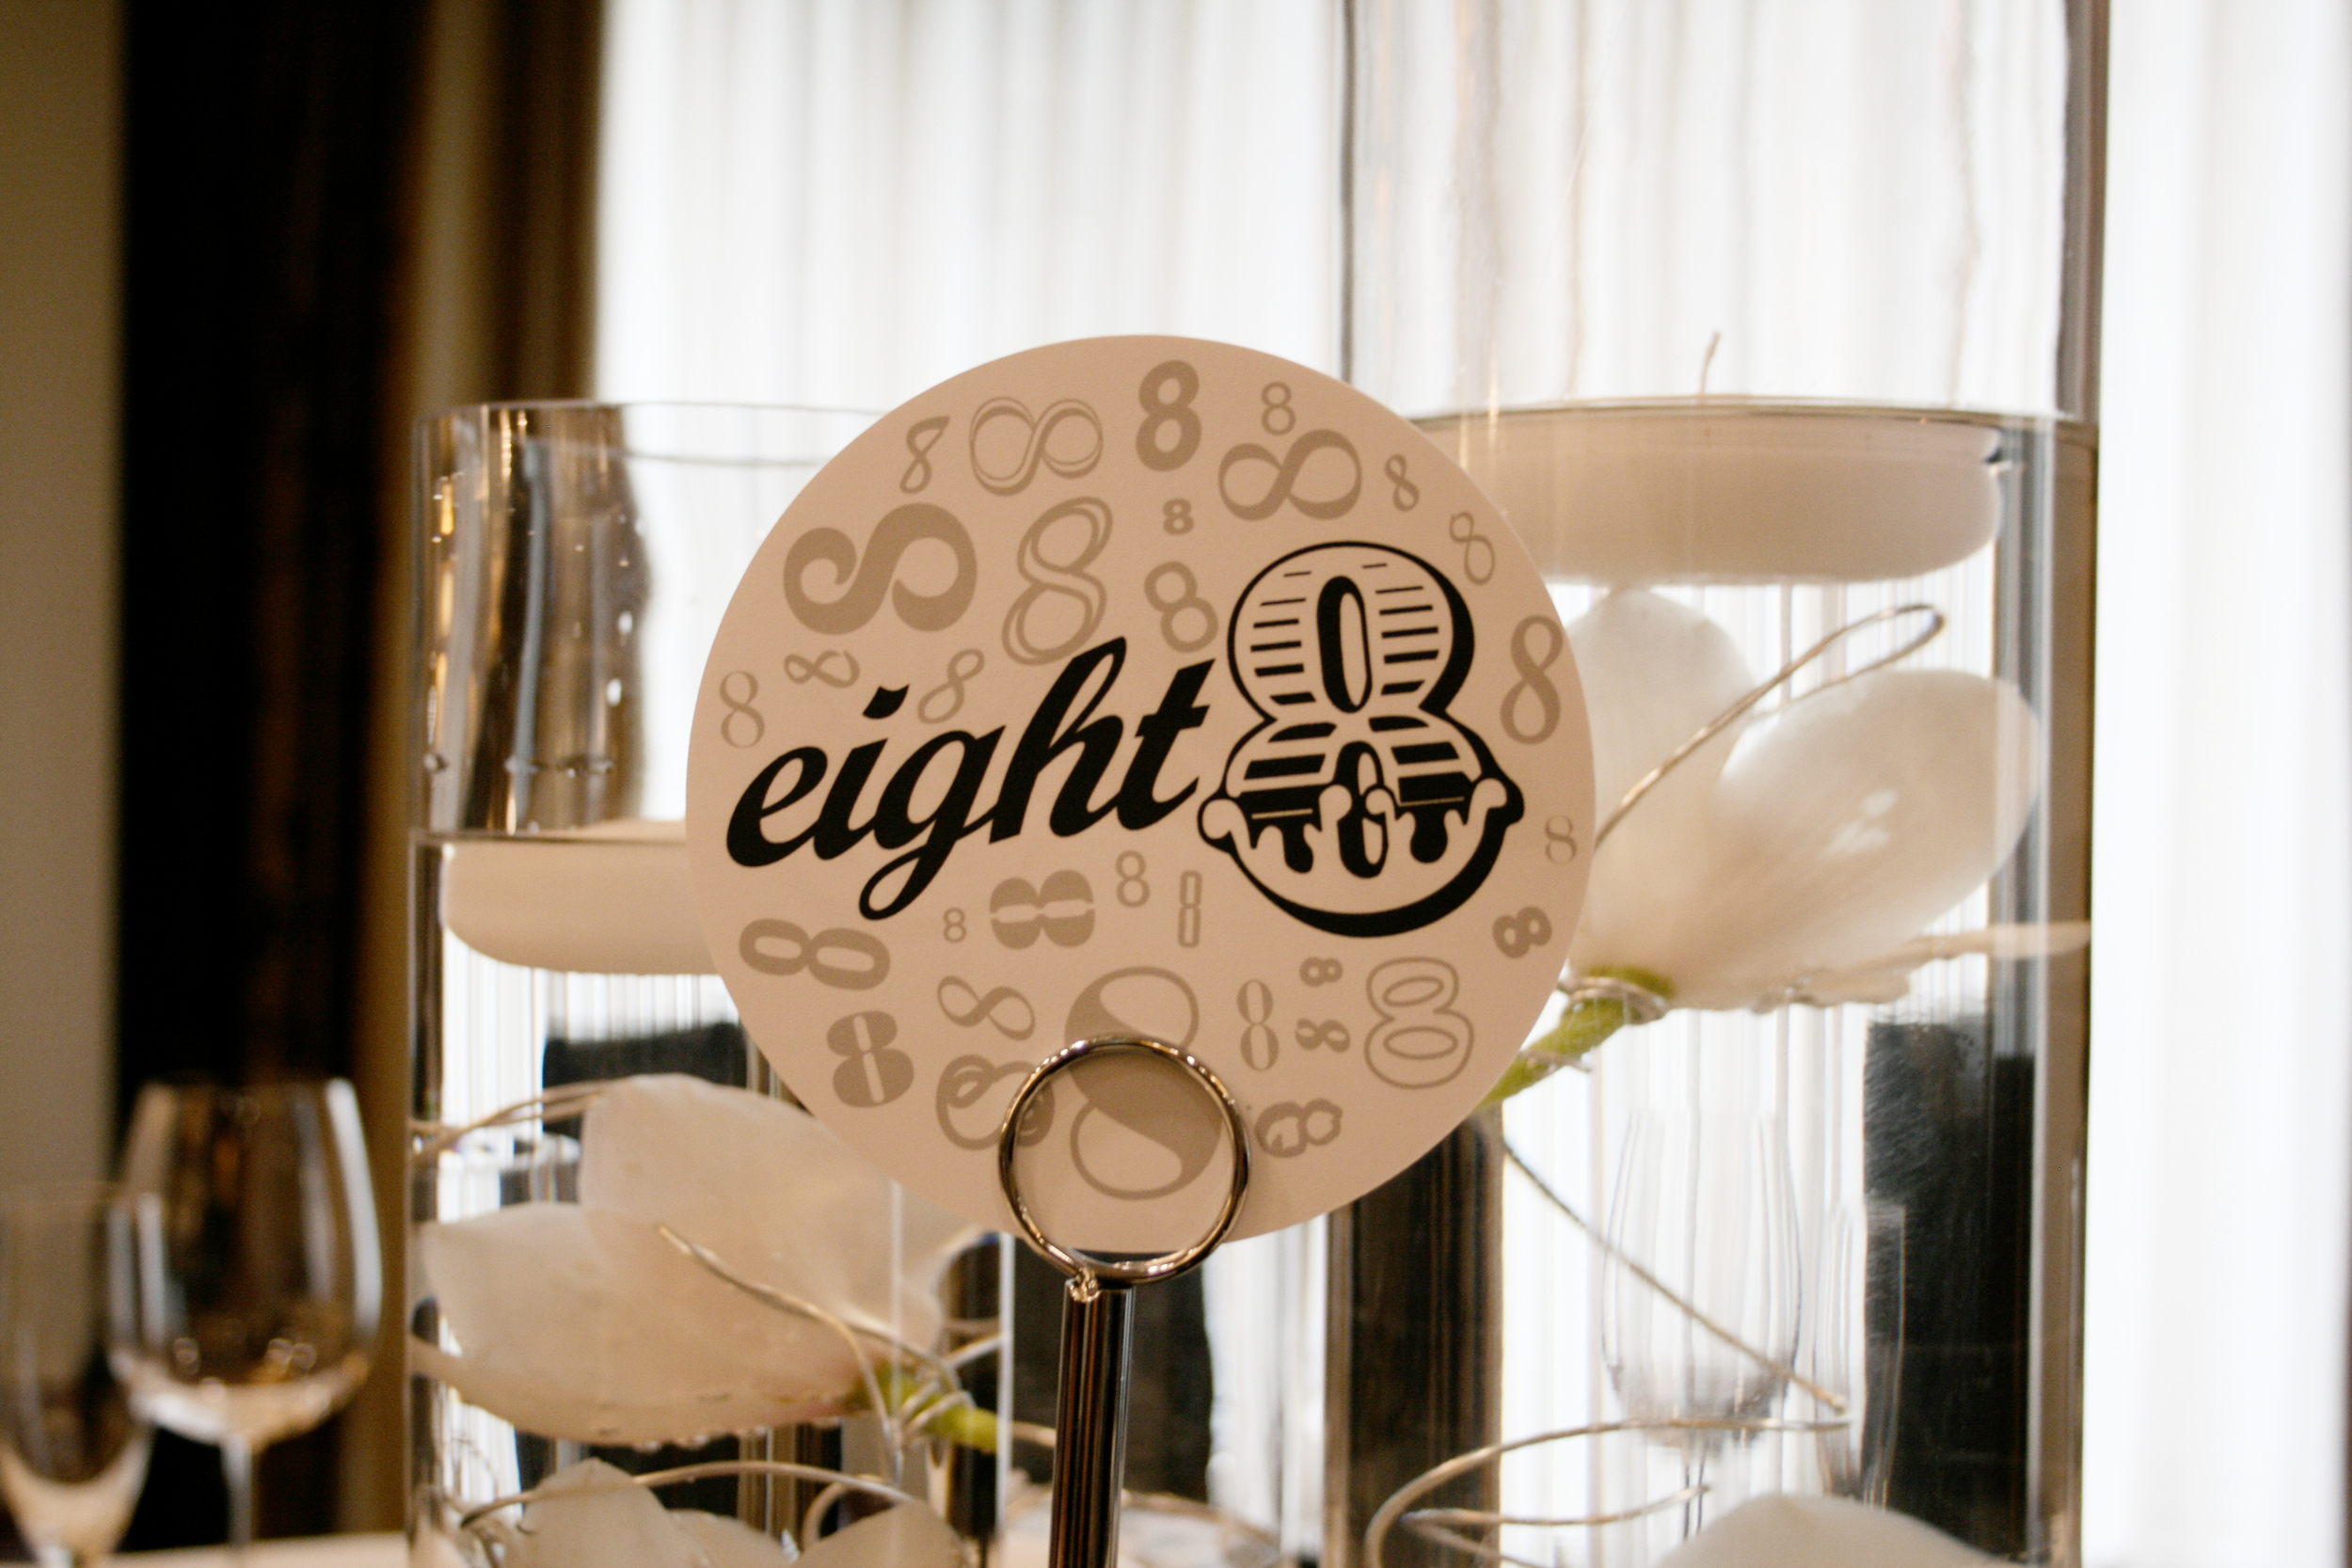
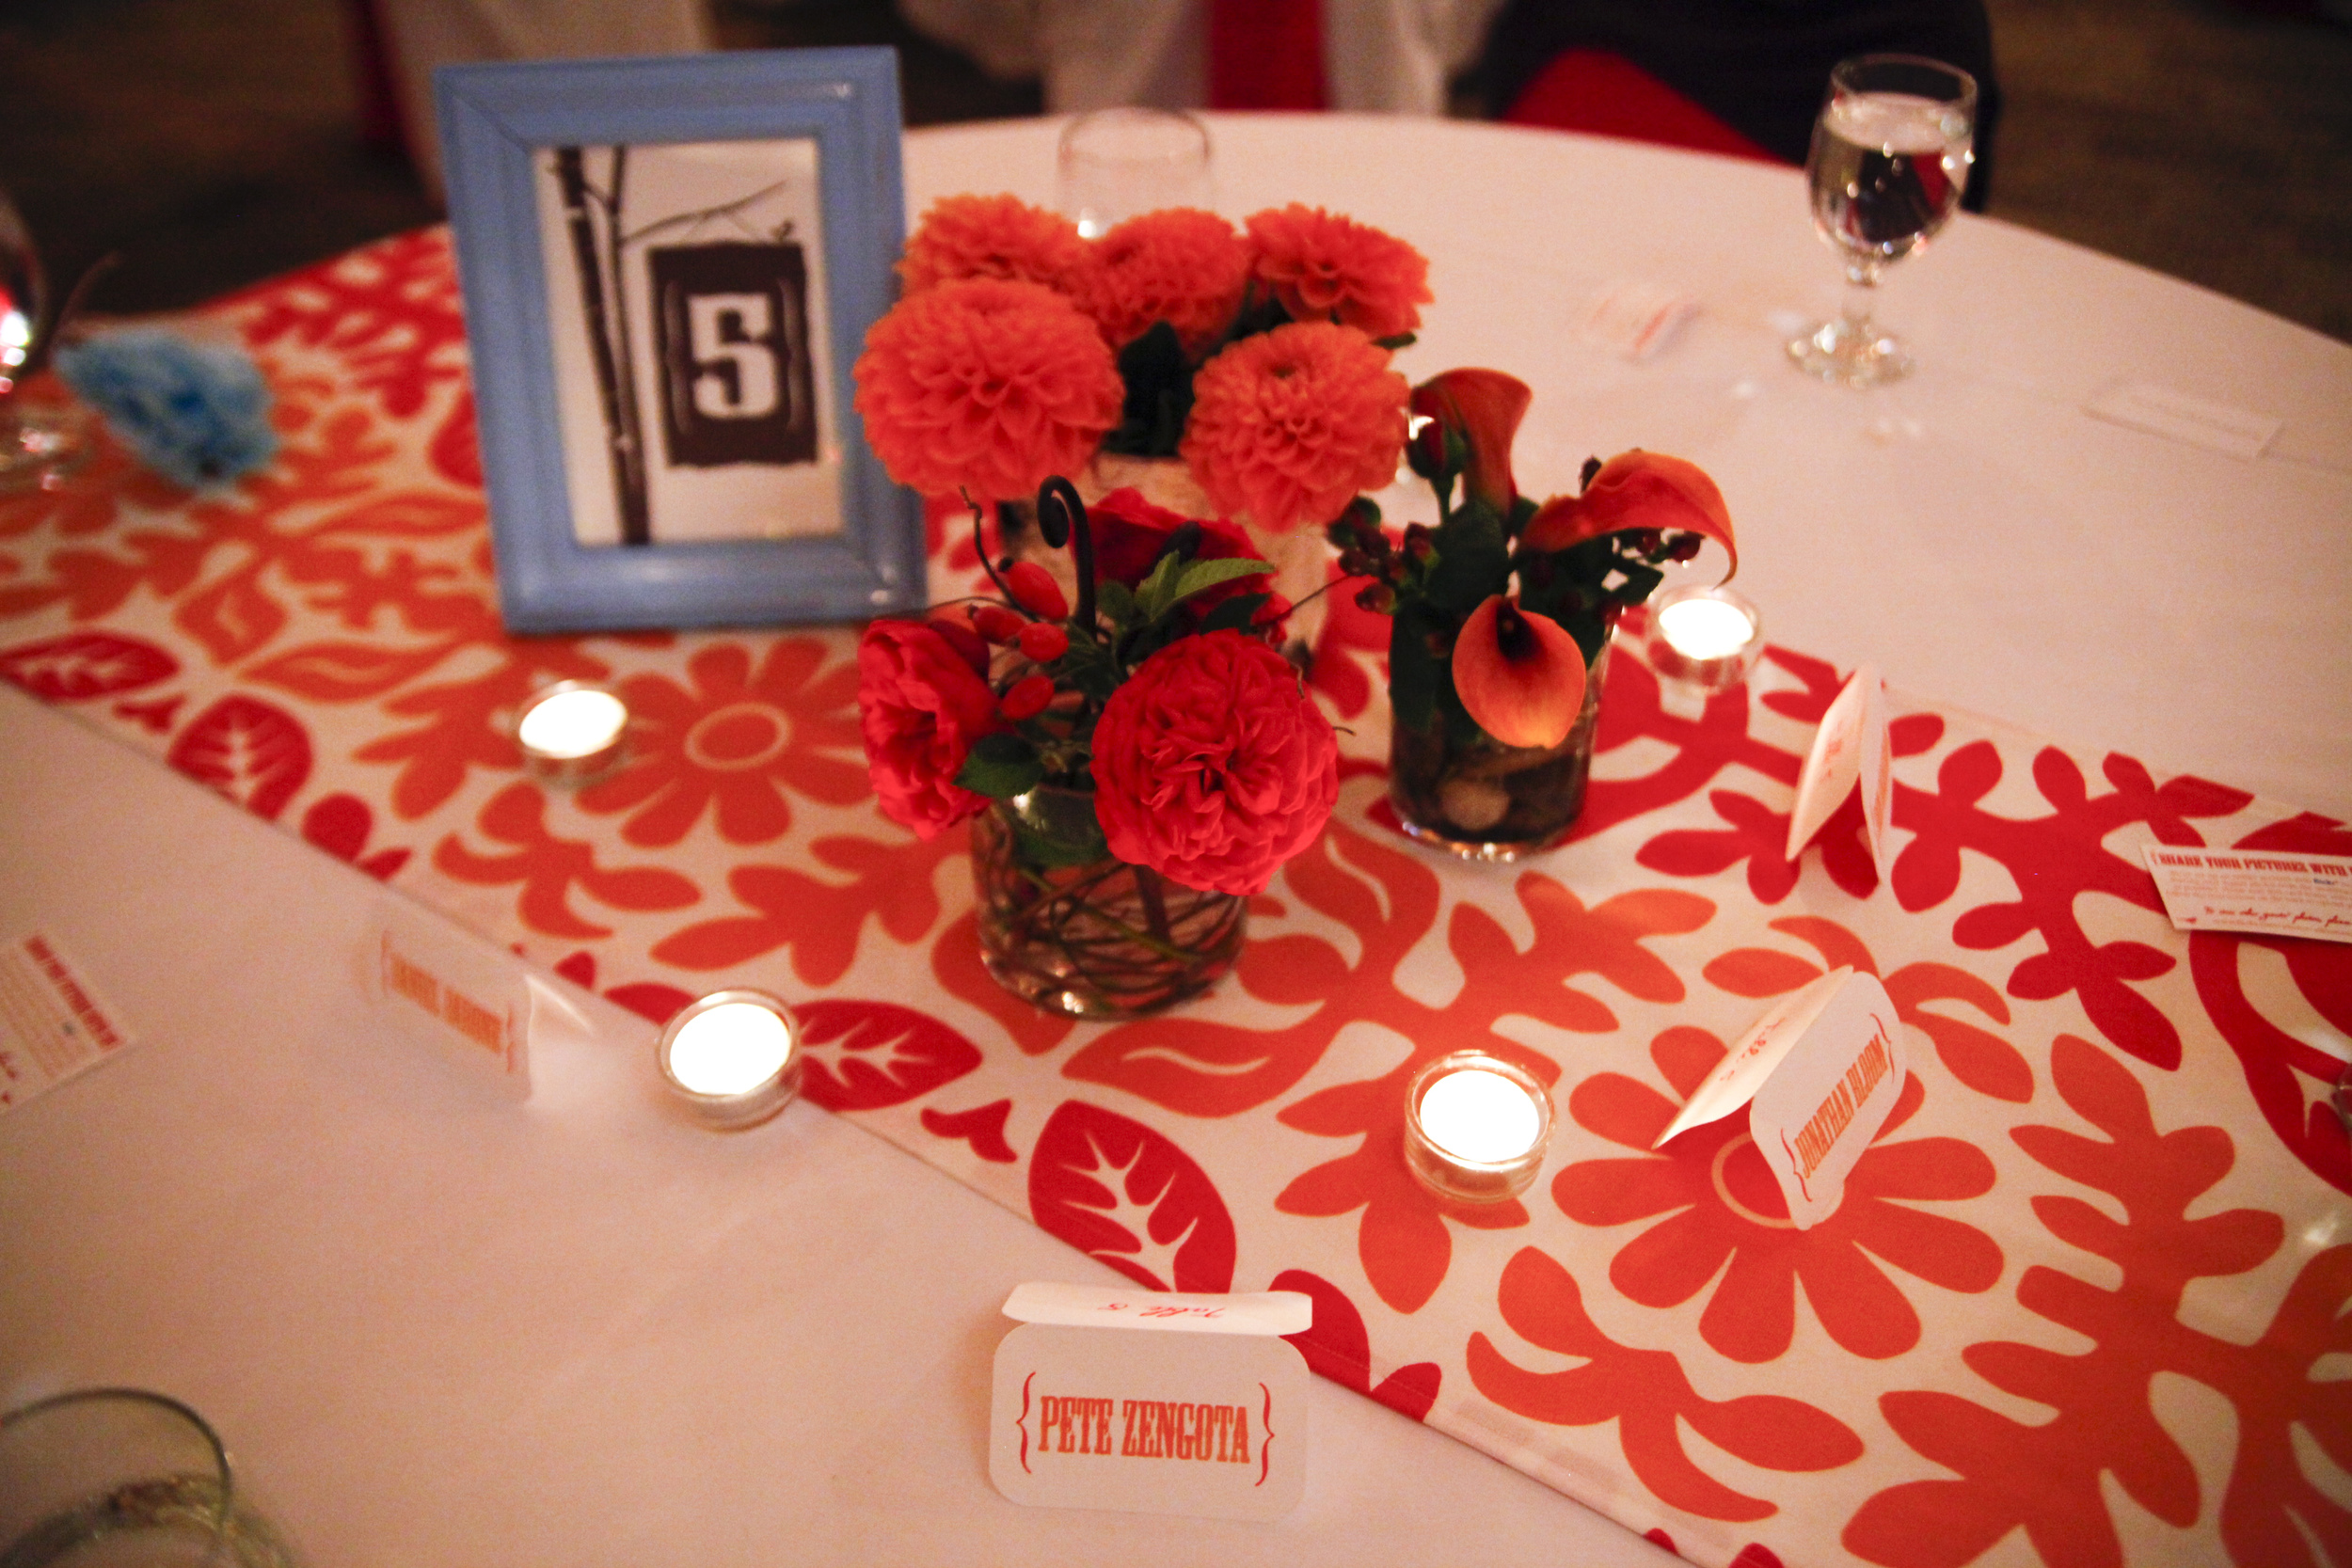
They loved it!  I was so relieved.  I designed the rest and printed them at home on medium weight cardstock using my highest quality printer and ink settings.  Thankfully, our friend Sarah had this super handy circle cutter so they were pretty easy to cut out.  I cut out two of each number and used Zots to glue them back to back (so you could see the number no matter where you were sitting at the table.)  Here's how they looked!:

How amazing are those flowers, by the way???  Apparently Alex came up with that idea.  Pretty impressive!  If you're making your own table numbers and want to try this style (or tweak it to make it your own) here's the download for my PowerPoint file, complete with table numbers 1-9, and instructions for putting them together.  Enjoy, and please let me know if you end up using them!  I'd love to see pictures of how they turn out!

[dm]5[/dm]

PS... you'll need PowerPoint to be able to open the file, though it might work in Keynote.  You'll also need to download Cast Iron from Dafont if you want to use that font.

Supplies:

  • Medium weight cardstock
  • Home printer (or you can take them to a print shop)
  • Circle cutter
  • Double sided tape or Zots
  • Stand with photo/paper clip (the hotel provided Heather with these, but you could probably find them at a craft store or Target)

Instructions:

  1. Print out 2 of each table number using the highest quality settings your printer will allow.  I recommend printing test pages on regular paper before trying it with your cardstock.  Play around with the ink settings if you feel it's drying too dull.  Make sure it's set to heavy or a slower drying time (depends on your printer.)
  2. Cut out the table numbers using a circle cutter, making sure to cut just inside the border.
  3. Attach two of the same table numbers back to back using double sided tape, Zots, or similar.  Repeat until all of the table numbers are attached.
  4. Stick the table numbers in the stands, and you're done!

Have fun, and please let me know if you have any questions about using or downloading the file!


DIY table runners

I had pretty clear visions for what I wanted most of our wedding details to look like... the reception tables, however, put me into an indecisive panic.  Our reception took place in a fairly typical resort ballroom with wall to wall windows on two sides.  Aside from these windows, the room itself didn't have a ton of character.  (I'll confess that the ballroom wasn't exactly the converted barn I'd dreamed of, but I learned pretty early on that when 90% of your guests are from out of town and you have to plan for the unpredictable Pacific NW weather - a dream wedding location is one that requires minimal travel and ensures your guests aren't dodging puddles on the dance floor.  And I really can't complain - the mountain setting and resort itself were simply perfect.)

I had to come up with ways to personalize the tables that were small in scale so as not to compete with the gorgeous view, but still big enough to transform the space into something that was fun, charming, and unique.  Oh, and they had to be budget friendly because we'd reached a point with the decor where things could easily (very very easily) get way out of hand.  Hence - DIY table runners.

I searched high and low for the right ones, since making them seemed out of the question given the timing.  But the rental ones just didn't seem right and even if I had found ones to buy (which I didn't), I couldn't justify the cost.  This is when having a bridesmaid that likes to shop (okay, likes is a total understatement in her case) comes in very handy.  Sarah remembered an Ikea fabric that we'd both seen a million times and after pricing out the cost of making my own vs renting or buying, it was clear this was the way to go.  (Did I mention Sarah also volunteered to have her mom go to the Ikea in Houston to get me the rest of the fabric when the Portland store only had 6 yards and the Seattle store was sold out?  Thoughtful, resourceful, and totally willing to pimp out her mom during fabric emergencies - what more could a girl want in a friend!??)

Anyway, I calculated that I'd need each runner to be 3 yards in length, and that I could get 3 18" wide runners (with double fold hems) out of a 3 yard piece of the Ikea fabric.  I needed 12 runners in all so I purchased 12 yards of fabric, which totaled $83.88 or about $7 a runner.  Not too shabby!  On top of that, they were pretty easy to make (one of those projects where the cutting takes longer than the sewing) and surprisingly one of the easier DIY wedding projects I took on.

PS... these runners are currently in storage, waiting for me to repurpose them or find them a new wedding to attend.  If you're interested in them, please let me know! :-)

word game wedding programs

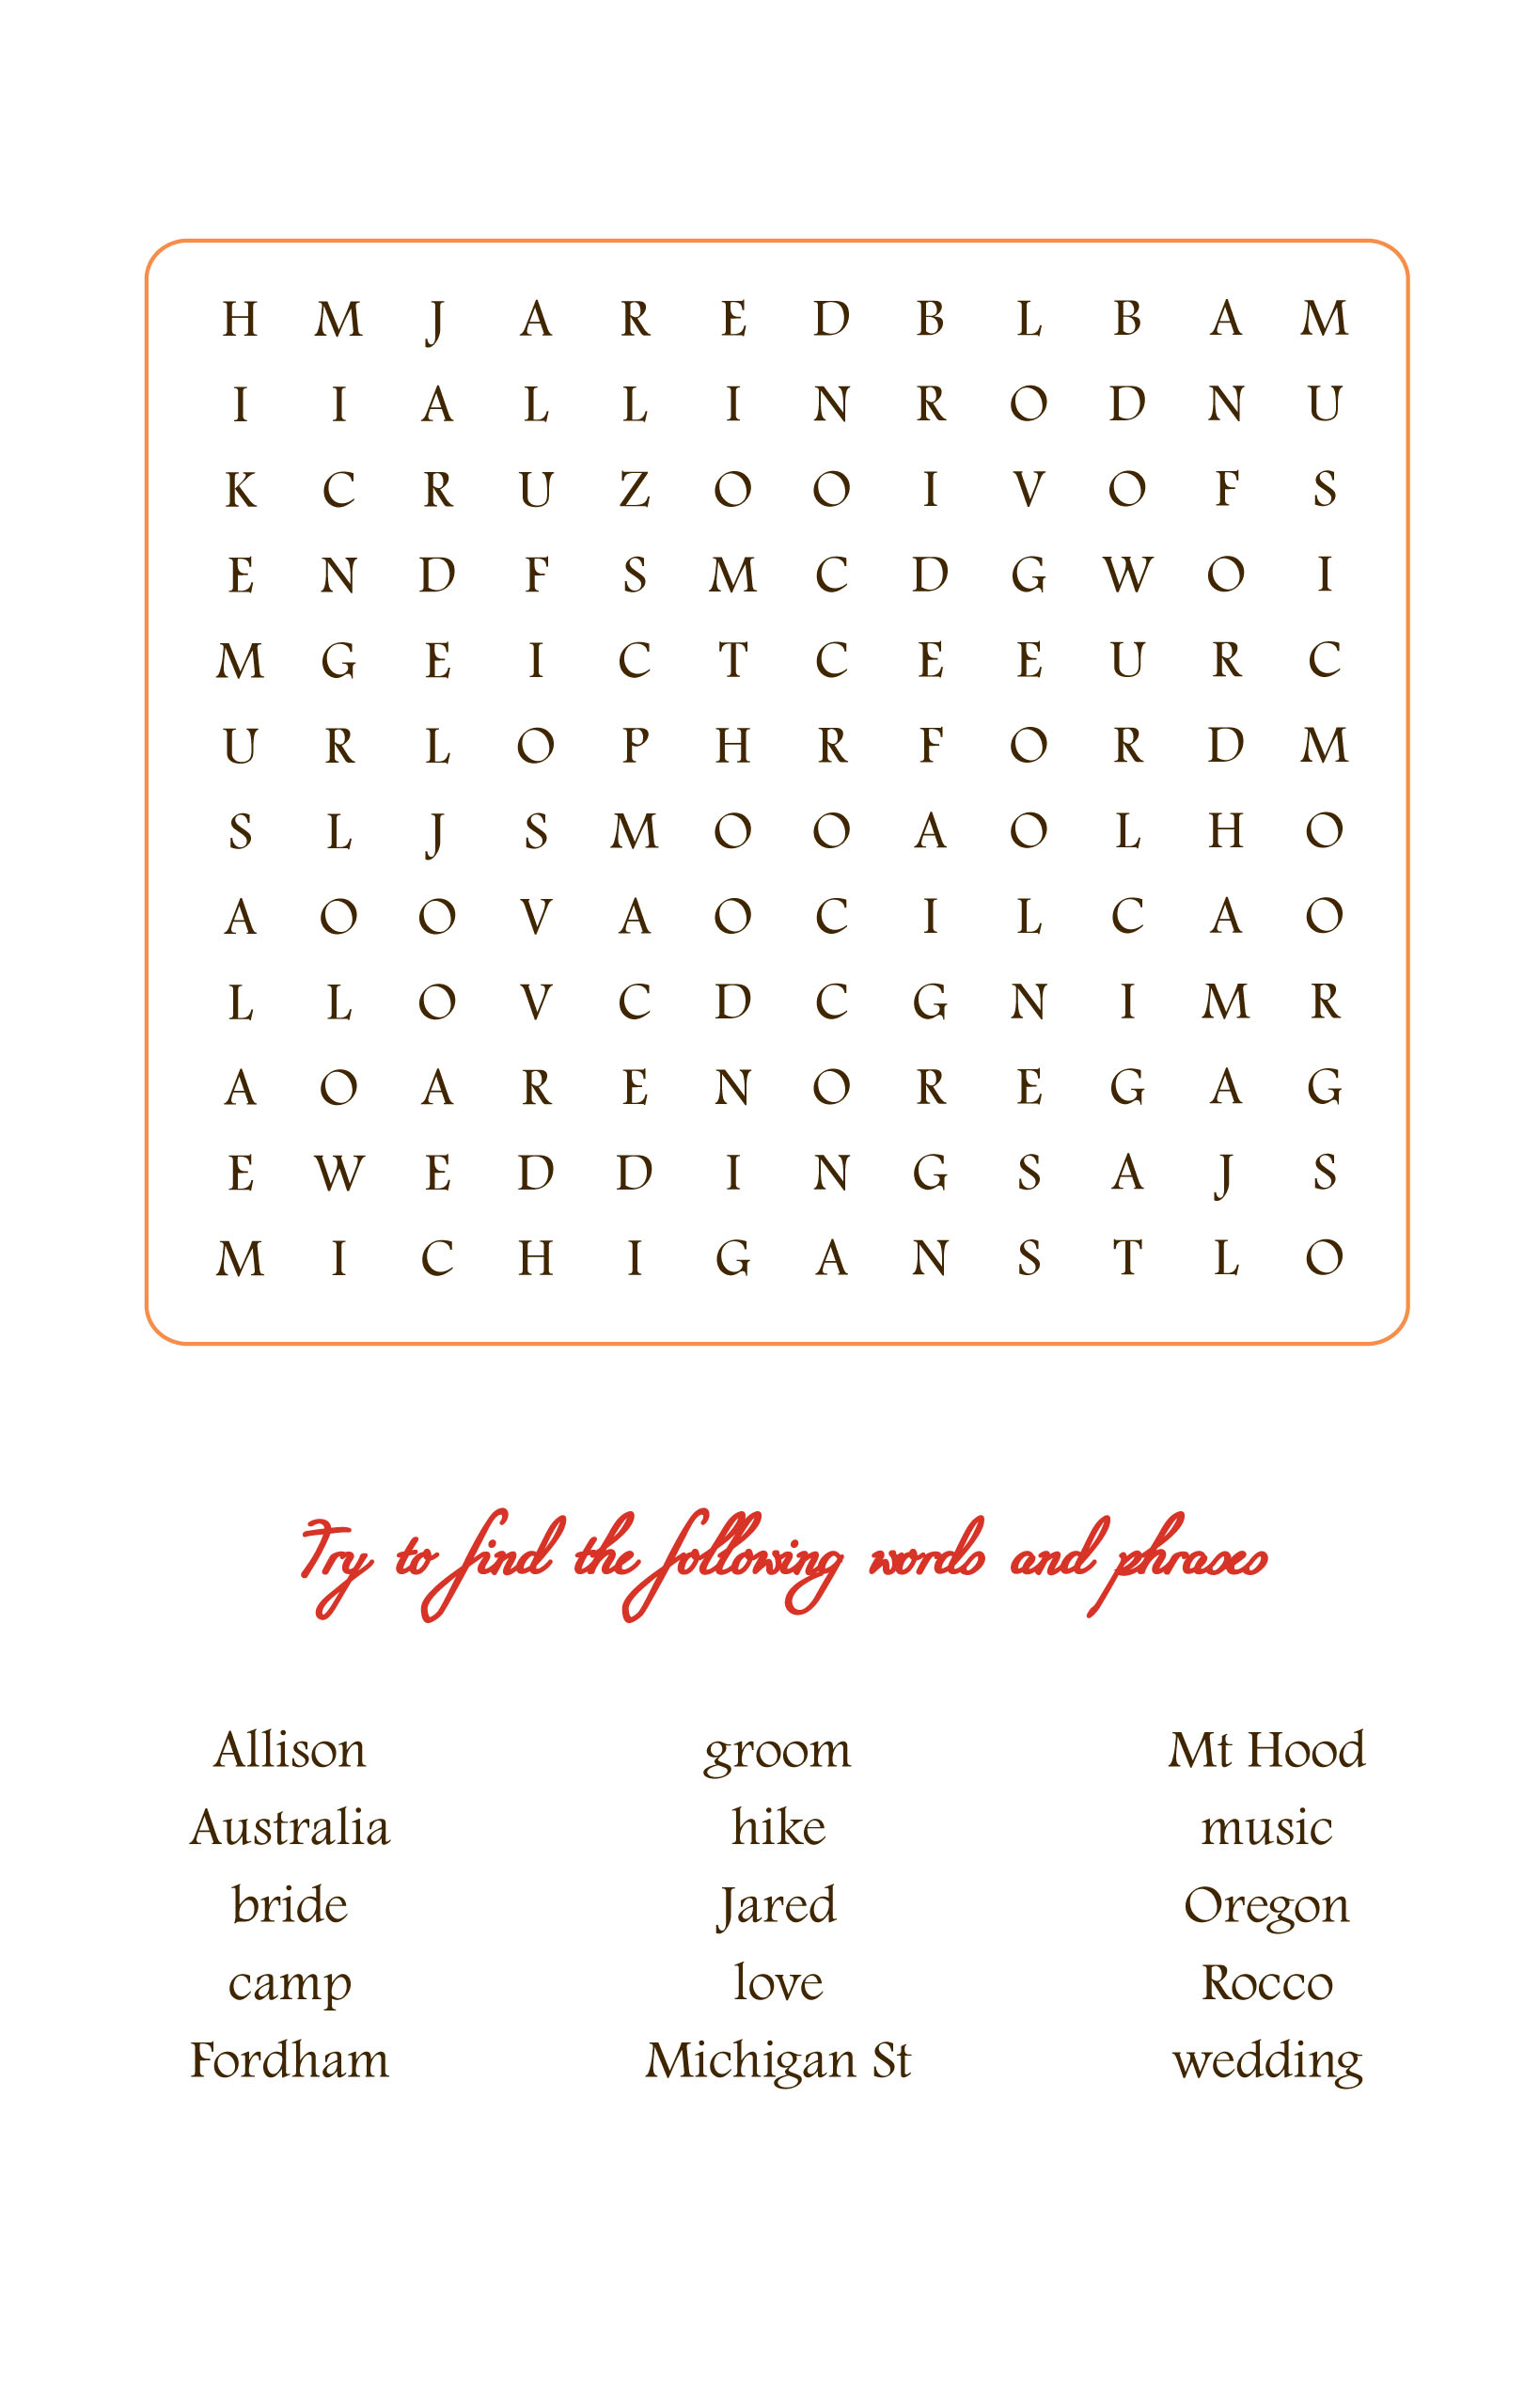
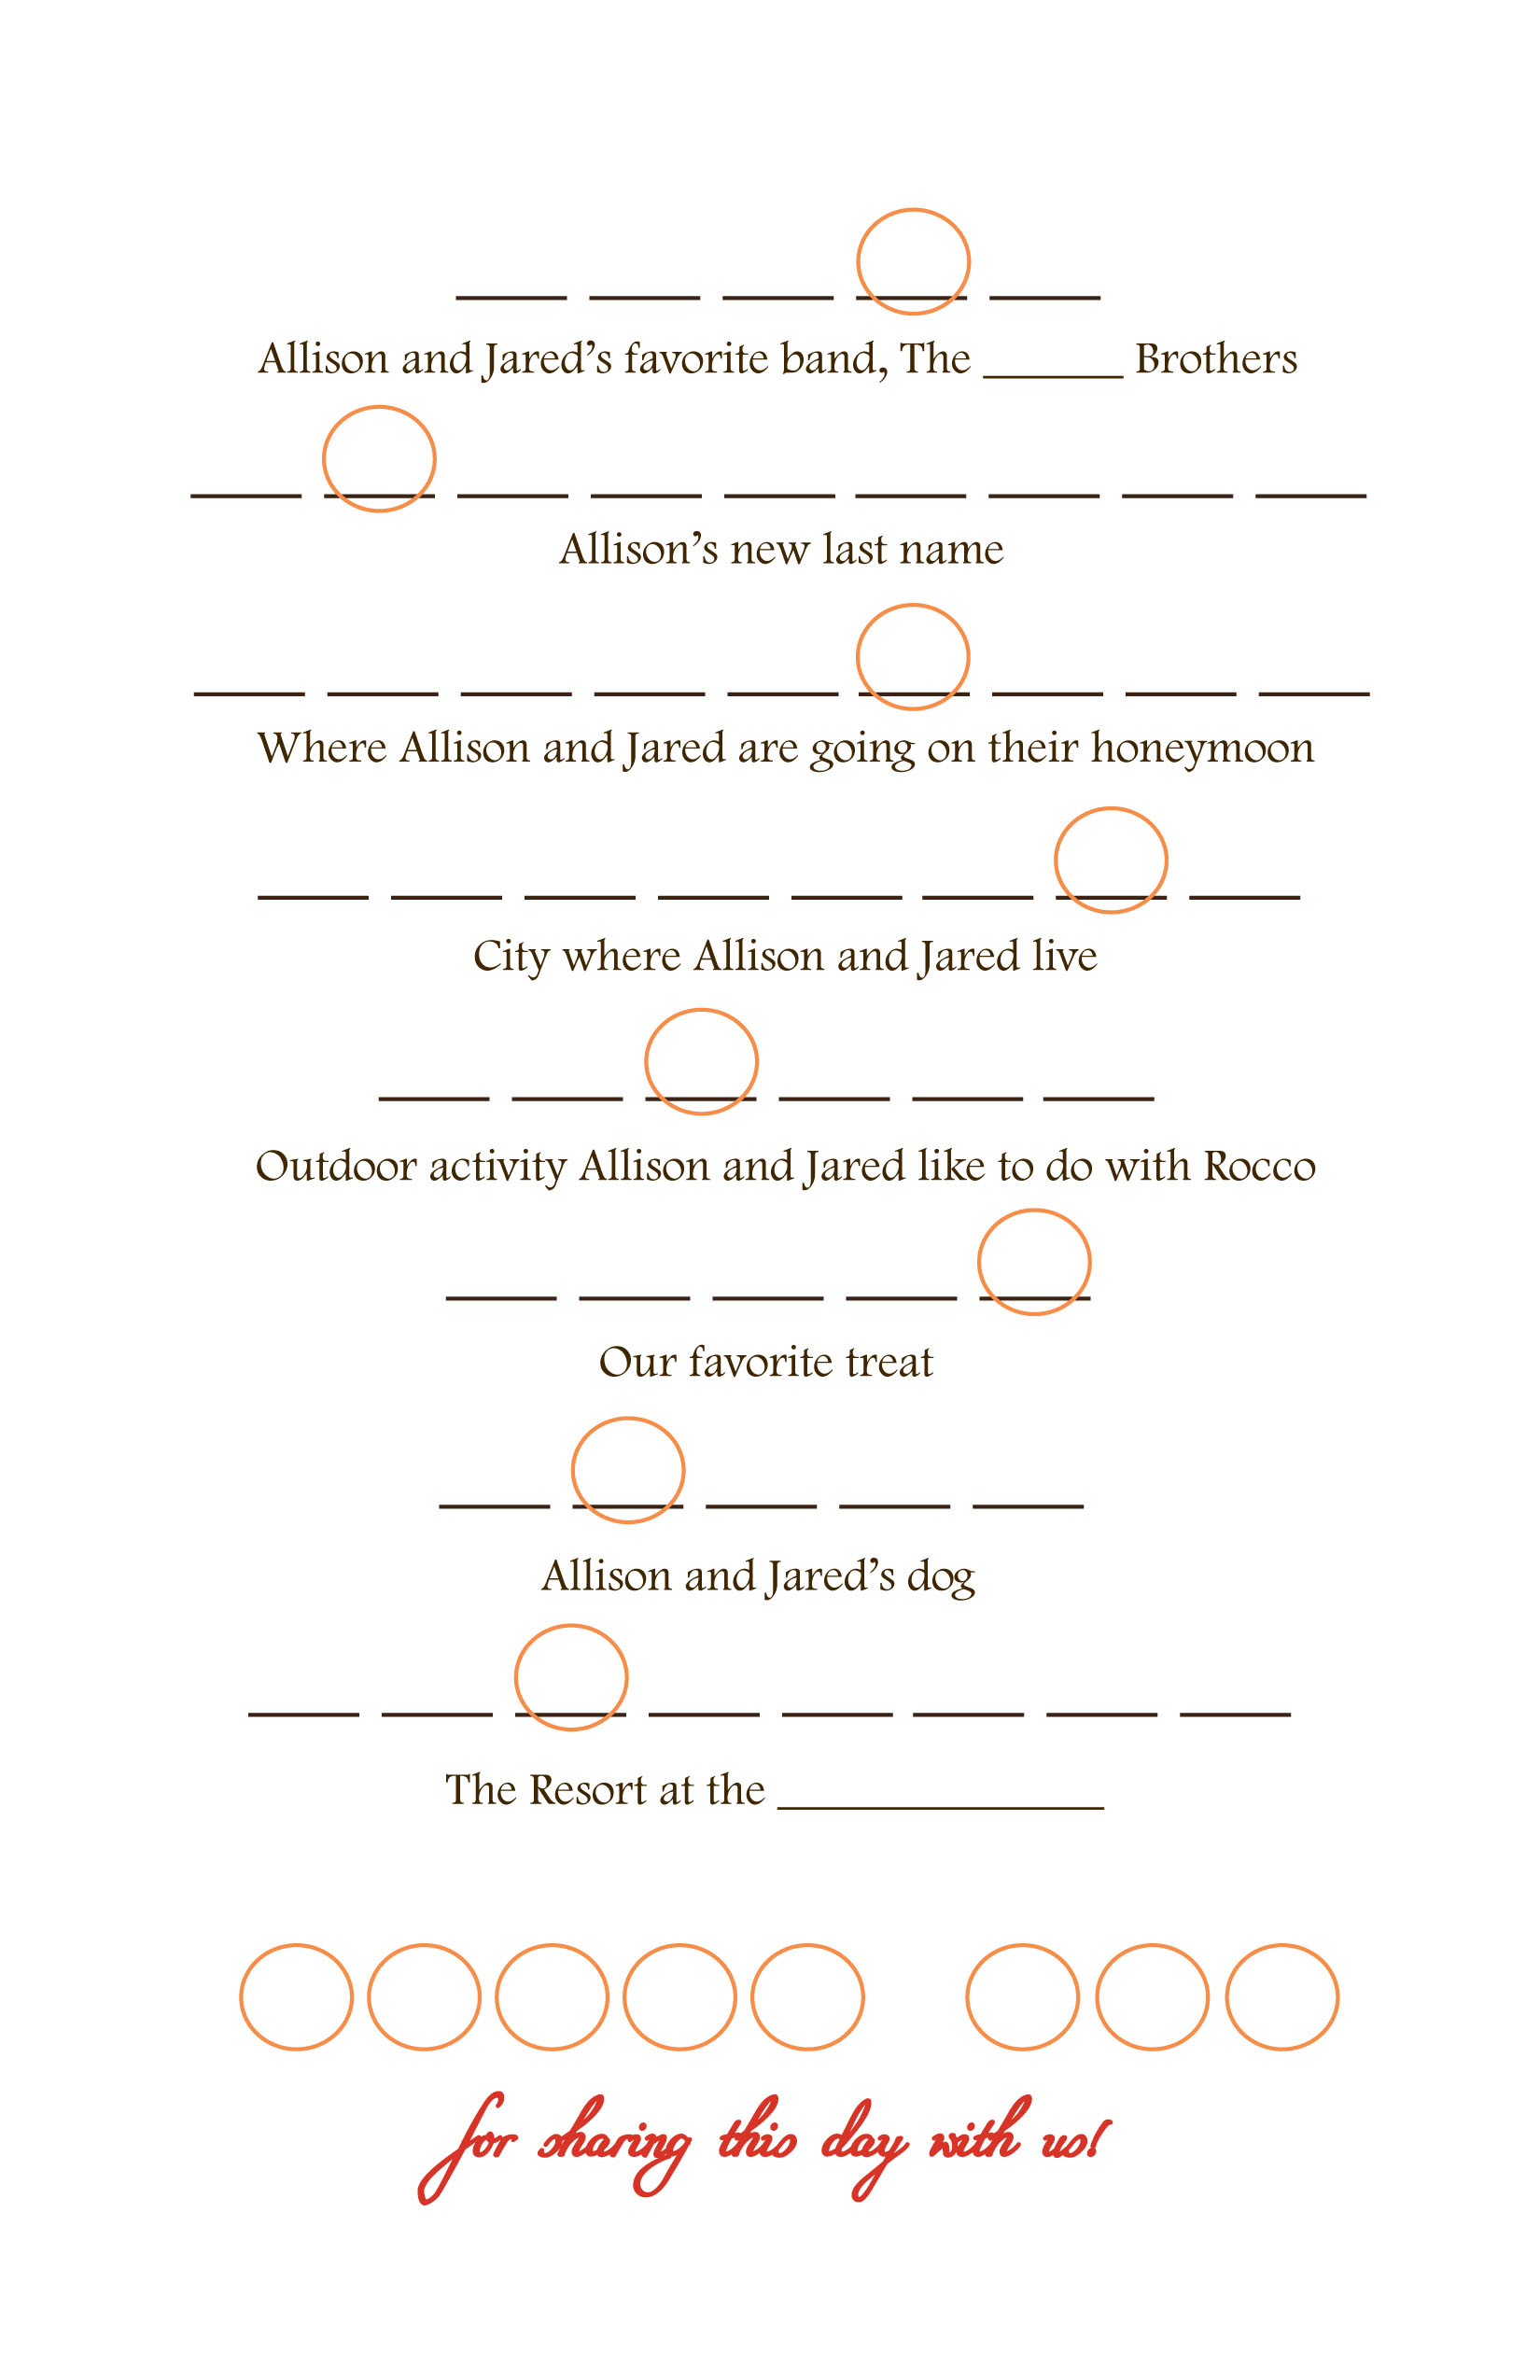
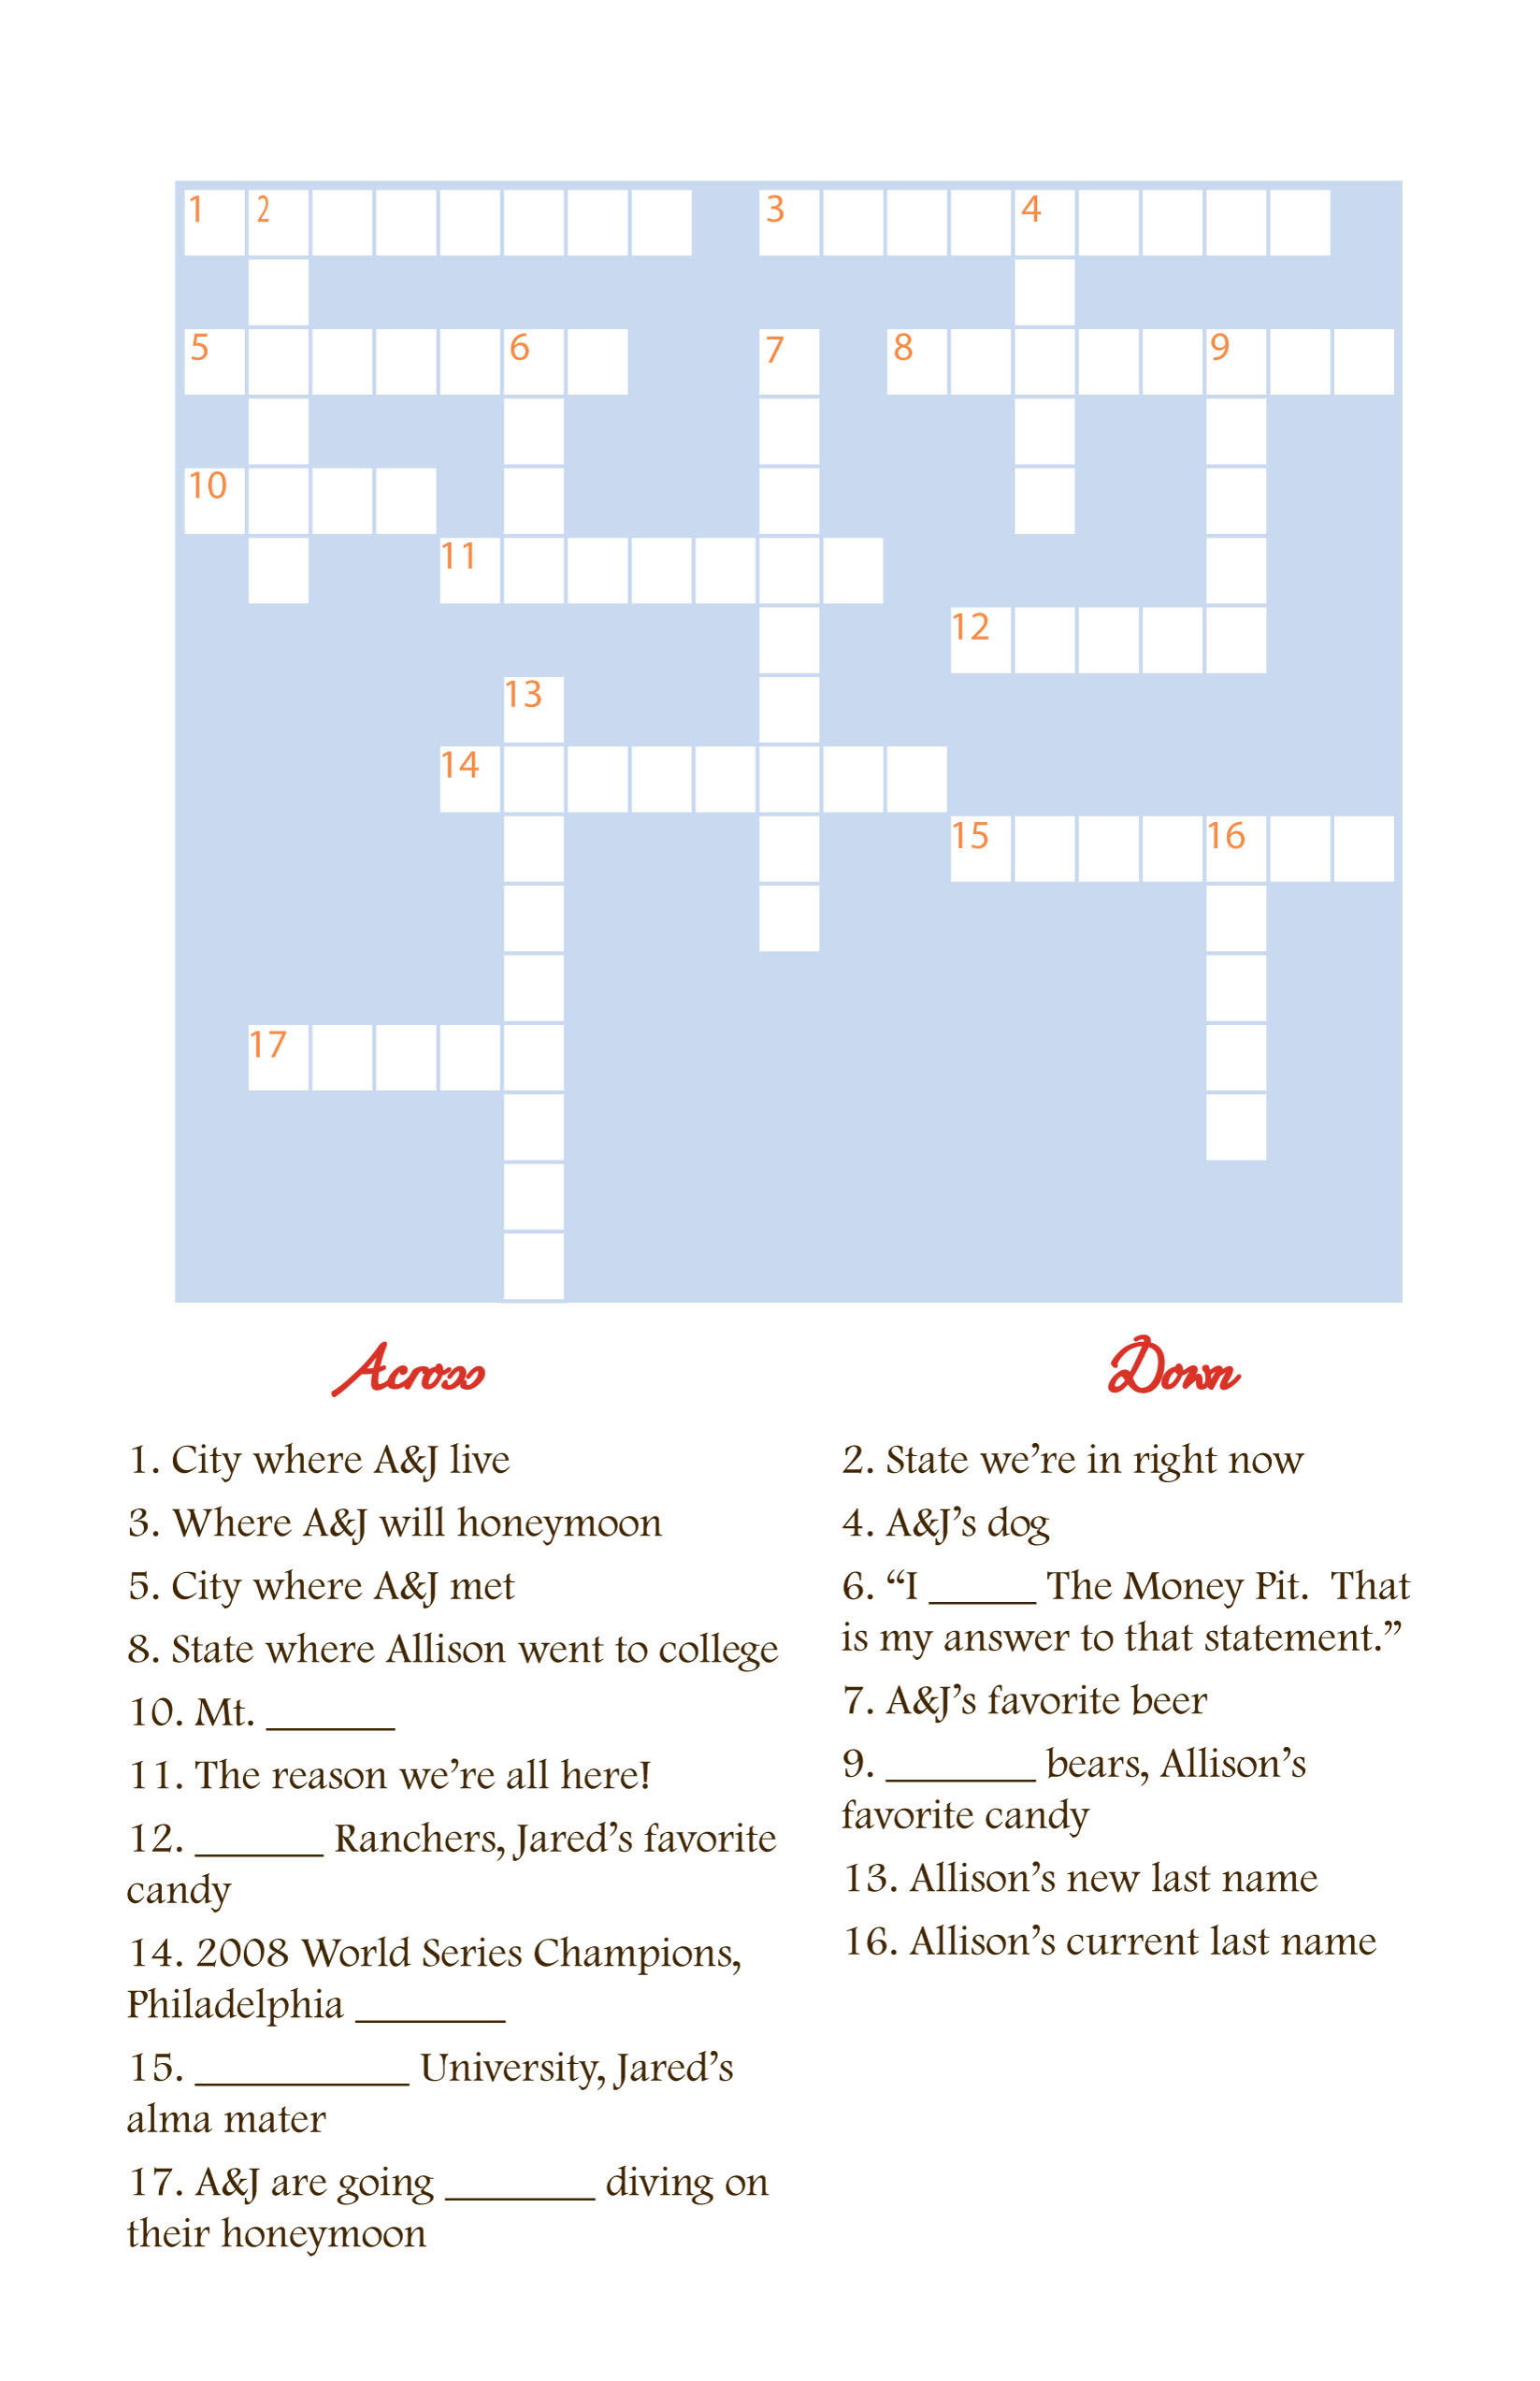
The moment I saw these DIY programs at Della Stella, I knew I wanted to replicate them for our wedding.  I loved the idea of giving guests something to do while they wait for the ceremony to start, and my inner word nerd got a little geeked out at the idea of our own personalized word games.  Jared created all three games – a crossword, word search, and a fill-in-the-blank – and I used Illustrator to design the 3 versions of the program:

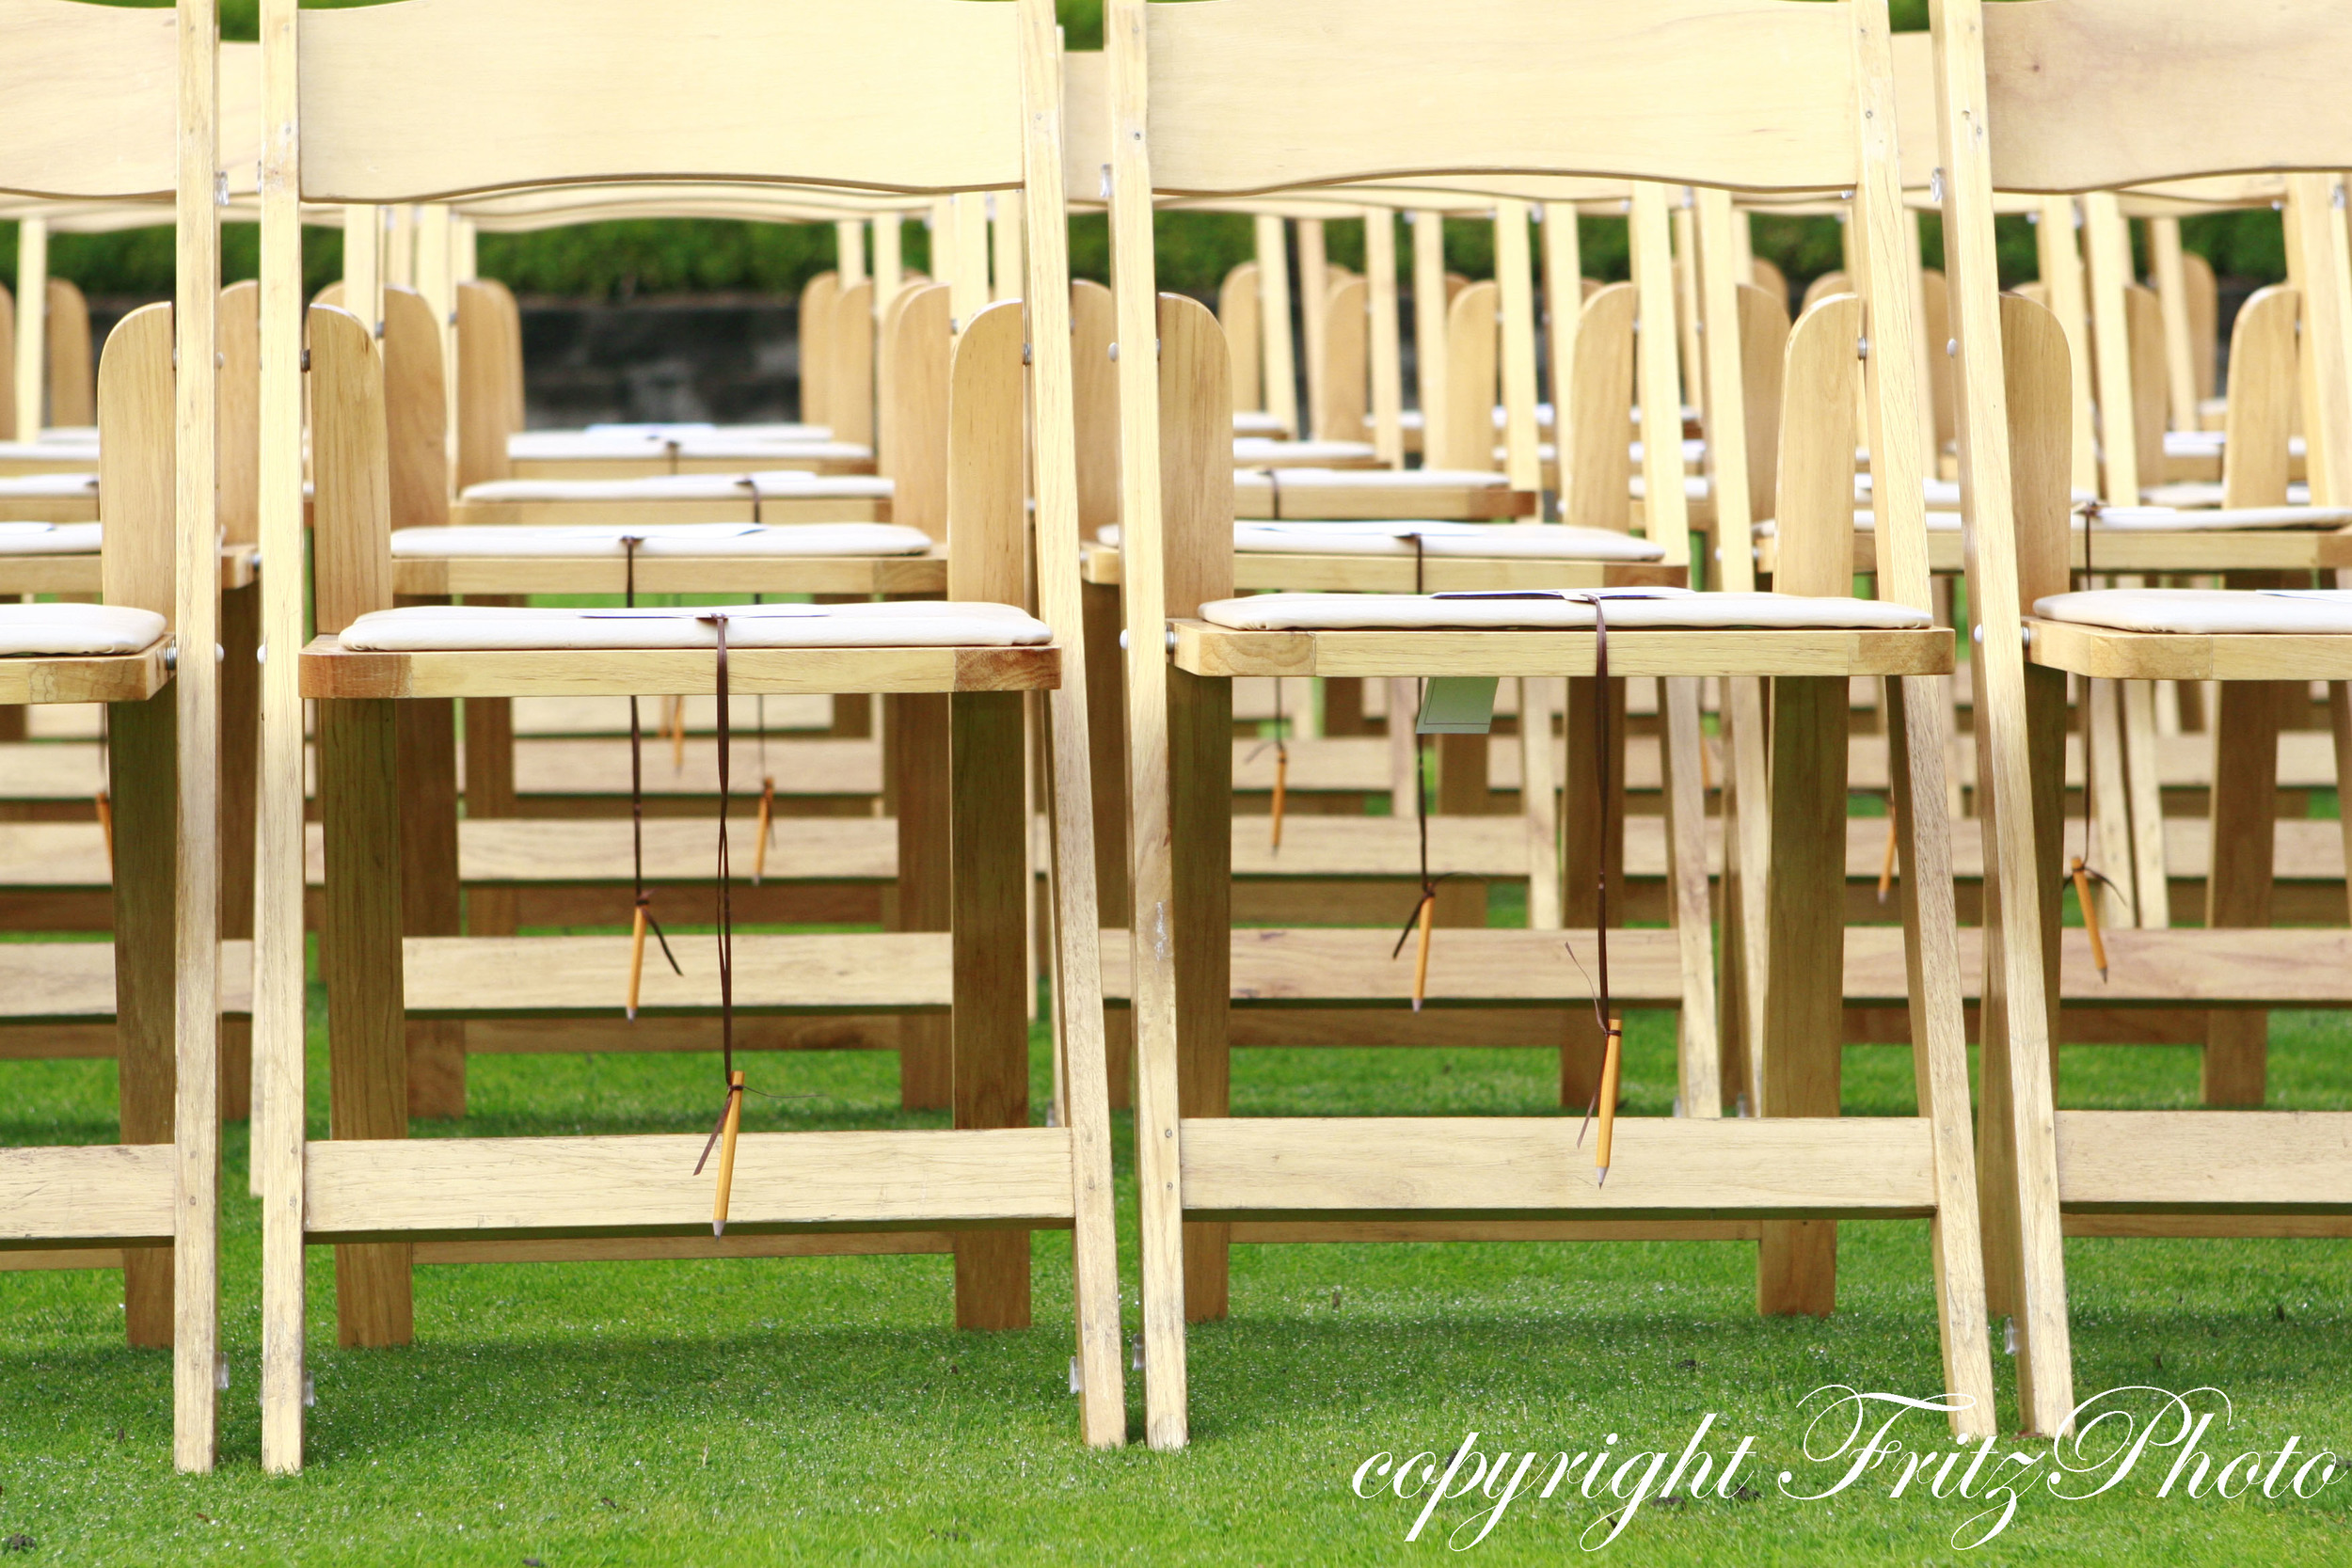
We got the programs printed at Kinkos on Letter sized cardstock, then folded them in half so that the final size was A9.  I was in the midst of Weekender Bag insanity, but Jared was a huge help and did ALL of the assembly for the programs, including drilling holes in all the pencils and craft sticks.  We followed all the assembly steps on Della Stella’s tutorial and couldn’t be happier with how the programs turned out.

The resort staff placed the programs on our guests’ chairs before the ceremony, which we felt would be easier than setting up a separate table or having our poor ushers deal with keeping all the pencils untangled.  The feedback from our guests was great!  Thanks so much to Della Stella and her brilliant tutorial!!

(In other exciting wedding news, my and Jared's wedding was the featured Real Wedding on Perfect Wedding Guide today!  Check it out here.)

***UPDATE!*** My wedding program word games are now available for download.  Click on the link below to start downloading the set of 3 templates.  (Note: You'll need to have Adobe Illustrator to open and use the files.)

***NEW UPDATE*** The download link seems to be hit or miss for people. If you have trouble just post your request in the comments and I'll email you the files.

DOWNLOAD HERE.

A few things to know about the templates:

  • The front of my programs aren't included in the templates because they were created using stock vectors that I purchased from iStockPhoto.com.
  • The answer to the word jumble is Thank You.
  • The crossword puzzle is a grid, so if you need to "move" any words, just color or uncolor the cells.

Thanks so much for all the compliments!  Let me know if you end up using the templates for your programs.  I'd love to see them!!

our DIY wedding invitations

After our relatively pain-free experience with DIY Save the Dates, we decided we might actually be able to pull off DIY wedding invitations. I spent a couple weeks searching sites like Wedding Bee and Snippet & Ink for inspiration, and finally decided on the style of invites I wanted - a pocketfold with a matted invitation, accommodations and directions enclosure cards, and an RSVP. I tried to be consistent with our wedding colors and design elements (red/orange/blue, Hatch show print style typography, birds, and birch trees.) Here are the details:

The belly bands were made of ribbon that I sewed into a band after slipping it through the tag (cut from white cardstock and shaped with a corner punch.)

Pocketfolds from Cardsandpockets.com, ribbon from Fabric Depot, cardstock from Paper Source, custom stamp from Rubberstamps.net, trees, birds, and wood planks for the sign board are from istockphoto.com.

Invitation mats from Cardsandpockets.com, envelopes from Paper Source; fonts: Miama, Mesquite Std Medium, and Palatino; tree and bird vectors are from istockphoto.com; white cardstock and printing from a great local (and green!) print shop here in Portland called NW Printed Solutions.

I designed the stamps for the logo tag and return address/rsvp and had them custom made by RubberStamps.net. They did SUCH an amazing job, and the turnaround time was extremely fast. I wanted to use custom stamps because it was cheaper, easier, and greener than using labels or our home printer for the tags and addresses. Plus they had a great DIY rustic look to them.

The full invitation suite

Hatch-style Save the Dates

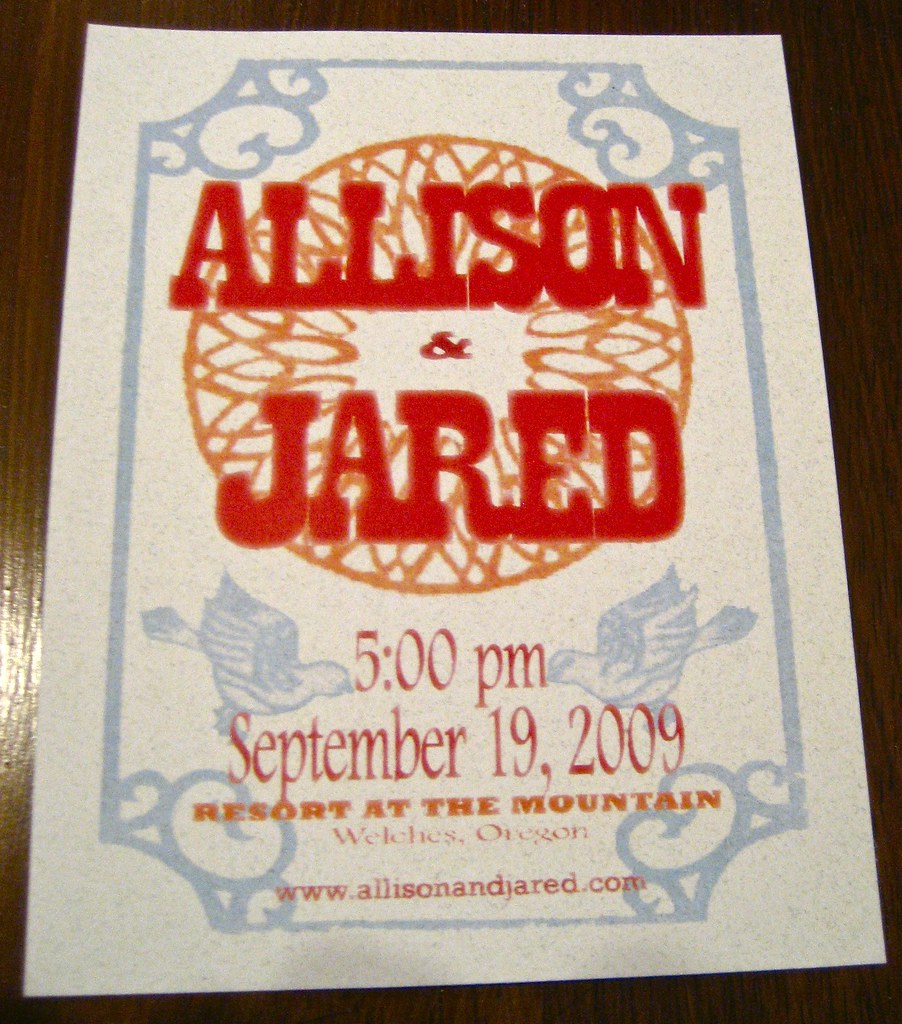
***I'm very excited to bring you the first post in a new series I'm calling "made to wed," featuring all the DIY wedding crafts from my and Jared's big day.*** Around this time last year, I was in full-on wedding mode.  Jared and I had just gotten engaged, and with 9 months to go until the wedding, there was a ton to do.  Once our lovely Mt. Hood location was booked, it was time to get started on the Save the Dates.  I knew right away that I wanted to do something in the style of a Hatch show print.  Jared and I began collecting show posters not long after we started dating, and they now make up much of the artwork in our home.  Most importantly, we felt like the look was something that was both representative of us and the tone we wanted to set for our wedding.

Here are the steps that went into creating our Save the Dates...

1) I designed the Save the Date in Photoshop at 4.25x5.5" so that we could get 4 cards out of a standard 8.5x11" sheet of cardstock.  I wanted the cards to have a vintage look to them, so the original design had a grainy pale blue background.

2) When we took the design to Kinkos to be printed, the folks there recommended using this great grainy pale blue cardstock they had instead of trying to do a colored background on white cardstock.   We tried it both ways, and they were totally right.  In addition to printing, we also had Kinkos cut the cards for us.  The cost was minimal and definitely worth how much time it saved us.

3) We wanted to back the Save the Dates with magnets for easy fridge-hanging for our friends and family, so we rolled out a magnet sheet from the Xyron and cut it into small strips.

4) The cards were then run through the Xyron to create a sticky backing.

5) Paper Source A6 note cards in bluebell were used as the backing for the Save the Dates, after cutting them to 4.5x5.75".

6) The final step was to adhere the magnet strips.

7) Only 83 more to do!  ;-)

I can't even tell you how thrilled we were with the final result.  Of all the paper goods I did for the wedding, the Save the Dates were by far my personal favorite.  The biggest challenge was settling on a final design, but the design process was actually kind of fun.  Okay, okay... I was in a total engagement bliss haze at the time - everything wedding-related was fun.  But, there was something really exciting and gratifying about doing our own Save the Dates.  We're DIY people, so it only made sense that our wedding be as DIY as we could make it.  Next up: the invitations...