My friend Angela (mom to the beautiful Mirabel, wearer of this while nursing) came to me late last year with a bathroom sink dilemma. (And yes, that means it's taken me an inexcusably long time to write about this particular project.) She sent me this picture of her rather wide sink with no built in storage. She wanted to be able to store extra toilet paper and such underneath, but wanted it hidden.

Her idea was to attach a sink skirt to the bottom ledge of the tile, but after weeks of searching she couldn't find one that would work. So she very sweetly asked me to help her out. I wasn't very familiar with sink skirt construction, so I found a few sink skirt tutorials online and used this as my base (with a few tweaks.)
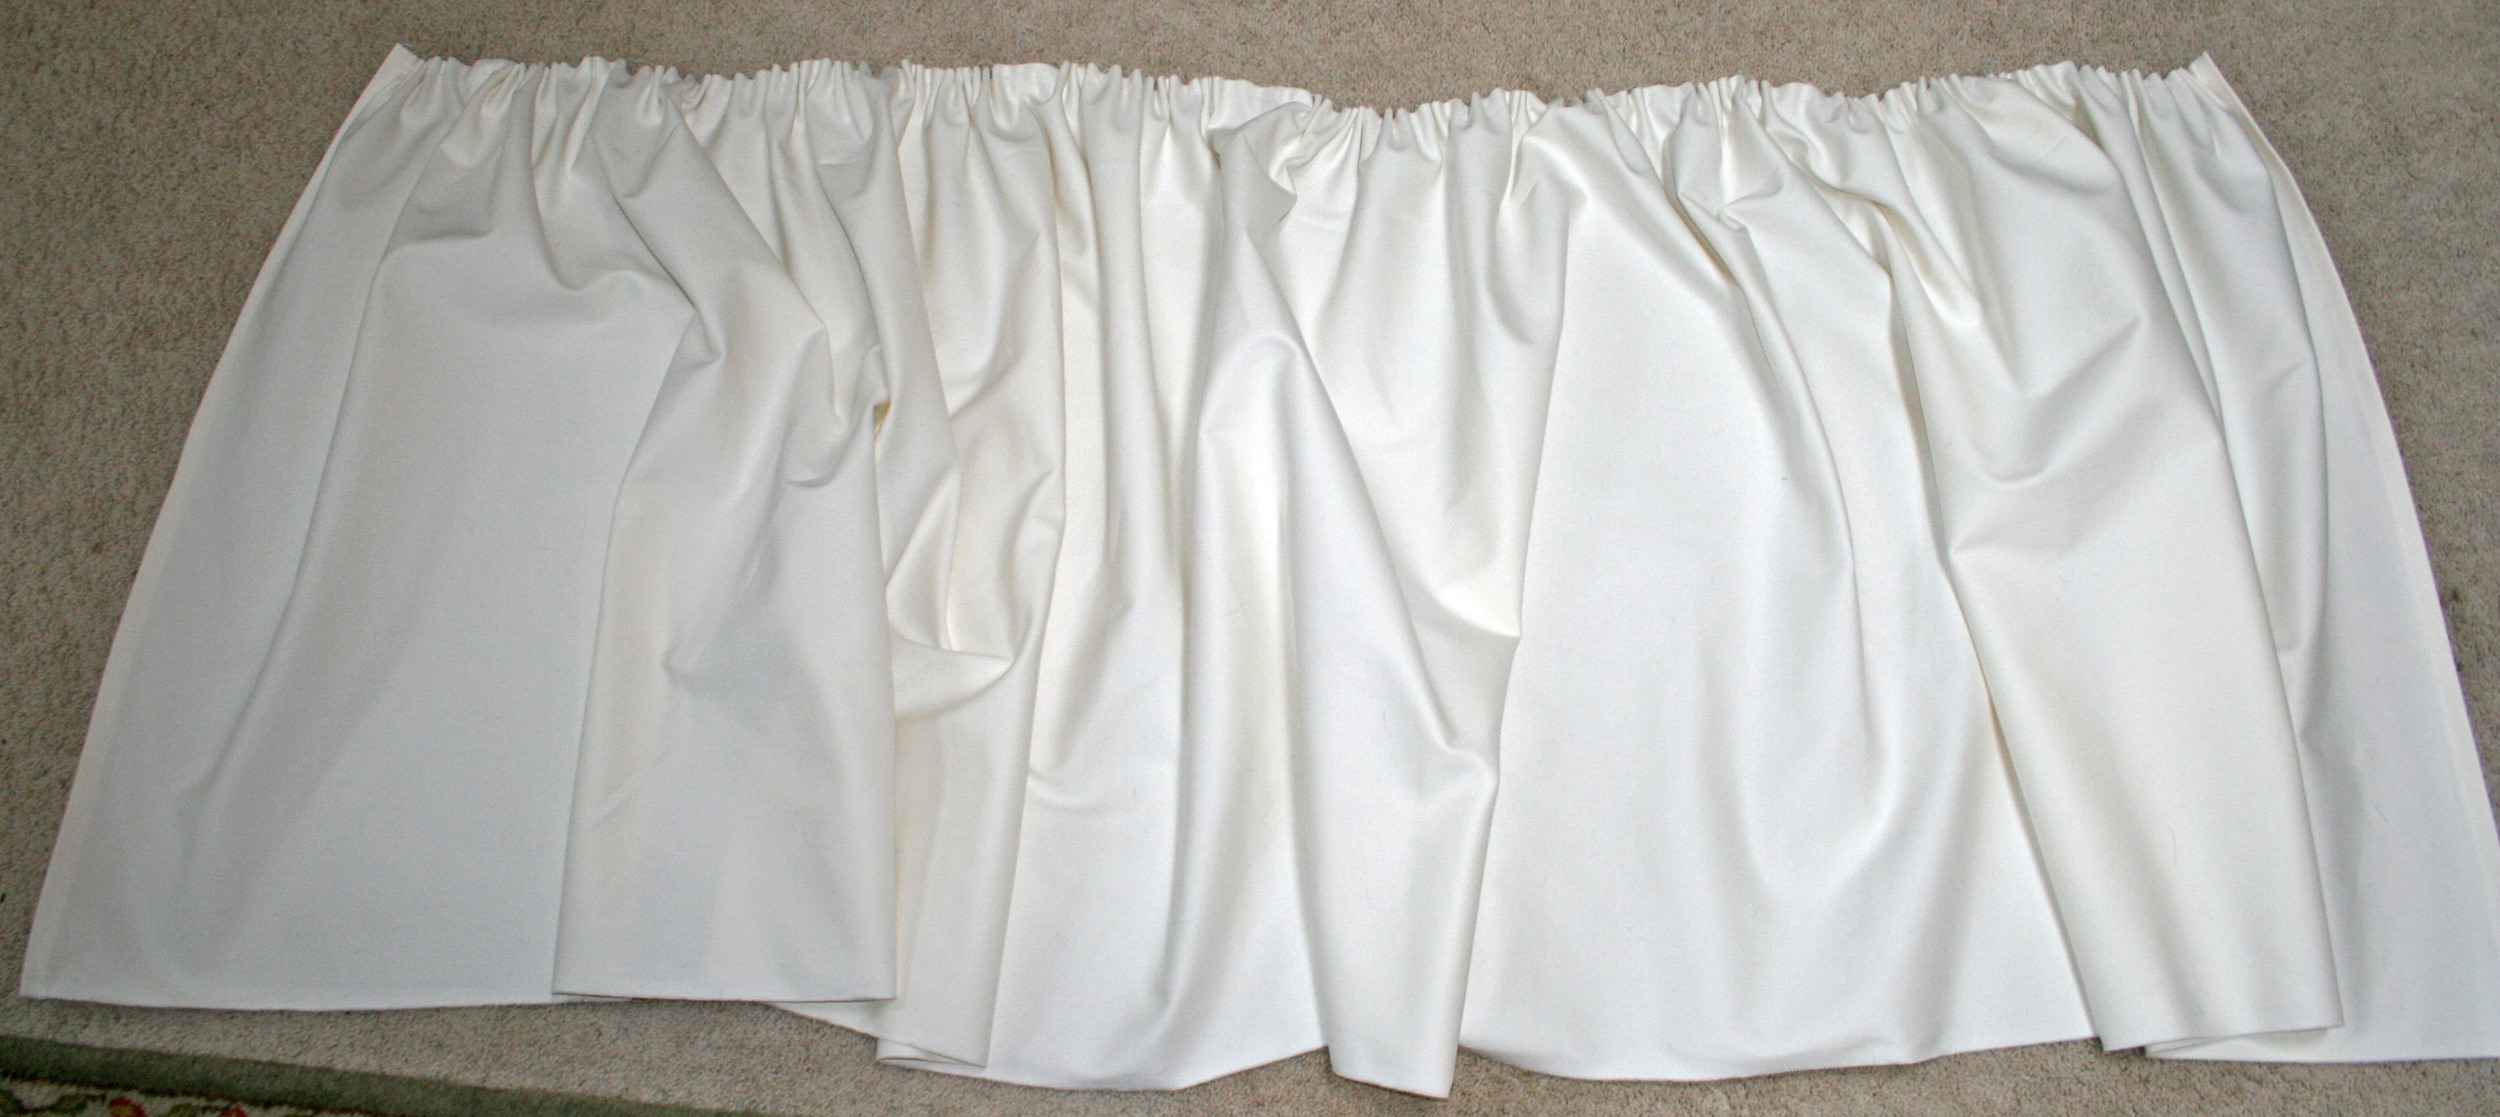
The measurements of Angela's sink are 28" x 60", so I used a 30" x 122" (double the width, plus 1" extra on each side) piece of heavyweight cotton twill fabric. I also cut a 6" x 61" strip for a top cuff. More on that later, but the primary reason I strayed from the tutorial here is because I planned to use Sew On and Sticky Back Velcro to attach the skirt to the sink. I felt like regular sticky velcro wouldn't be strong enough to hold up the weight of the skirt, and the sew & stick seemed like a great solution.

Once all my fabric was cut and thoroughly lint rolled (trying to keep dog hair off of a 10 ft piece of cream colored fabric is a losing battle) I started hemming the sides with a 1/2" double fold hem, and then the bottom. Then it was time to baste. The fabric was not liking my attempts to machine baste, so - starting in the middle of the skirt and working my way out on each side - I hand basted two rows about an 1/8" apart. Then I gathered the skirt until it reached a width of 60".
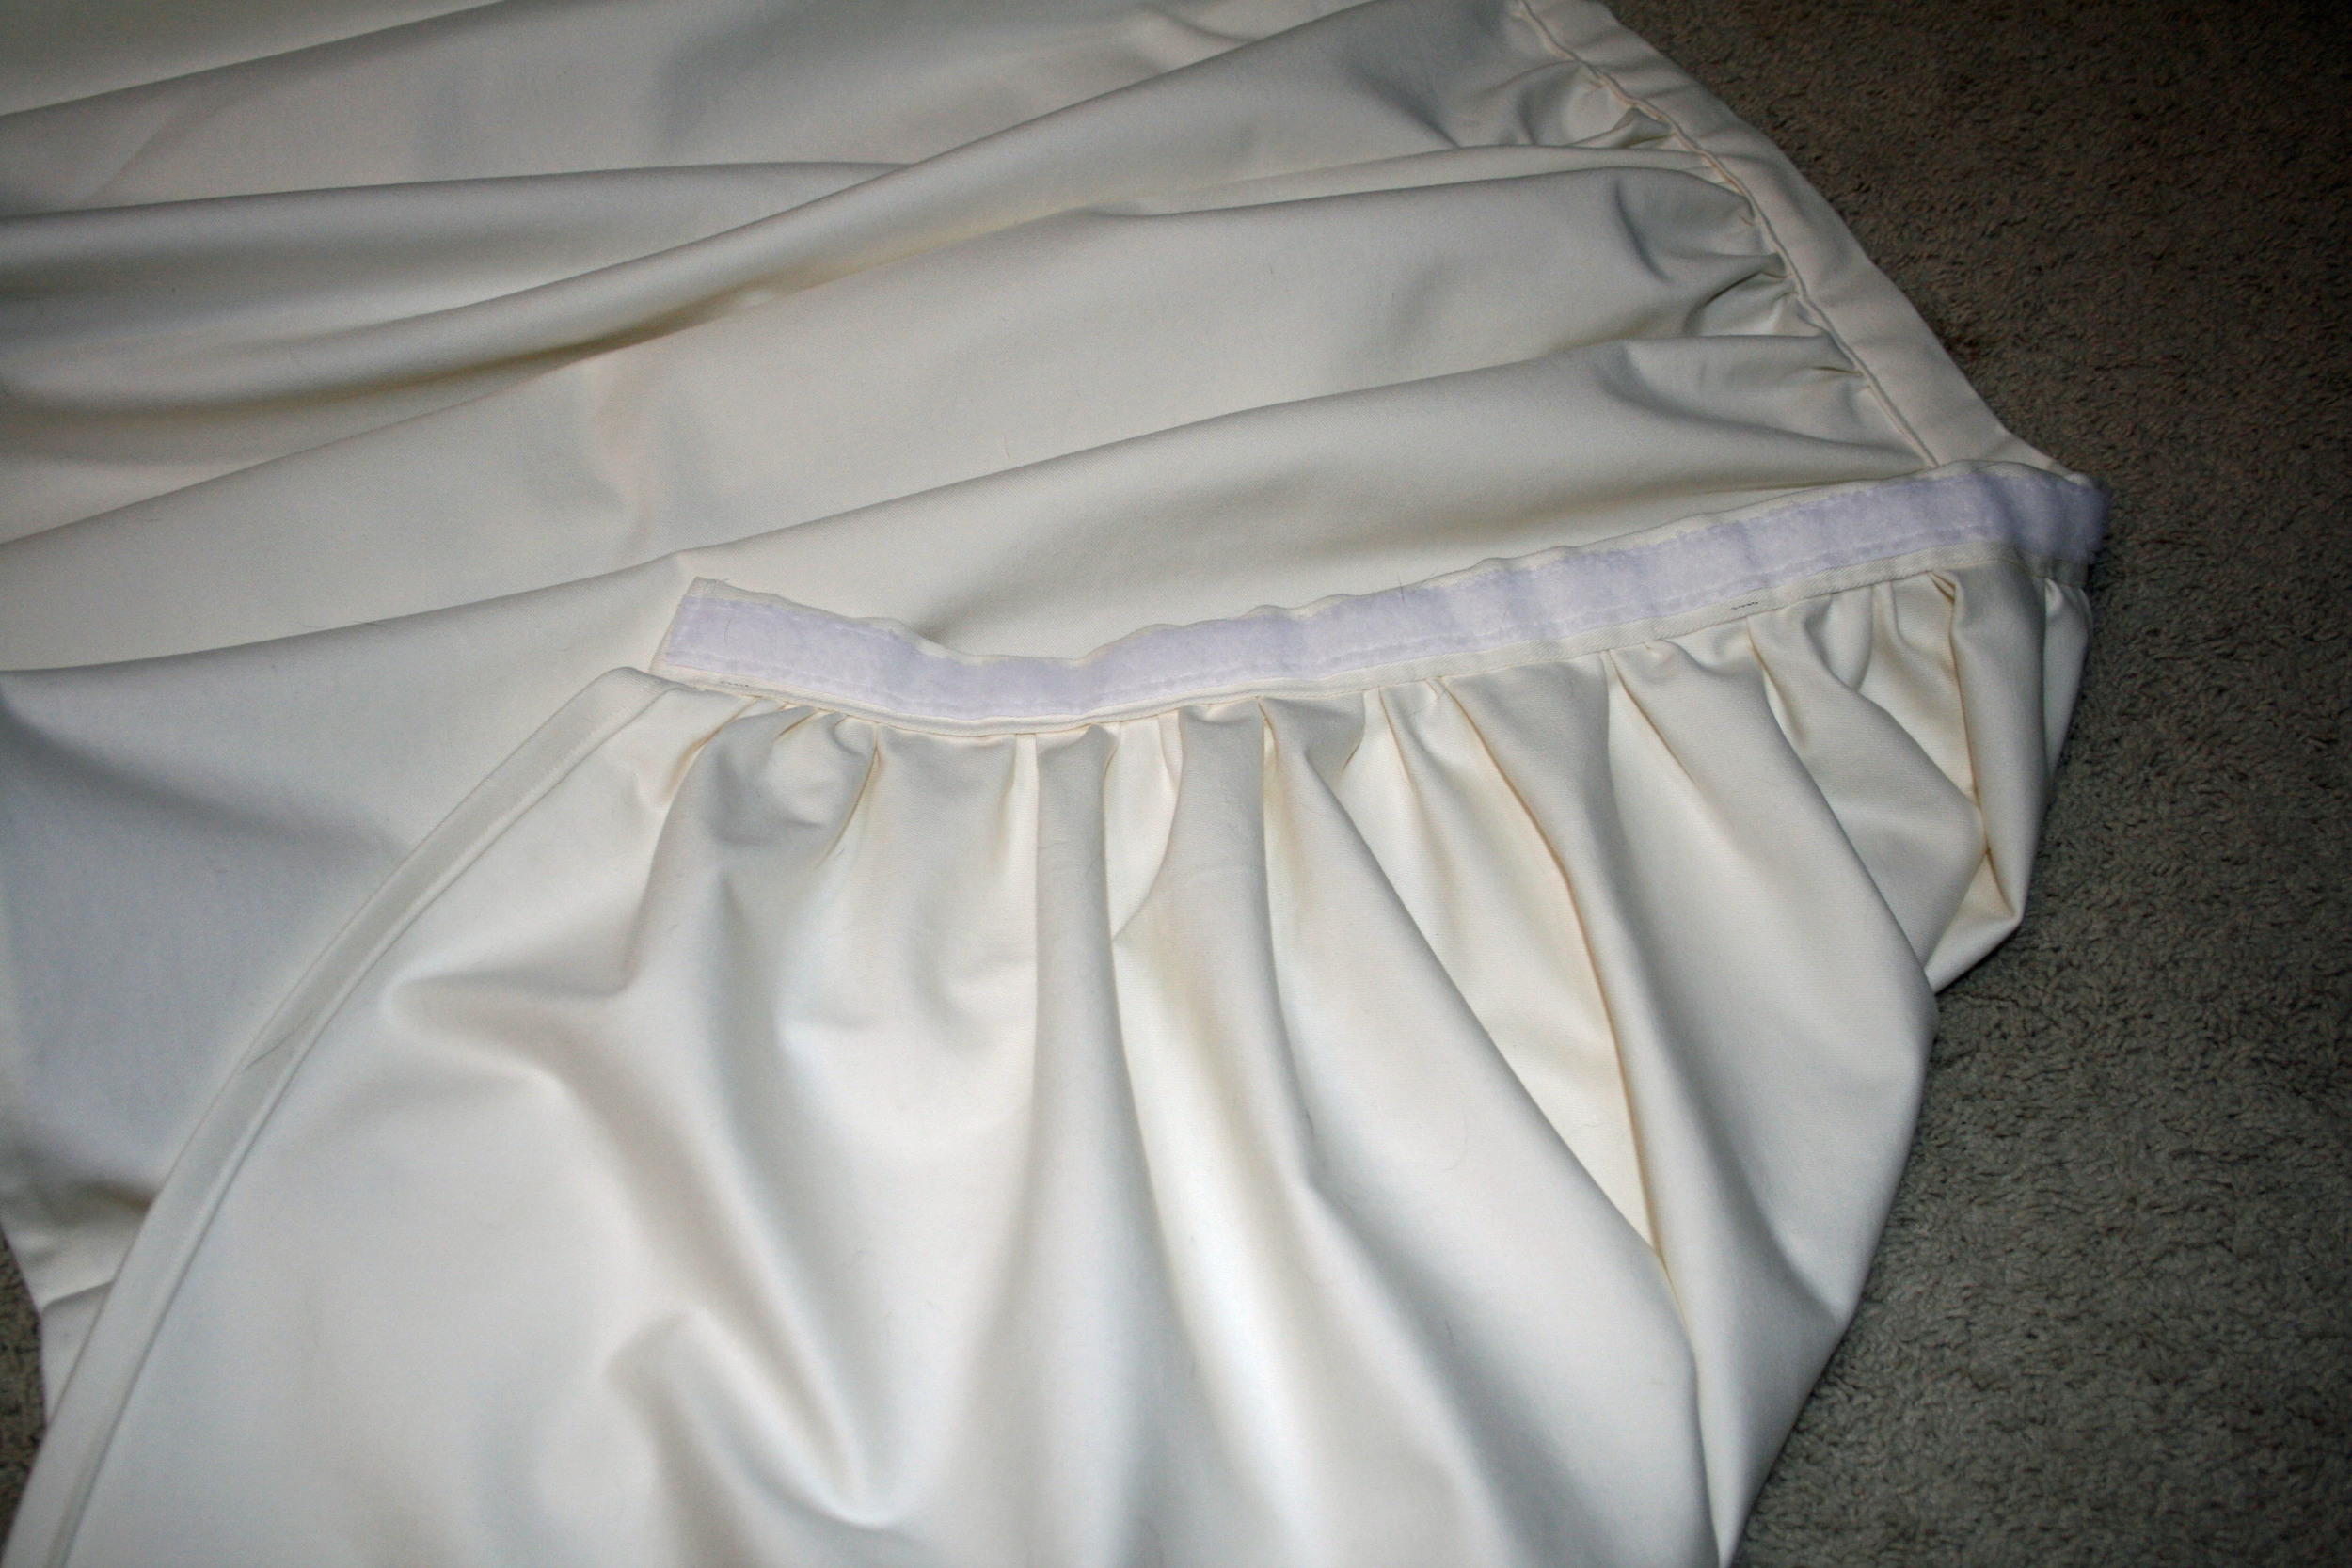
Now back to that cuff... I took the 6" x 61" piece, folded in a 1/2" on each short side, and pressed. Then I folded the whole thing in half lengthwise and pressed. I folded each long side in toward the center crease and pressed so that the cuff was 1.5". Then it was time to attach the velcro.

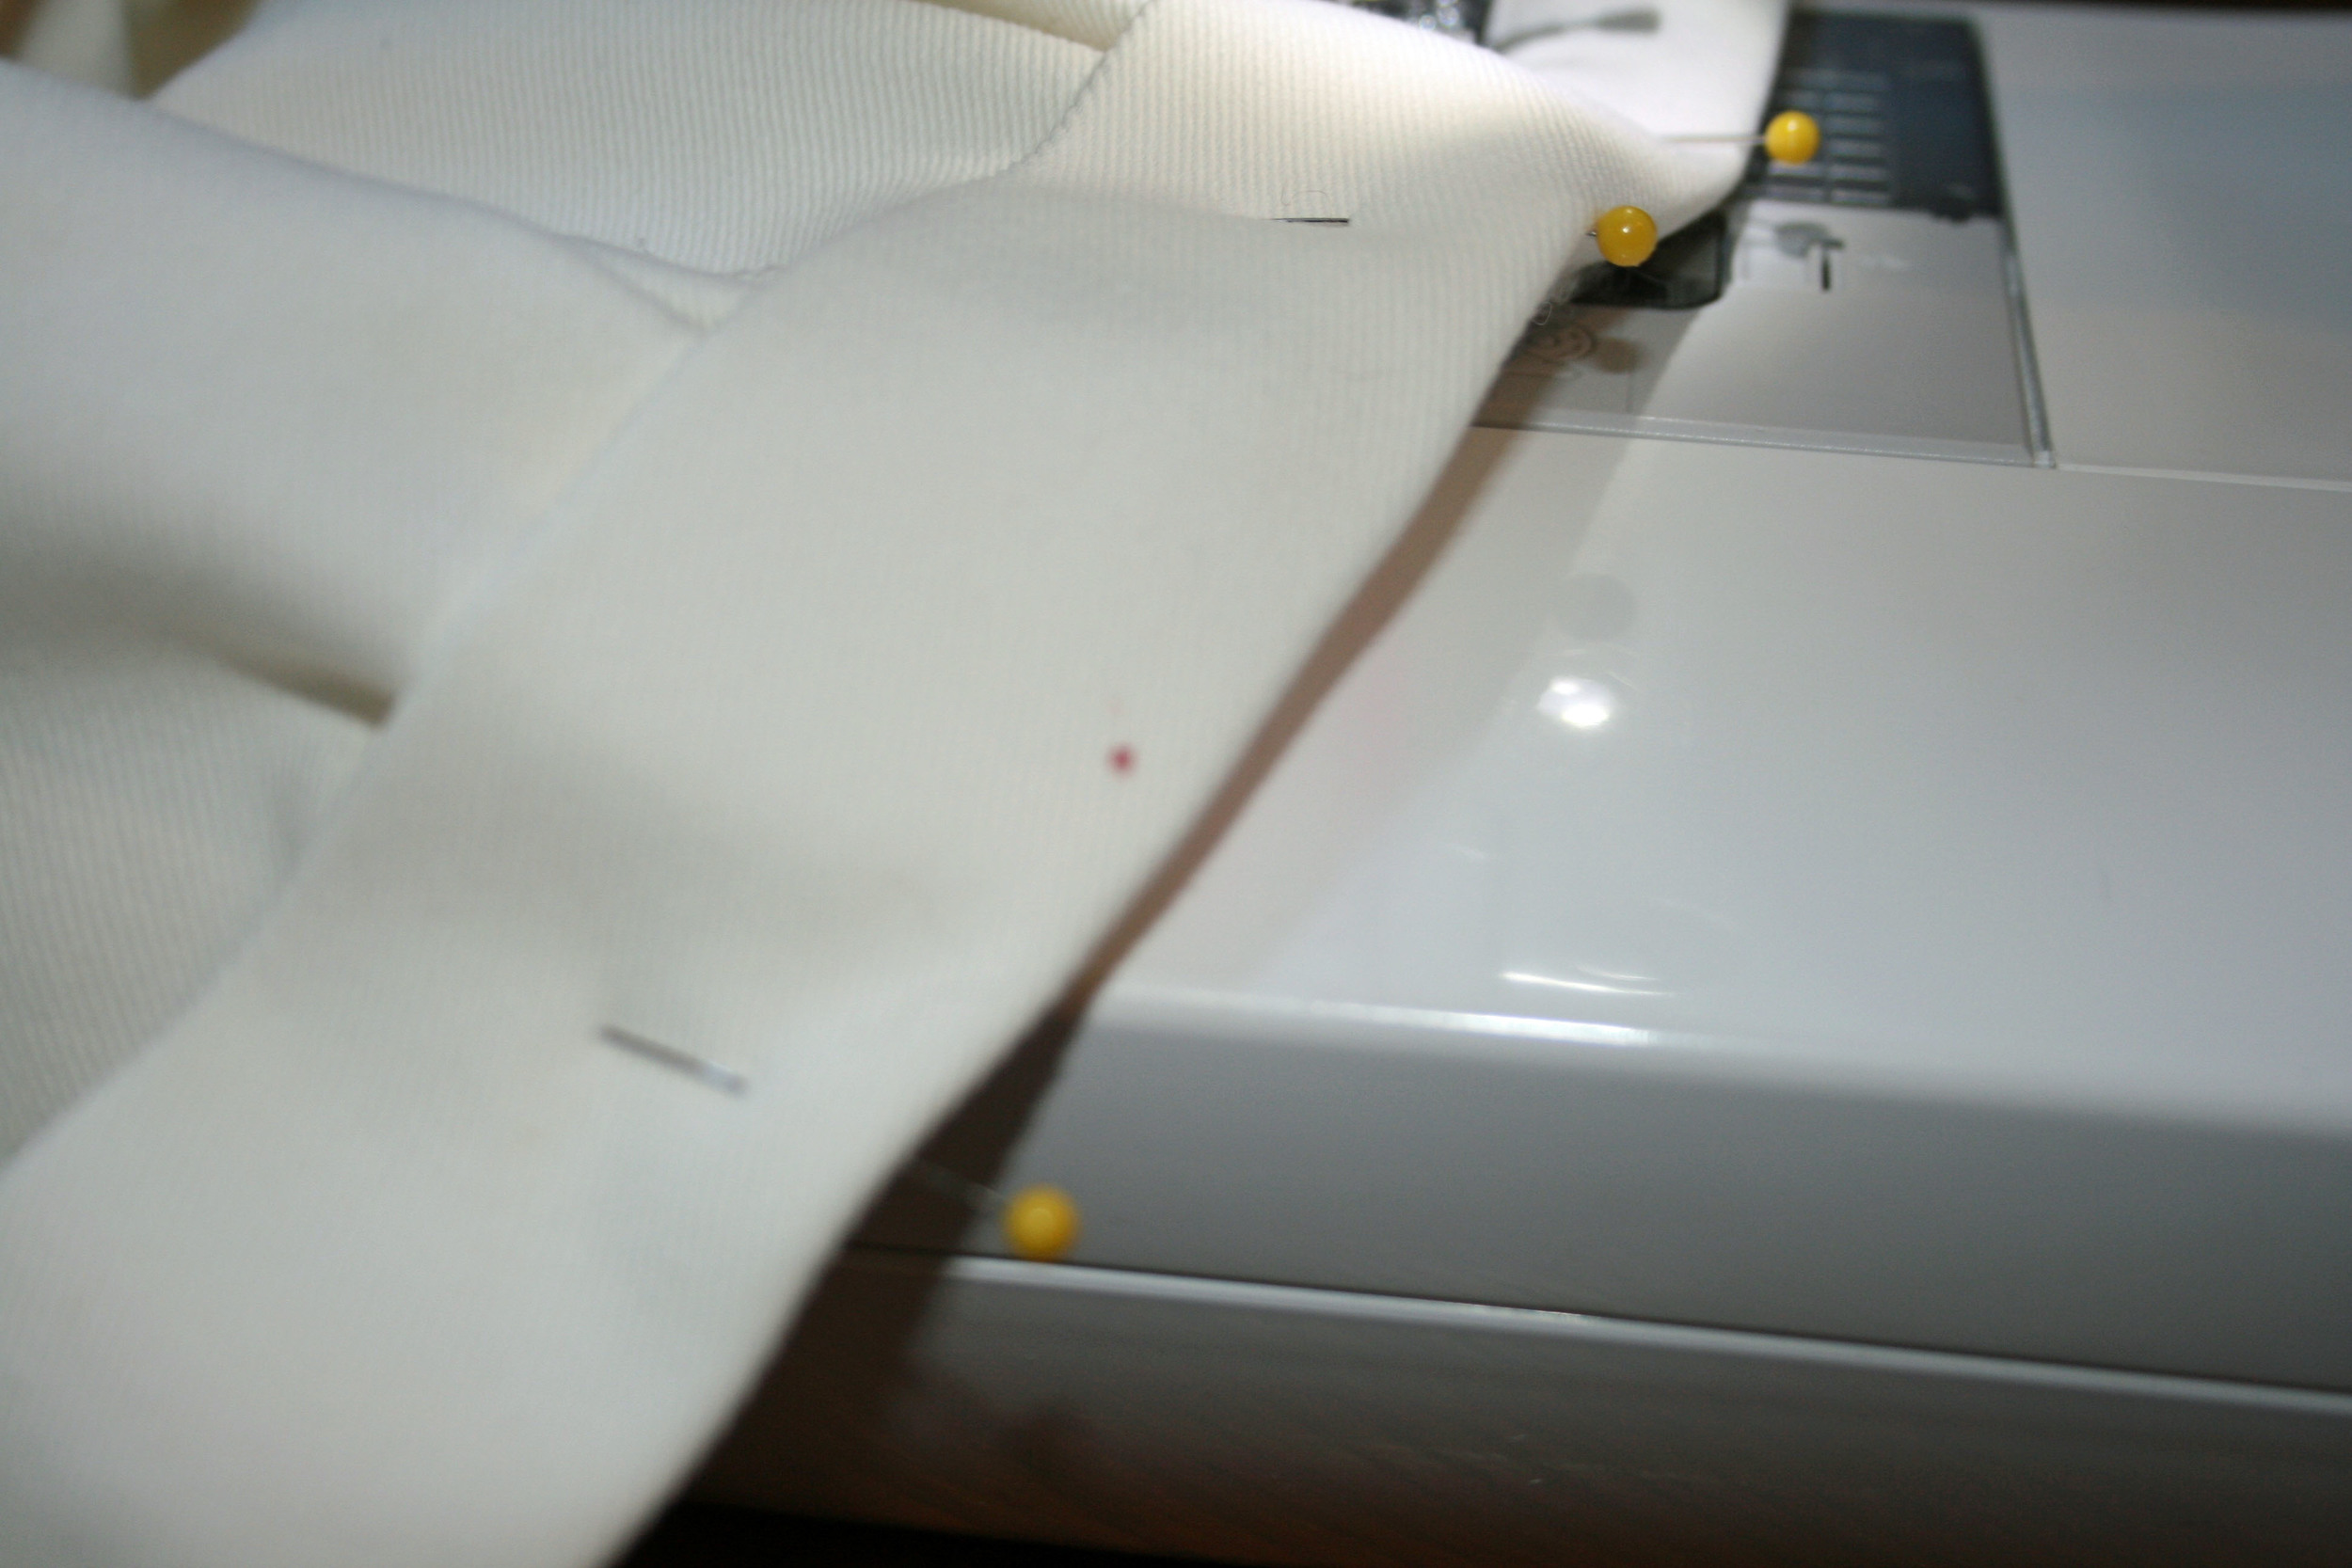
Once the velcro was attached, I was ready to sew the cuff onto the skirt. 5 feet of pinning later...

You see that little out of focus red dot on the cuff? Yeah, that's blood. My blood. Because I'm a klutz. Especially when it comes to pinning. When I was making the Weekender Bags my arms looked like I had taken up kitten wrestling. It wasn't pretty.

Excuse me for a minute while I tout the magic of the Tide Go pen. If you don't already have one in your sewing kit, go get one. Immediately. I used it on the blood spot and - voila! You can see the resulting wet spot in the picture above, but it left no evidence of my clumsiness once it dried. Blood, people. It got out blood. Don't ask me how. Just go get one.

Anyway, I attached the cuff with a 1/8" seam (or 1 and 3/8", depending on how you're looking at it), closed up the ends (also using a 1/8" seam) and the sink skirt was done!

I finally got to see the sink skirt in action when I went home to VA in April, and was relieved to see that it's working out exactly as Angela had hoped! Her solution was brilliant, and I'm happy I was able to help her out. I may have to make one now for MY bathroom!
