a better place to play

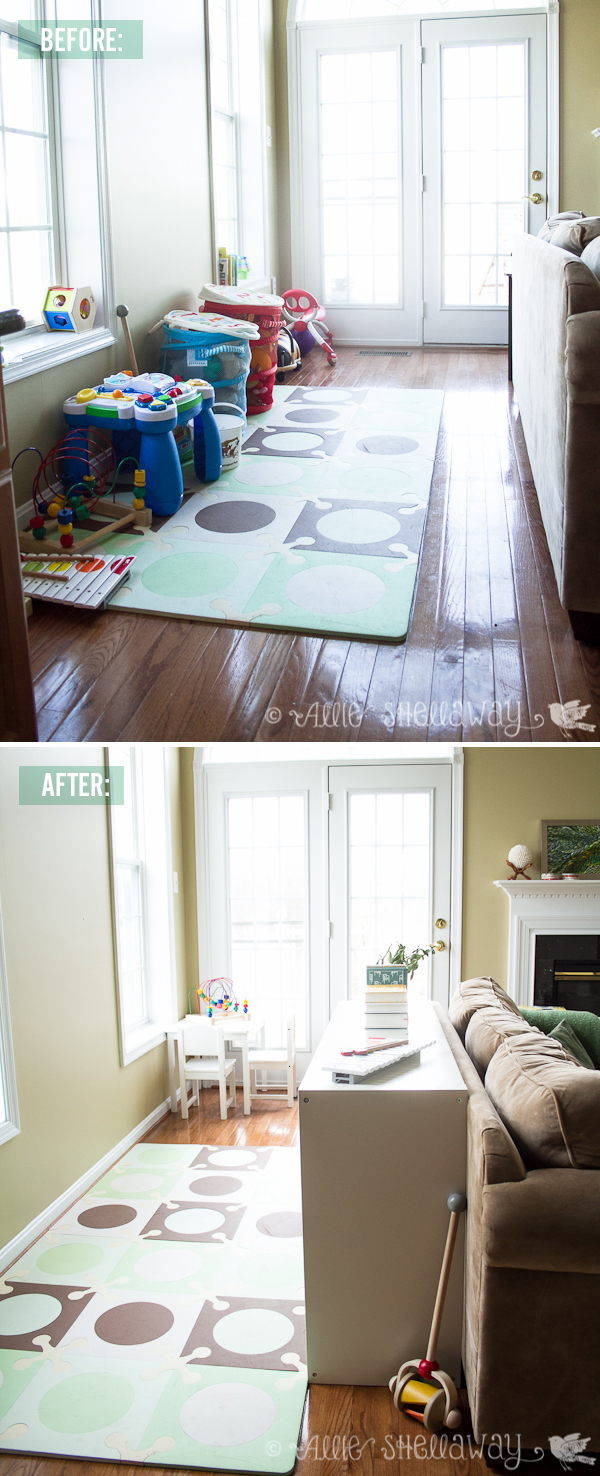
I never in a million years thought I would be a play space in the living room kind of parent, but here we are... and you know what? It works for us. Well it was working for us. After a few months with this setup, it became clear that our little galley play space needed to be re-thought. And last weekend I finally got around to it...

Before the redesign we had everything lined up against the wall, and Emma would inevitably get bored and start digging all of her toys out of the bottom of those mesh bins. It made for very unfocused and messy play. We also had a lot of toys from when she was younger that we needed to weed out.

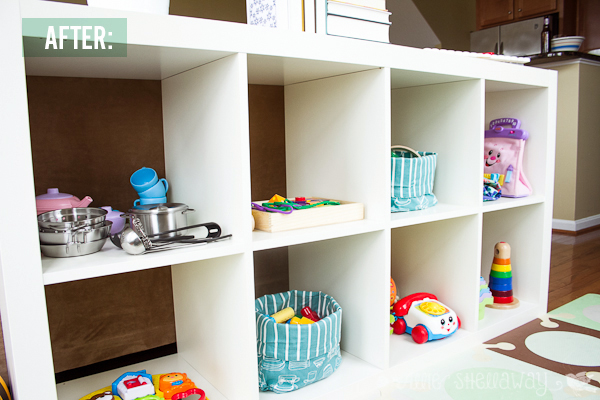
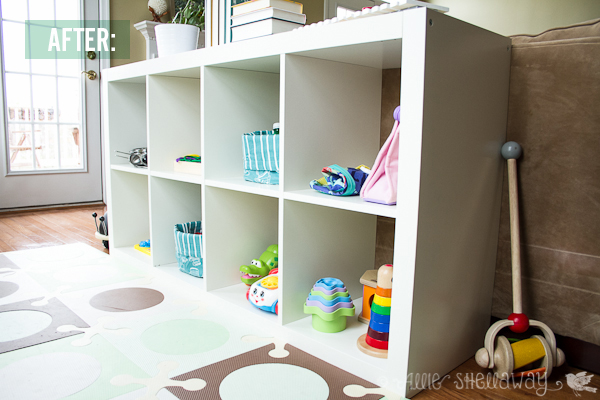
Now Emma's toys are all within view, and mostly organized by type of activity. I know what you're thinking - there's no way it still looks like this. Well, I'm happy to report that it does! It's surprisingly much easier to clean up than before. Maybe because everything has its own place and the shelves aren't overflowing with toys.

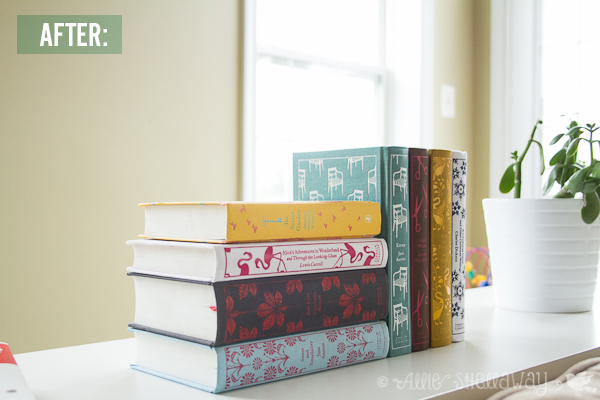
What I love most about our shared living/play space is that you can't really see it when you first walk into the living room. And I finally found a place to display my beloved Penguin Classics collection of books...

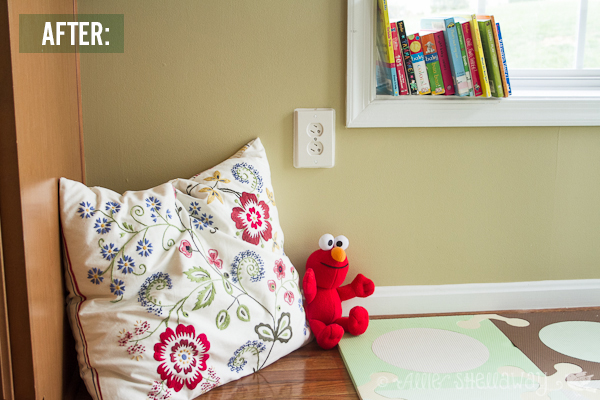
I still have a couple of To Dos for the space, including some art in between the windows and a little upholstered chair to replace this pillow in Emma's reading nook:

What are your thoughts on having a play space in the living room? Major faux pas or an inevitable fact of life with kids?

(PS... try to ignore all the beige-overload. Oh how I can't wait to be a homeowner again.) :)

Resources:


Our First House: Before & After

(Note: most of the before photos are from the original listing when we bought the house, and all of the after photos are what our photographer, Terry Iverson, took right before we went on the market.)
Front Before
Front After

{Changes made}

Nothing major... just landscaping maintenance and getting the trees trimmed back

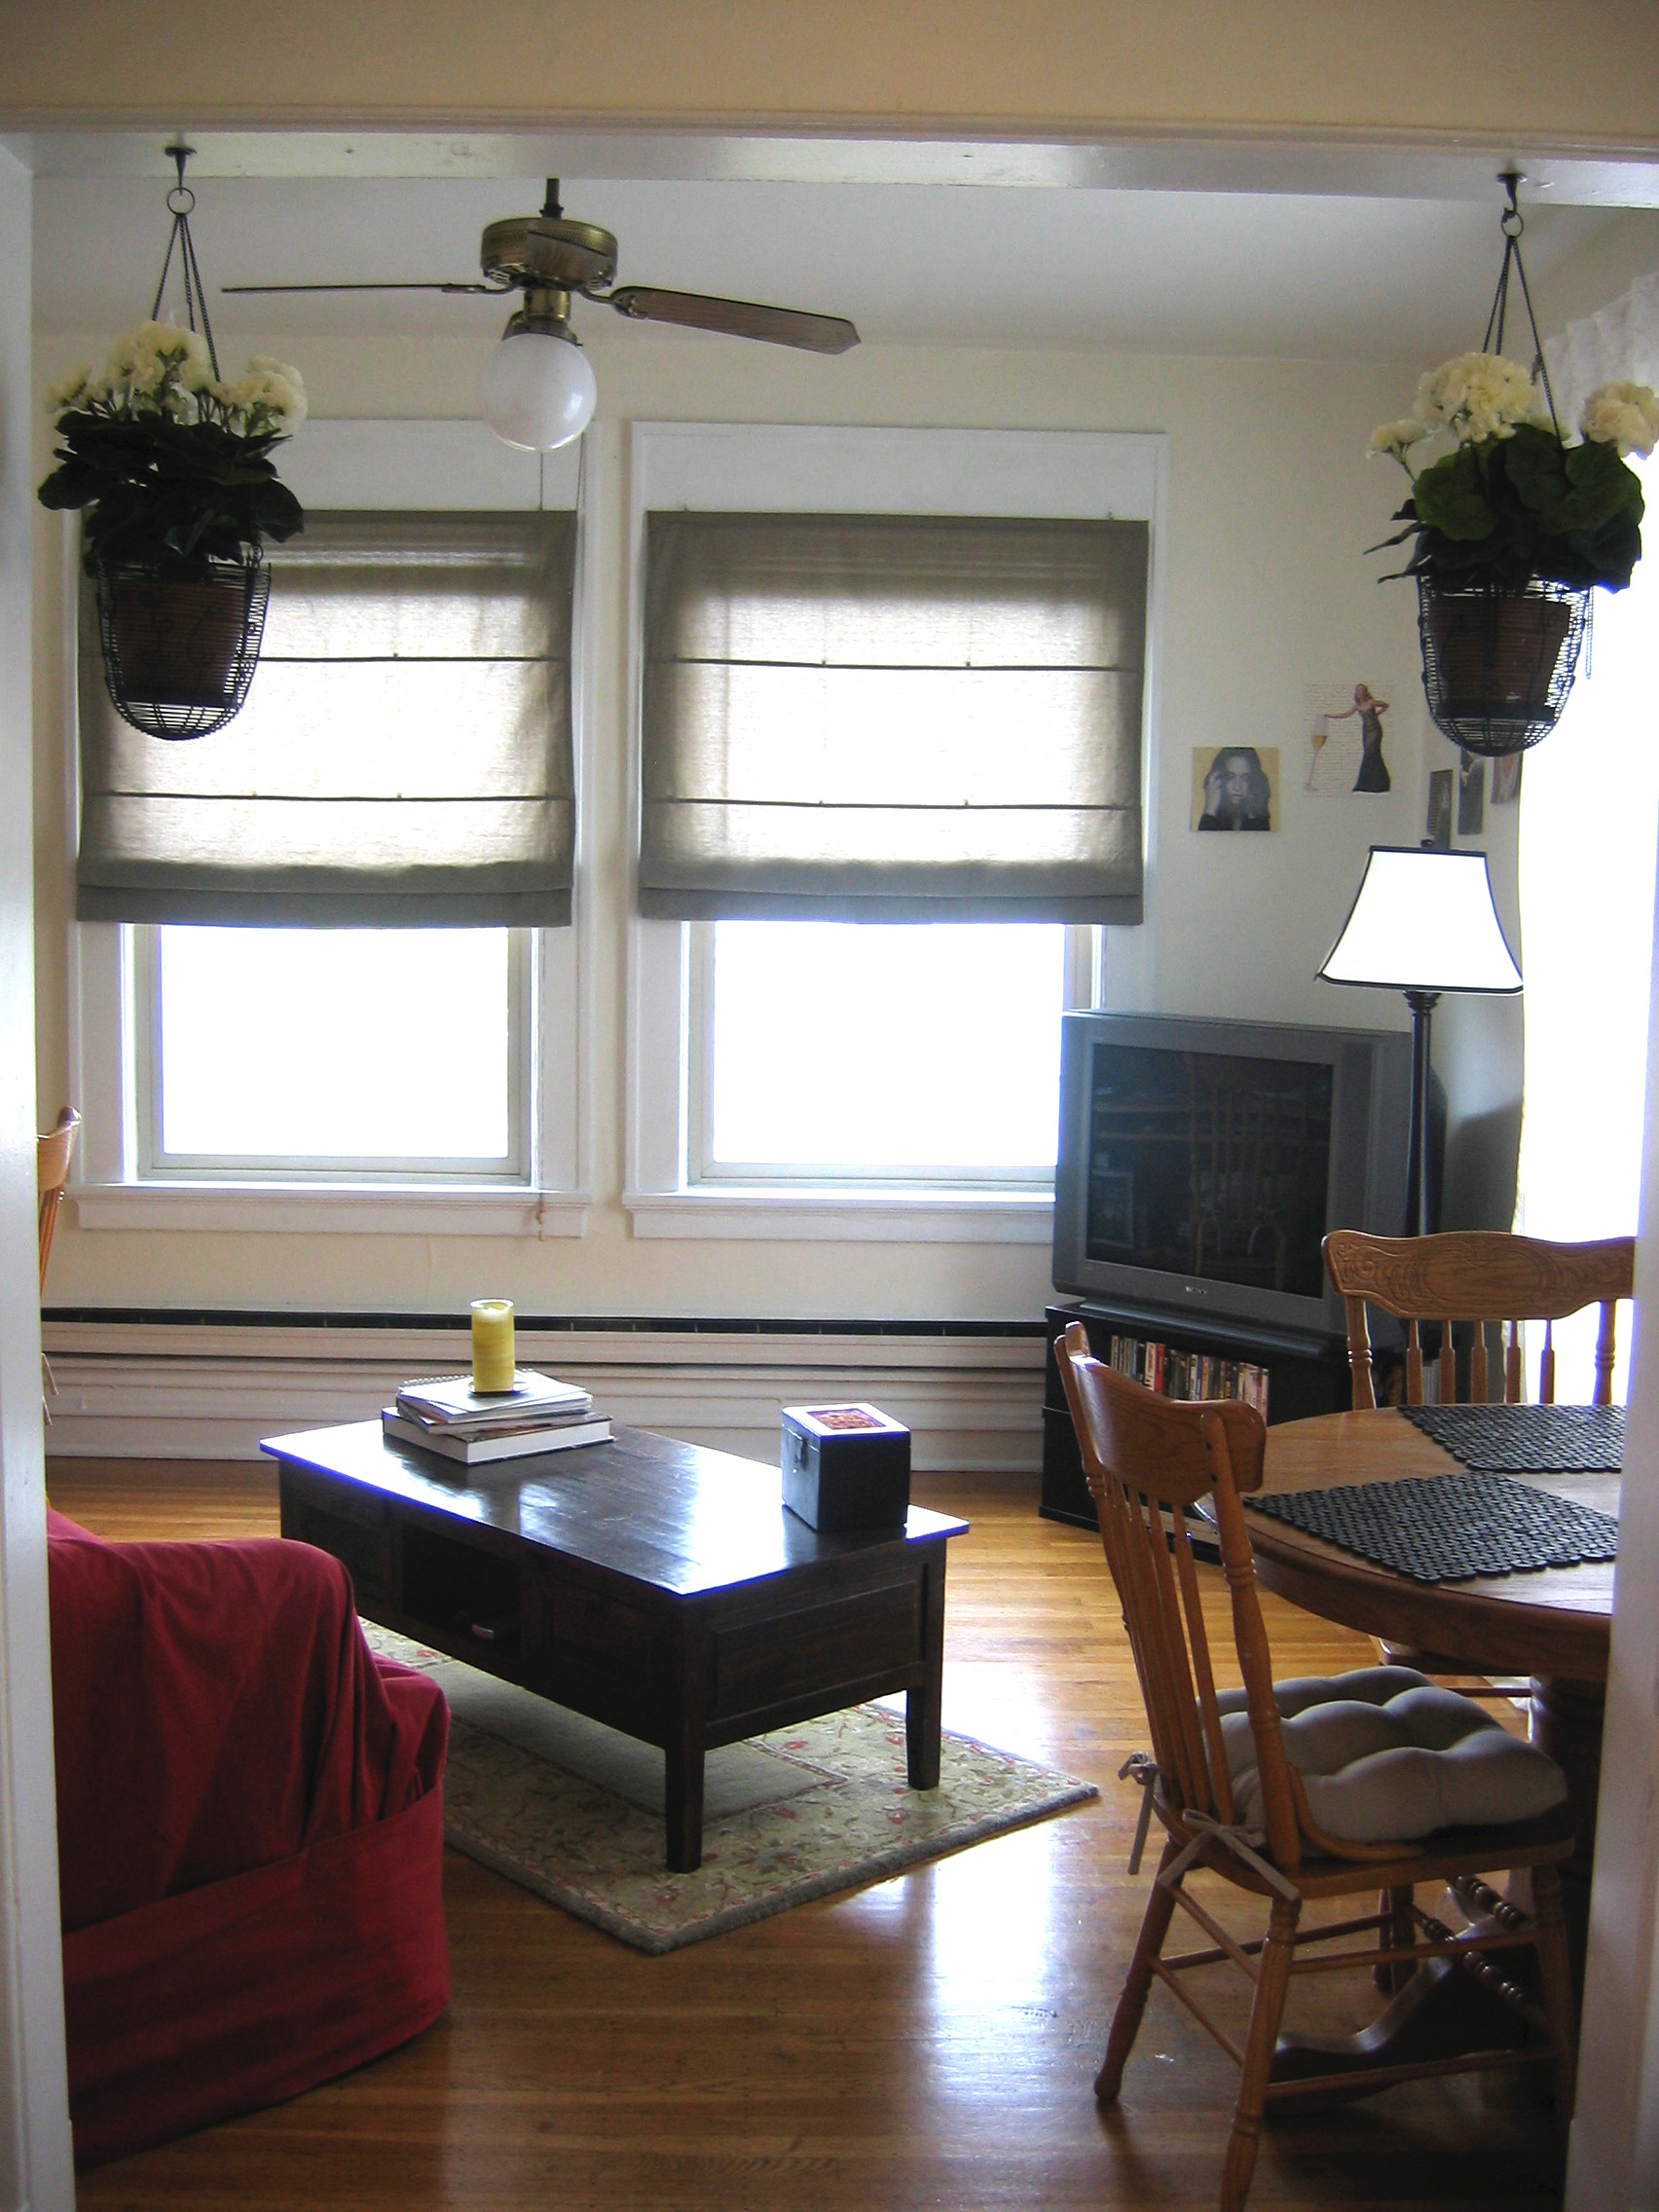
Living Room After

{Changes made}

Nothing major... ahead of going on the market we took down our massive TV and decluttered the bookcases and mantle

Dining Room After

{Changes made}

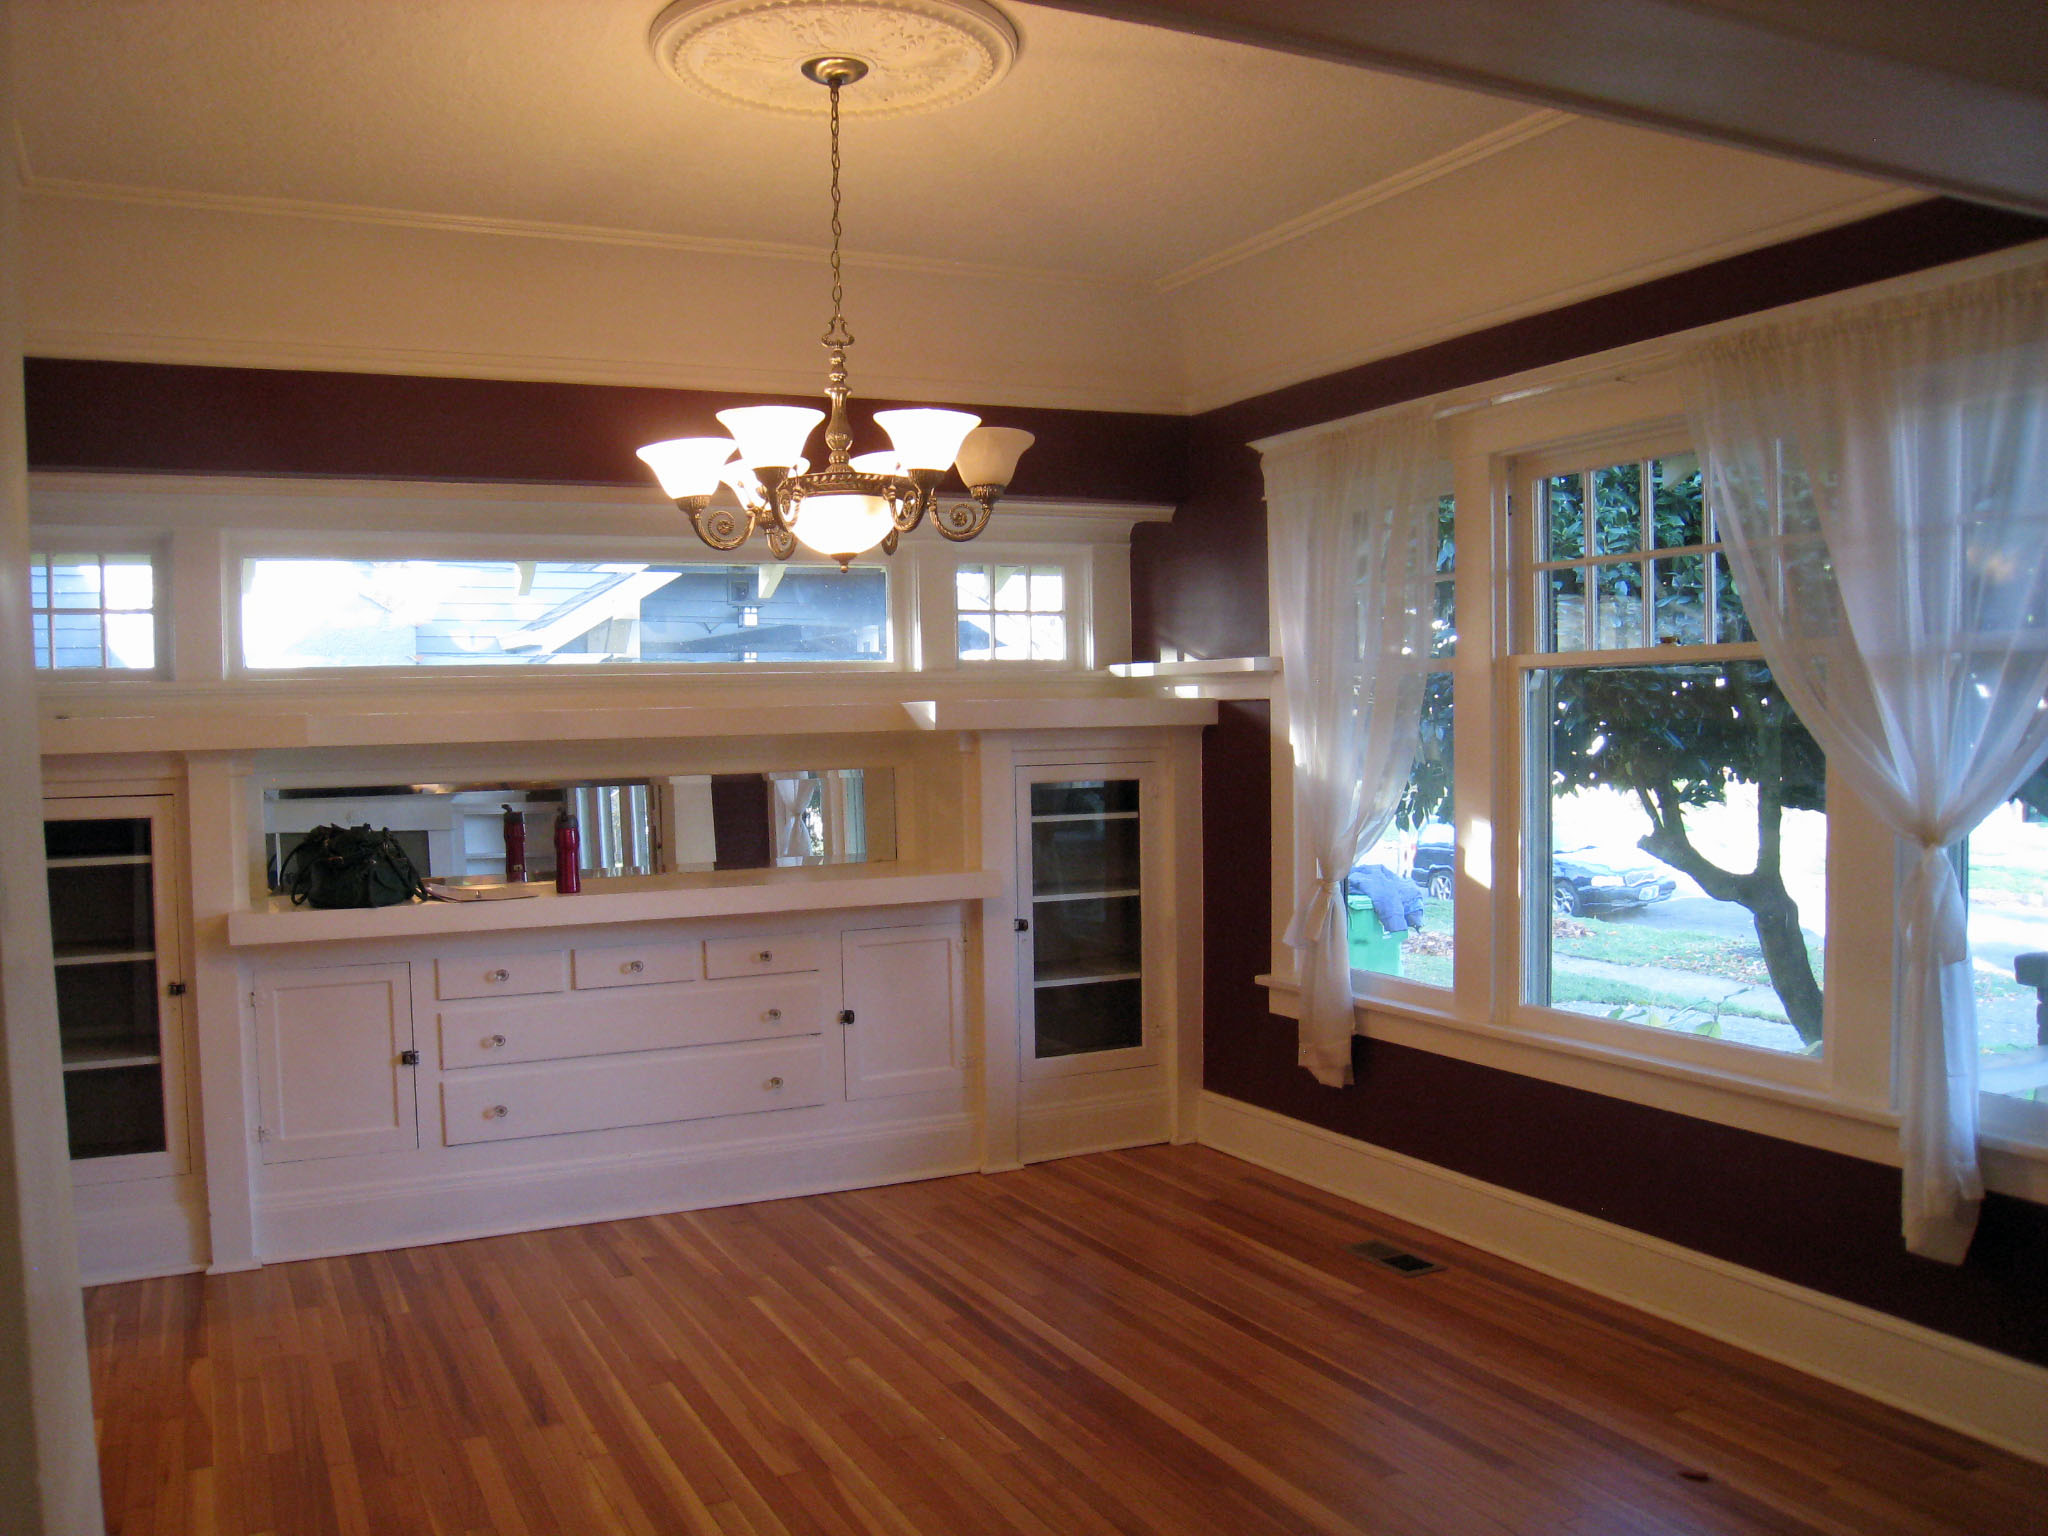
- Painted the same color as the living room to make it feel more like one big space

- New curtains and hardware

- Ahead of going on the market we gave the main section of the buffet a new coat of paint so it would shine at the showings

Kitchen before
Kitchen after

{Changes made}

We upgraded all of the appliances except the dishwasher. You can't see it in this photo, but we also upgraded the refrigerator from a white side by side to a stainless steel with french doors with a pull out freezer drawer. It was roomy and wonderful.

We also replaced all of the cabinet hardware, which made a much bigger difference than I anticipated considering it only cost us about $100.

Landing Before
Landing After

 {Changes made}

Got rid of that hideous yellow and painted the whole area a nice neutral color

Sun Room before
Sun Room after

{Changes made}

This is one of the most changed rooms in the whole house, and you can get all the details here!

Guest Bedroom before
Guest Bedroom after

{Changes made}

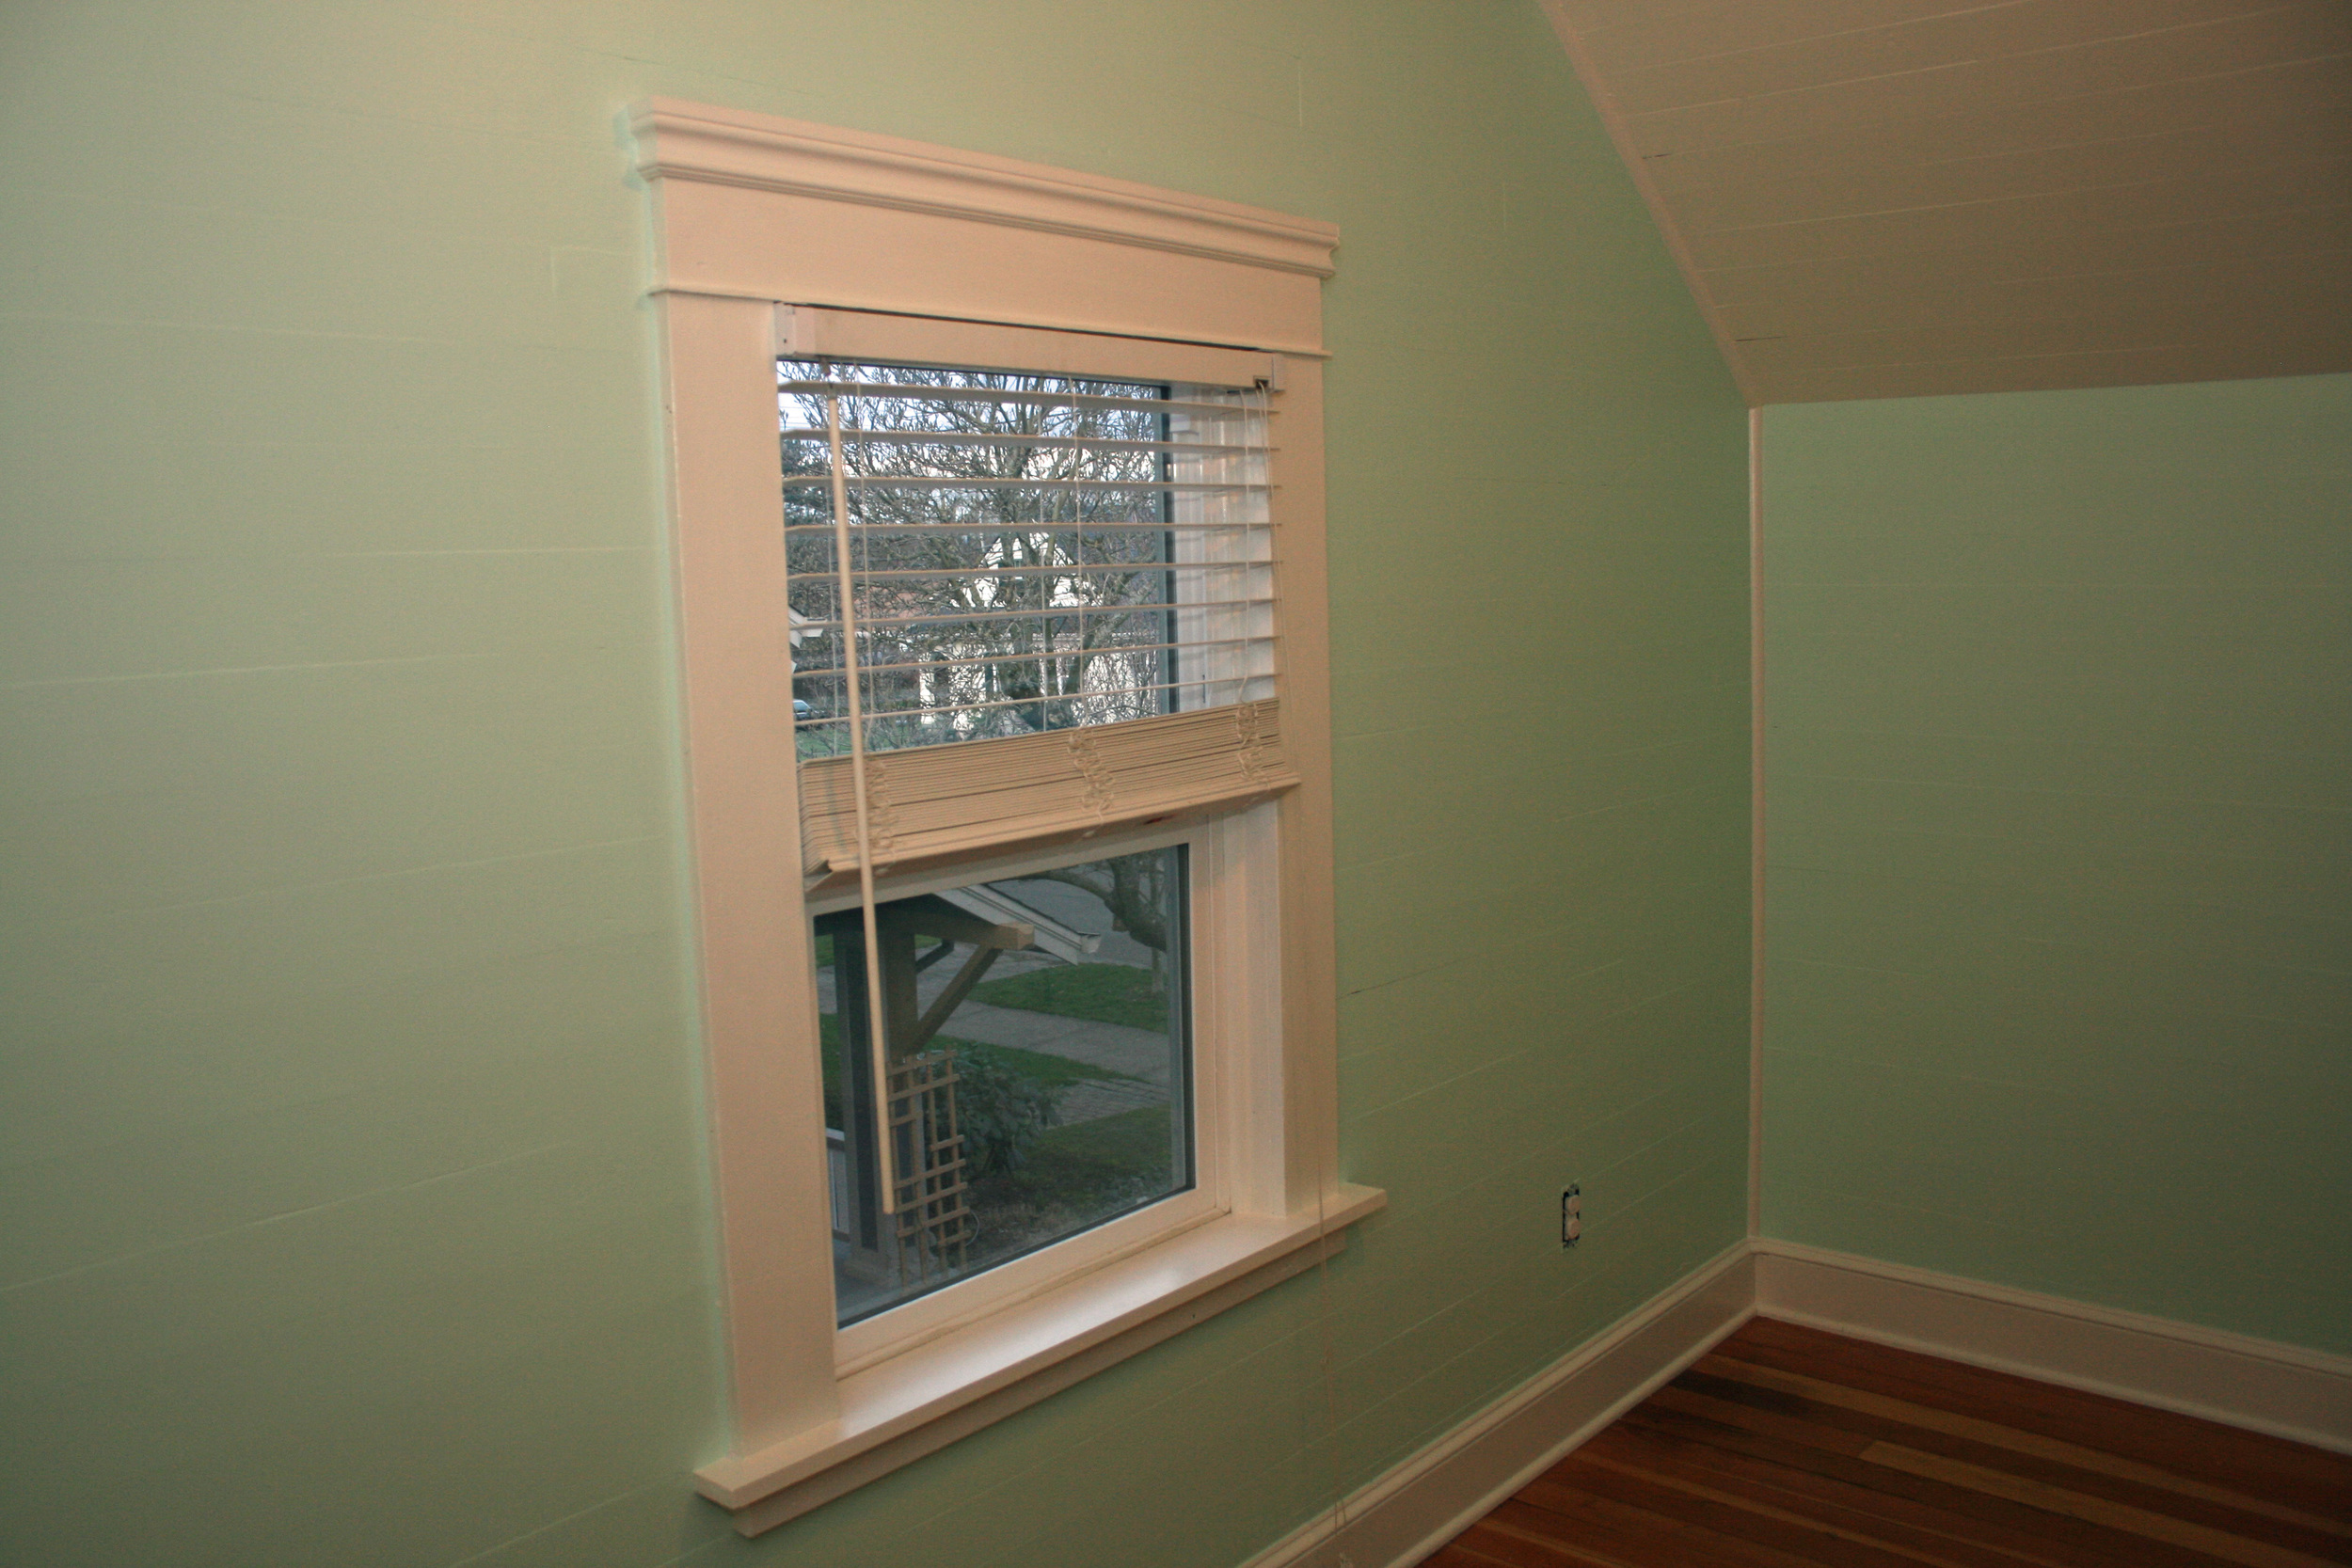
It's amazing what a coat of paint will do! We got rid of that icky dark blue and painted the room one of my favorite colors ever, Benjamin Moore Woodland White. It's this super soft pale green and I love how it completely transformed the room.

We also replaced the outdated window treatments with simple roman blinds.

Guest Bathroom before
Guest Bathroom after

{Changes made}

You can't see it in either picture but we replaced the gross crooked builder grade round bulb light fixture with something much prettier (and level!)

We also gave the wainscoting another coat because whoever originally renovated this bathroom only gave it one coat and you could see the bare wood peeking through. Shame shame.

Nursery before
Nursery after

{Changes made}

This room still makes me so happy. :-) You can read about all the changes we made here.

Master Bathroom before
Master Bathroom after

 {Changes made}

Ah yes, the saddest master bathroom of all time. It's so tiny! It's definitely the thing I miss least about our first house. We were pretty limited in what we could do here, but we did give it a lighter paint color (Benjamin Moore Pearl River).

We also took the shelves out of that nook to the right of the shower and installed towel hooks and a basket, that way we could keep the walls clear and make it feel just the tiniest bit bigger.

Master Bedroom before
Master Bedroom after

{Changes made}

Let's be honest here, one look at the bedroom before and it's not hard to believe that the owners before us got divorced. From the paint, to the ceiling fan, to the TV where the vanity should be, it was all just plain bad.

The first thing we did was paint the walls the same Benjamin Moore Pearl River gray that's in the bathroom. We also gave the whole wall with the closets and vanity a fresh coat of white paint. The top to the vanity was bare wood before and it really came together once we painted it white.

We also replaced the old wooden ceiling fan (it had a plastic unicorn head at the end of it's pull string, I kid you not), the window treatments, and installed sconces on either side of the bed.

Basement before
Basement before
Basement after
Basement after

 {Changes made}

The basement was a huge labor of love, and I'm glad for it because by the time we moved we were spending the majority of our evenings down there.

We immediately replaced the Costco washer and dryer with my dream front loading washer and dryer. They almost made doing laundry fun.

We also tore out all of the remnants of old walls that used to be down there as well as the ceiling tiles. (I love how hours and hours of work end up getting packed into one small sentence.)

We installed carpet tiles when I was 8 months pregnant, and turned the space into a multi-use family room, with tv, crafting, and play areas. Jared even had a keezer (it's like a kegerator) down there! It wasn't fancy, but functionally the space really worked for us.

Backyard before
Backyard before
Backyard after
Backyard after

{Changes made}

The backyard was Jared's pet project for the 2+ years we lived there. He worked his tail off weekend after weekend, and it shows. He ended up creating so much more space for us back there, including areas for grilling, a garden box, and a fire pit. We moved before the weather got nice, and I would have loved to see it one more time in full bloom.

Whew! That's it! 2 years of hard work packed into one post. If you have questions about resources or anything else, just shoot me a comment or email.
watch her grow

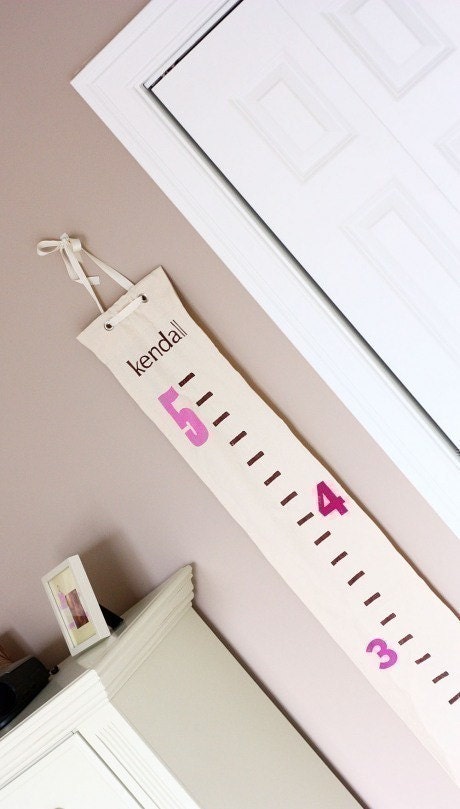
Emma's approaching an age where she might actually stand still long enough for us to mark her height on a growth chart, so I've been scouring the Internet looking for just the right one. I want something that has a clean look and that can be easily moved to our next home in a couple of years. Here are my favorites:

 This one is a little more than I want to spend, but I love how fun and unique it is.

This one is simple and cute, and would be really easy to DIY.

Measure Me Stick from Studio 1am

This is my favorite among the wooden ruler variety, but I'm still not sure it's the best fit for our decor.

Embroidered growth chart on Apartment Therapy

This one is easily my favorite of the bunch... I have plenty of scrap fabric I could use, and it has both an heirloom and modern feel to it. It's nice enough to keep out if we want, but can also be easily rolled up if we want to keep it stored. I'm determined to make it before the end of the year. Or at least before Emma's like 5 feet tall. :-)

roll with the changes

When Emma became mobile a couple of months ago we knew we'd have to make some changes to our living room to give her more space to play. My goal was to be able to go from living room to play room and back again in less than 2 minutes. I knew if it took any more time or effort that our living room would become a permanent playroom and five years from now we'd be one of those desperate couples on Dear Genevieve who used to have semi-decent taste but whose house has become overrun with toys and laundry and kitchy sayings over the door like "a meal without wine... is breakfast!" Oh no. We will not be one of those couples. So, our first step was to buy a bigger rug... we opted for something relatively disposable since babies are not tidy creatures, nor is our 65 lb dog. The Havbro does the job, but I won't be sad to see it go. So now Emma had a nice big rug to play on, but we still had the issue of the coffee table. Then it hit me... what if we sawed off the legs and replaced them with casters so we could easily roll the table out of the way during play time?? I've certainly had crazier ideas, and Jared was on board so we used a circular saw to cut off the legs, and replaced them with the steel casters we ordered off of Amazon. And, voila!

And here's what it looks like during playtime...

Here's a close up of the casters...

It's working out surprisingly well for us, so far. And I actually kind of like the industrial feel the table now has. The only downside is that the casters don't lock, which is a bit concerning for her tiny fingers, and for when she gets strong enough to move the table on her own. So for now we're super careful not to let her play with the wheels (it's not like we leave her unattended anyway, so it's really not an issue). We didn't want to spend a lot on pricey casters in case the experiment was a bust, but now that we know it works we'd be willing to upgrade the casters if it becomes necessary.

If you're wondering what the coffee table looked like before, here's a shot of it in my first "big girl" apartment in Seattle... It's been through three moves since then. Hence all the scratches. :-)

So where do we hide all those toys when play time is over? They all have their own little basket that fits perfectly into the console table. And they're kept at kid height so eventually Emma can help clean up. (And she'll be able to more easily take each and every toy out of there when she decides the one at the very bottom is the one she wants to play with. But I'm choosing not to focus on that part.)

I'm certain these aren't the last of the living room changes... as Emma grows and becomes even more mobile, we'll need to do more baby proofing and likely more decluttering. But for now, operation rolling coffee table has been a great success.

{nursery progress} the big reveal!

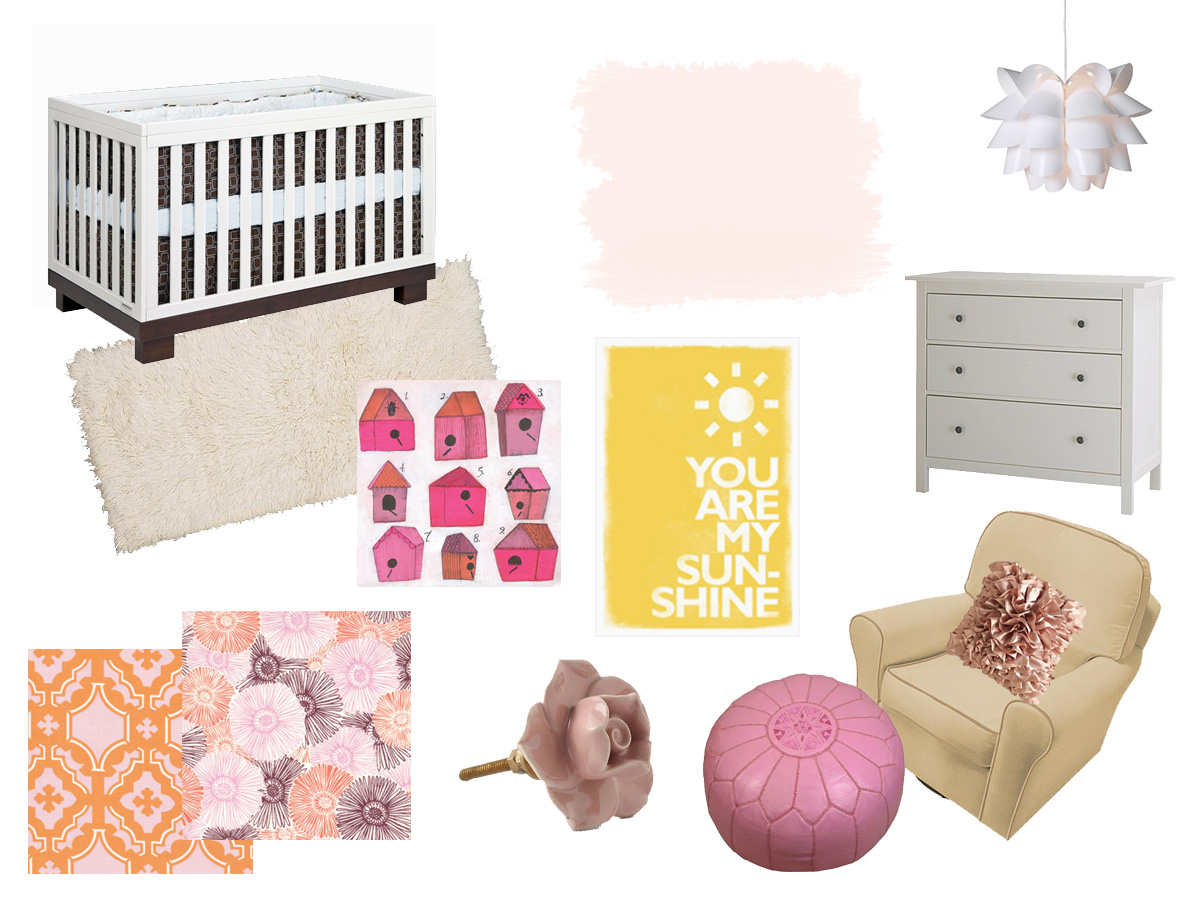
Now that Emma is finally here, I can show you her finished nursery! The expression "labor of love" has a whole new meaning for me now, but we did put a lot of hard work and care into getting her nursery just right. If you remember back to my initial post about the nursery, this is the design plan I started with:

And here's what the room looked like before:

Starting with a firm budget of $1500, we set out to try to create a sweet, DIY inspired, eco-friendly nursery...

Here's the breakdown of what we DIY'd:

DIY'd:

As I mentioned before, we set a firm $1500 budget for the nursery - and while my husband had serious doubts about my ability to stick to that budget - I'm very proud to report that I came in UNDER BUDGET at $1302.24. The biggest expenses in the room were the Naturepedic organic crib mattress ($259), the Ikea Hemnes dresser ($199), the DaVinci Rivington crib (on sale for $191.99), the Elfa stacking drawers for the closet ($99), and the Naturepedic organic changing pad ($89.10). Together, those purchases made up almost 2/3 of our whole budget. We could have cut corners a bit by not going organic for the mattress and changing pad, but raising Emma in an eco-conscious way is very important to us, so we were willing to invest a little more for those things.

Here are close-ups of most of the things I DIY'd:

Bird mobile

Paper circle mobile

Golden Slumbers print

Murder in the City print

Monogrammed throw pillow

Personalized baby quilt

Bunting

Gum Drop ottoman

I hope you like it!  Well, really I just hope Emma likes it. :-) It was a lot of hard work, but we couldn't be happier with the final result. Leave me a comment if you have any questions about resources or any of the DIY projects!

{nursery progress} DIY song lyric prints

IMG_5669_edited-1.jpg

One of the easiest ways I knew I could save money in the nursery was by making my own art prints.  We knew there were a couple song lyrics we especially wanted to use, so all I had to do was figure out the right fonts and colors.  I used PowerPoint (it's not just for presentations, people!) to design each print, and framed them in Ikea frames.

(Fonts: Eras Light ITC and Marketing Script)

I've always loved the song Golden Slumbers, which is good because it gets stuck in my head every time I'm in the nursery. I can't wait to play it for our daughter.

(Font: Yesterday Again)

Jared and I first heard Murder in the City at Bumbershoot back in 2007 (you can see that exact performance of it right here), and immediately fell in love with it. Shortly after Scott Avett had his baby girl, he changed one of the lyrics to "make sure my daughter knows I loved her, make sure her mother knows the same" - so when we found out we were having a girl, the song became even more special for us.  The lyric in this print is the last line of the song, and we hope that someday those words mean as much to our daughter as they mean to us.

Here are links to download the prints (for personal use only, please):

[dm]6[/dm]

[dm]7[/dm]

Email or comment if you want the PowerPoint files so you can change the fonts and/or colors.

{nursery progress} gum drop ottoman

I'm happy to report that I reached my goal of having the quilt and ottoman done before the end of my 2nd trimester.  Woohoo!  I'm not sure I want to know how much worse my back would have felt if I'd left all this sewing for my 3rd trimester.

The Gum Drop Pillow/Ottoman pattern was pretty easy to follow (for an Amy Butler pattern), but I think my choice of flannel is going to come back to haunt me.  I'm not sure how it'll hold up over time, and it was stretchier than regular cotton so I ended up needing way more batting than the pattern called for (11 1/4 lbs!!!).  So why did I go with flannel?  It was the exact color I was looking for.  Sometimes color trumps common sense.

I'm also not sure how I feel about it being slip-stitched closed.  I've become slightly anal about making sure every bit of fabric in the nursery is removable and washable, so it makes me nervous that this ottoman doesn't meet those criteria.  I'm thinking the first time I have to rip those stitches open, take out all the batting, and wash out whatever unpleasantness got all over it, I'm going to sew in an invisible zipper.

Since the ottoman is pretty big (though it's the perfect size for supporting my feet while nursing or reading to the baby) it'll spend most of the time living under the window to clear up floor space.

You'll also notice that we finished painting the Poang!  It took 3 coats of semi-gloss (using a foam brush) after sanding down the varnish, but it was worth it.  It fits much better in the room than the natural wood did.

Up next... I've been working away on the mobile and I'm hoping to get it done this week.  I didn't realize until I had everything cut that the birds need to be hand sewn.  Yuck.  But I have 4 done, and they look super cute, so hopefully it'll be worth all that extra time.  In case you're wondering, it does occasionally cross my mind that my daughter will never remember all this stuff I'm doing for her room, but then I stand in there and see how everything's coming together and it makes me happy enough to no longer care.  :)

{nursery progress} paint!

It took us 1 coat of primer, 3 coats of wall paint, and 2 coats of ceiling paint - but the painting is finally done!  As a reminder, here's how it looked before:

And here's how it looks now!

We covered every inch of that room with paint - the walls, the built-ins, the trim, the window, the ceiling, and even that old door.  Before we started I had tested some pretty big patches of a couple different colors on each wall, so I was pretty sure the color we picked would work out - but there's always that moment of panic after you get the first coat on when it's too late to turn back and you're still a couple coats away from being able to see the finished product.  But thankfully it's exactly what I'd envisioned - a rarity in the life of a DIYer.  (PS... the paint is Acro Pure No-VOC from Miller Paint in "Teal Treat" #0712.  The white paint is also No-VOC in a semi-gloss finish... they apparently don't recommend water-based paint for trim because it doesn't spread as well, but we used a soft bristled brush and it worked out great.)

You'll notice that the old door is still there... we realized that a new door would also need a new frame and that was just way more than we were ready to take on.  So we sanded the old door so that it actually closes, and I even managed to fix the mortise lock so we don't have to replace that either.  We're going to leave the glass uncovered for now, but I'll probably add a little curtain for it down the road.

Oh, and here's a close-up of the new hardware on the built-ins:

I'm kind of obsessed.

I can't even tell you how happy I am to have the painting done... not only because it means we can get the furniture, but because having to scoot around on the floor painting baseboards while you're nearly 6 months pregnant really really sucks.  Not exactly painless, but totally worth it.

nursery progress: the design plan

Before we found out the baby's gender, I thought I had my mind pretty made up about the direction I wanted to go in for the nursery if it was a girl. (I didn't really have a clue for the boy, so from a design perspective it was rather convenient that the baby turned out to be a girl.) I never ever thought I'd be a pink nursery kind of person, but when I saw this color palette I was a convert. It was the right combination of feminine, fun, pretty, and vintage. I just had to sell Jared on the idea. So I created two mood boards: one with the pink palette and one with a cute yellow/aqua palette I'd seen on one of the baby design blogs I subscribe to. The plan was to make the pink palette so good that he just had to go for it, and make the yellow/aqua palette just so-so. Hey, I never said I was going to be totally objective about this process. :-) Here's the pink mood board I came up with:

Here's the thing. I liked it, but didn't love it. I had a much harder time than I thought I would finding the right fabrics and accessories, and I'm still not 100% thrilled with what I ended up with. It's cute and girly, but it just didn't come together as well as I had hoped.

So then I moved on to creating the yellow/aqua mood board:

And you know what? I completely fell in love with this room. Creating this mood board was fun, unlike the stress I felt trying to create the pink one. It was so easy to find great fabrics, art, and accessories to bring the room to life - which gave me hope that actually shopping for all that stuff would be a breeze. And I really liked the feel of it once it was all done - it's so sweet and cheerful - girly without being too obvious about it.

So I sent the mood boards to Jared for his thoughts, not telling him which one I liked better. He genuinely liked them both, but said there was something about the yellow/aqua room that sold it for him. Phew!

Now that the design was done I went back to the budget worksheet I'd put together to see if we could really have the nursery of our (okay, my) dreams on a $1500 budget. Thankfully, with a good amount of DIYing and a bit of repurposing, it's actually possible. Here's the plan:

To buy:

  • Crib
  • Mattress
  • Dresser
  • Rug
  • Light
  • Sheers
  • Cornice kit
  • Hardware (the Anthro hardware is a bit of a splurge, but it's one of those elements that really makes the room for me)
  • Bookshelves
  • 3 Frames
  • Hot air balloon print
  • Slide out bins for the closet floor

To DIY/sew:

  • Painting the walls, ceiling, trim, Poang, bookshelves, and built-ins
  • Fabric covered 7" cornice for the window
  • 2 changing pad covers
  • Crib/play quilt (Amy Butler pattern from Little Stitches for Little Ones)
  • Gum Drop Ottoman
  • Padded arm rests for the Poang
  • Toss pillow for the Poang
  • Paper circles mobile
  • 2 DIY art prints

So yeah, kinda a lot in the DIY column. I'm desperately going to try to get at least the quilt and ottoman done before the end of my 2nd trimester. The other DIY projects are on the easier side and I can enlist help for those if need be.

We've already gotten the first step of the nursery makeover done - bringing in an electrician to install a light switch for the overhead light (fumbling to find that little chain the middle of the night just wasn't going to happen, plus we feel like having a switch that dims is going to come in very handy) and adding another outlet to the wall where the window is. (For the record, the electrical work was not included in the $1500 budget because we felt like it was something the room needed regardless of what we used it for.)

The next step is paint! Luckily, Jared's "never painting another room in this house ever again" vow is no match for the love he has for his pregnant wife and beautiful unborn daughter, so we'll be tackling the painting together. I'll try to post pics of our progress along the way, so stay tuned...

nursery progress: the starting point

And so it begins... now that we know the gender of our little one I - uh, we - can finally get started on figuring out what her room will look like!  Our goal is to do the whole nursery for $1500 (there are a couple of smaller things we're registering for like crib sheets and a changing pad, but the vast majority we're planning to get ourselves.) Here's a little idea of what we're starting with:

The nursery is pretty small (I'd estimate 7x10 ft) so having a built in dresser is a nice plus.  What the closet lacks in height it makes up for in depth, which means lots of hidden storage in the back of the closet for seasonal items, bigger toys, and all the other stuff I'm told babies accumulate in droves. The wall to the left is where the changing table will go. We opted for more of a multitasker dresser instead of a traditional changing table in hopes that we can use it in her room long after she's in diapers.

To the left of this window is where the glider/rocker will go.  Despite how great and comfortable they're supposed to be, I just can't get past the look of traditional gliders.  So I'm going to try to use one of the two Ikea Poangs we already have. I'm planning to paint the wood on the chair the same color as the trim and add padded arm rests for additional comfort while nursing.  I've heard mixed things about using Poangs as gliders, but since we already have one I figure I might as well give it a shot. If you see me driving around town with a newborn this summer frantically trying to find the holy grail that is the affordable, modern, comfortable glider, you'll know the Poang was a bust.

This is the wall where the crib will go (parallel to the short wall.)  And that is the door that we will sadly be replacing.  I love the little glass window, but the door itself is old and loud (not great for middle of the night check-ins) and the knob and lock are totally busted.  I could replace the knob and lock, but then I'm back to the same polished brass mortise lock issue from last year and since I can't be using stripping agents and spray paint while pregnant, it's just a whole lot easier to replace the door with a new one and a standard knob. We plan to donate the door to the Rebuilding Center so hopefully someone else will give it the love it deserves.

Up next... the design plan!

amy butler's short pleated aprons

As late as last summer I was still secretly hoping to do a 100% handmade Christmas... yyyyyeah, that didn't really work out. But I did manage to make a couple things for my sister and mom - well 2 of the same thing: Amy Butler's Short Pleated Aprons from her In Stitches book.

If you're thinking about tackling this pattern, I can assure you it's about as easy as Amy Butler gets. You can make each apron in only a few hours (I'm pretty sure the pressing took longer than the actual sewing,) and all you need is thread and a yard and a half of fabric - no special notions - which is very rare for an Amy Butler pattern.

Here's a close up of the waist band, pocket, and towel loop:

And here are the beautiful recipients!

(FYI, in case you're curious... I used Midwest Modern Fresh Poppies and an unknown Westminster fabric for my sister's apron, and Daisy Chain Clematis for my mom's apron.)

{Christmas 2010} decor

It's hard to believe that Christmas is already over!  So sad.  Overall, it was the best Christmas yet... the first in our new house, and the last we'd spend just the two of us.  (Well, the two of us and one very excited dog.)  Here's a recap of how we decorated this year:

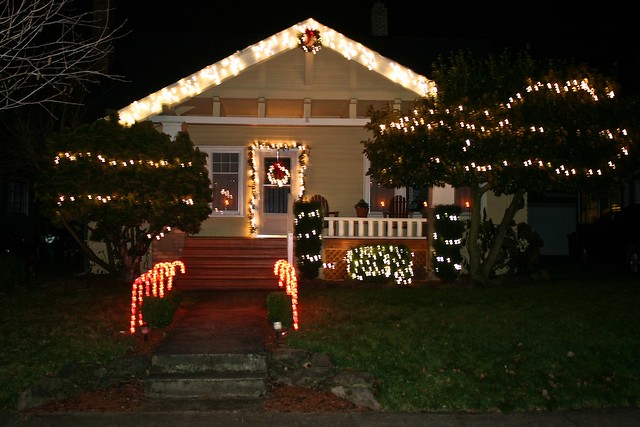
The first step was to decorate the outside of the house.  We might have been a little excited.  We might have been thinking about how we'd decorate for the past year.  We might have driven through our neighborhood last year before we moved in to check out the competition.  Shhhhh.

The next step was to decorate the inside of the house.  This year, my approach was to try to make things look really festive, but to not spend a lot of money doing it.  So I loaded up on ornaments and ribbon and went room to room adding little touches of red, green, silver, and white...

After putting up the tree (we're traditionalists and go real every year, and probably always will) the last step was to find a nice way to display the many wonderful Christmas cards sent to us from family and friends.  After outgrowing a couple different locations, we finally settled on displaying them on the buffet in our dining room.

Up next... the food!

before & after: our sun room

Of all the rooms in our house, our sun room has probably undergone the biggest transformation since we moved in.  The previous owners used it as a rather awkward family/tv room, but since Jared and I knew we'd be putting our TV in the living room, we had to come up with an alternate use.  We had a couple of big things we had no place for - mainly our small kitchen table and the bar/bookcase set Jared's parents got us as a wedding gift (seriously awesome.)  So we decided to make the room into a combo breakfast nook/lounging/reading/music listening room.  It sounds like a disastrous hodge-podge of a room idea, but bear with me... Here's what we started with:

This room was built as an addition to the original house, and the previous owners went with builder's beige, bare trim, and polished brass hardware.  No thanks.  So before we even moved in we hired the very awesome Benjamin at Portland Painting & Restoration to spray all the trim (it feels like glass now) and paint the walls with low VOC paint (Cape May Cobblestone from Benjamin Moore.)  We normally try to DIY the painting, but the trim made this job way beyond our abilities.  Given how great it looked when Ben and his team were done, we know we made the right call.

I love how the walls play off the stone tile, and the painted trim really helps connect the room to the rest of the house.  The table is the same one I had in my kitchen growing up, but spruced up with dark brown paint and white Ikea Ingolf chairs.

See, this is how the previous owners had it set up.  Pretty lame, in my opinion.  What's the point of a sun room if you're going to block the windows with roman blinds and a huge TV?  Clearly we love and appreciate this house way more than they did and are most likely far superior people.  ;)

And here's how they had the other side of the room set up...

I'll be honest... I've always found it a little strange that they didn't even bother to straighten the pillows for their listing photo.  My friend Sarah would make such things illegal if she could.  Anyway, here's how it looks now:

This is the lounging/reading/music listening portion of the room.  Alcohol may also get consumed here from time to time.  The chairs are the black leather Tullsta chairs (covered with Blekinge white Ektorp Tullsta slip covers) from Ikea that used to occupy Jared's office in Seattle.  The ottoman and side table are also from Ikea, and the jute rug is from Pottery Barn.  We thankfully already had all of these items so it was only a matter of re-imagining and re-purposing to give them a new life in the sun room.  The green accents were added to coordinate with the green placemats in the breakfast nook (the pillows are from Target and the tray is from West Elm.)

I'm not quite sure what this wall was before...

The sconces seemed strange since the room gets so much natural light and has a fairly bright overhead light, so we took them out and patched up the walls before painting.  Here's how it looks now...

Much better!  Believe it or not, those shelves are currently holding about 500 CDs.  Stylish CD storage has actually been a bit of a challenge for me since Jared and I moved in together.  Jared is a CDs on display kind of person... I'd be content having everything digital.  He'd be content not having a million candles strewn about the house, so we compromise.  I got a bunch of leather CD cases from Ikea (are you noticing a theme yet?) which enabled me to stack nearly 100 CDs on each shelf.   We were both skeptical about how it would look, so we were relieved that it ended up working out so well.  Which I guess could be said for the room as a whole... what started out as an awkward room turned out to be one of my favorite rooms in the whole house!  All it took was a little imagination, a bit of re-purposing, and a whole lot of paint.

DIY Modern Farm Dining Table

When Jared and I bought our first house earlier this year the one room that we had absolutely zero furniture for was our dining room.  This was the blank slate we had to fill:

I got as far as painting those plum walls a nice warm red, and then went looking for decor inspiration.  I immediately fell in love with this collection from Pottery Barn:

Unfortunately the table and chairs in the picture came to about $4,000.  Thankfully, it was around this same time that I discovered Knock Off Wood.  I saw the plans for the Modern Farmhouse Table and convinced Jared that we could just build our own table. Yet another shining example of my tendency to bite off way more than I can chew!  But it did make sense for us - we wanted a hard wood table that would last us several years and everything in our budget was wood veneer (including the table this plan is based on at West Elm.)  So we bought a miter saw and headed to Wood Crafters here in Portland.  Why didn't we just go to Home Depot and get all our lumber for $30 like the plan says?  Because if we were going through all the effort to build a dining room table that was to last a generation, we were going to use high quality - and most importantly - STRAIGHT boards.  I can't stress how important it is to have straight boards when building this table.  So, we ended up spending about $500 on wood, and received priceless advice from the kind folks at Wood Crafters who took pity on us and didn't make us feel like our stupid questions were - well, stupid.

The table frame was easier than we thought to put together and get square.  A little too easy, actually, since the next steps would prove rather frustrating.

One plank in!  So easy!  Yeah, one goes in great - it's getting all 6 in place that makes you want to give up and start rationalizing how artsy and different a one planked dining table would be.  Apparently, no matter how straight and perfect boards look to the naked eye, when you try to squeeze them in together you discover that each has its own little geographical quirks and that you'll need to try every combination possible before finding the perfect fit.  Fun.

A million screws and 10+ passes with the sander later, and we were ready to stain.  We used gel stain at the recommendation of the guys at Wood Crafters and it was about how I thought it would be - a pain in the rear, unforgiving, and a complete mess.  But the result was beautiful.

The final step was to apply multiple coats of table top varnish.   Then it was off to West Elm for chairs and a rug (Garvey leather chairs and the Jute Boucle rug, to be exact.)  A few candles, a handful of plants, a lot of picture frames and we finally had a formal dining room...

What I love about this table is that if it ever gets screwed up, we can sand, stain, re-coat with varnish, and it'll be as good as new.  You can't do that with wood veneer!  (I repeated those last two sentences to myself about 50 times during the course of making this table.)  In the end, we probably ended up spending about $600 to build and finish the table, and about $1500 for the chairs and rug.  We got the rustic formal dining room of my dreams for a lot more work but almost half the cost.  Not too shabby.

sink skirt storage solution

My friend Angela (mom to the beautiful Mirabel, wearer of this while nursing) came to me late last year with a bathroom sink dilemma.  (And yes, that means it's taken me an inexcusably long time to write about this particular project.)  She sent me this picture of her rather wide sink with no built in storage.  She wanted to be able to store extra toilet paper and such underneath, but wanted it hidden.

Her idea was to attach a sink skirt to the bottom ledge of the tile, but after weeks of searching she couldn't find one that would work.  So she very sweetly asked me to help her out.  I wasn't very familiar with sink skirt construction, so I found a few sink skirt tutorials online and used this as my base (with a few tweaks.)

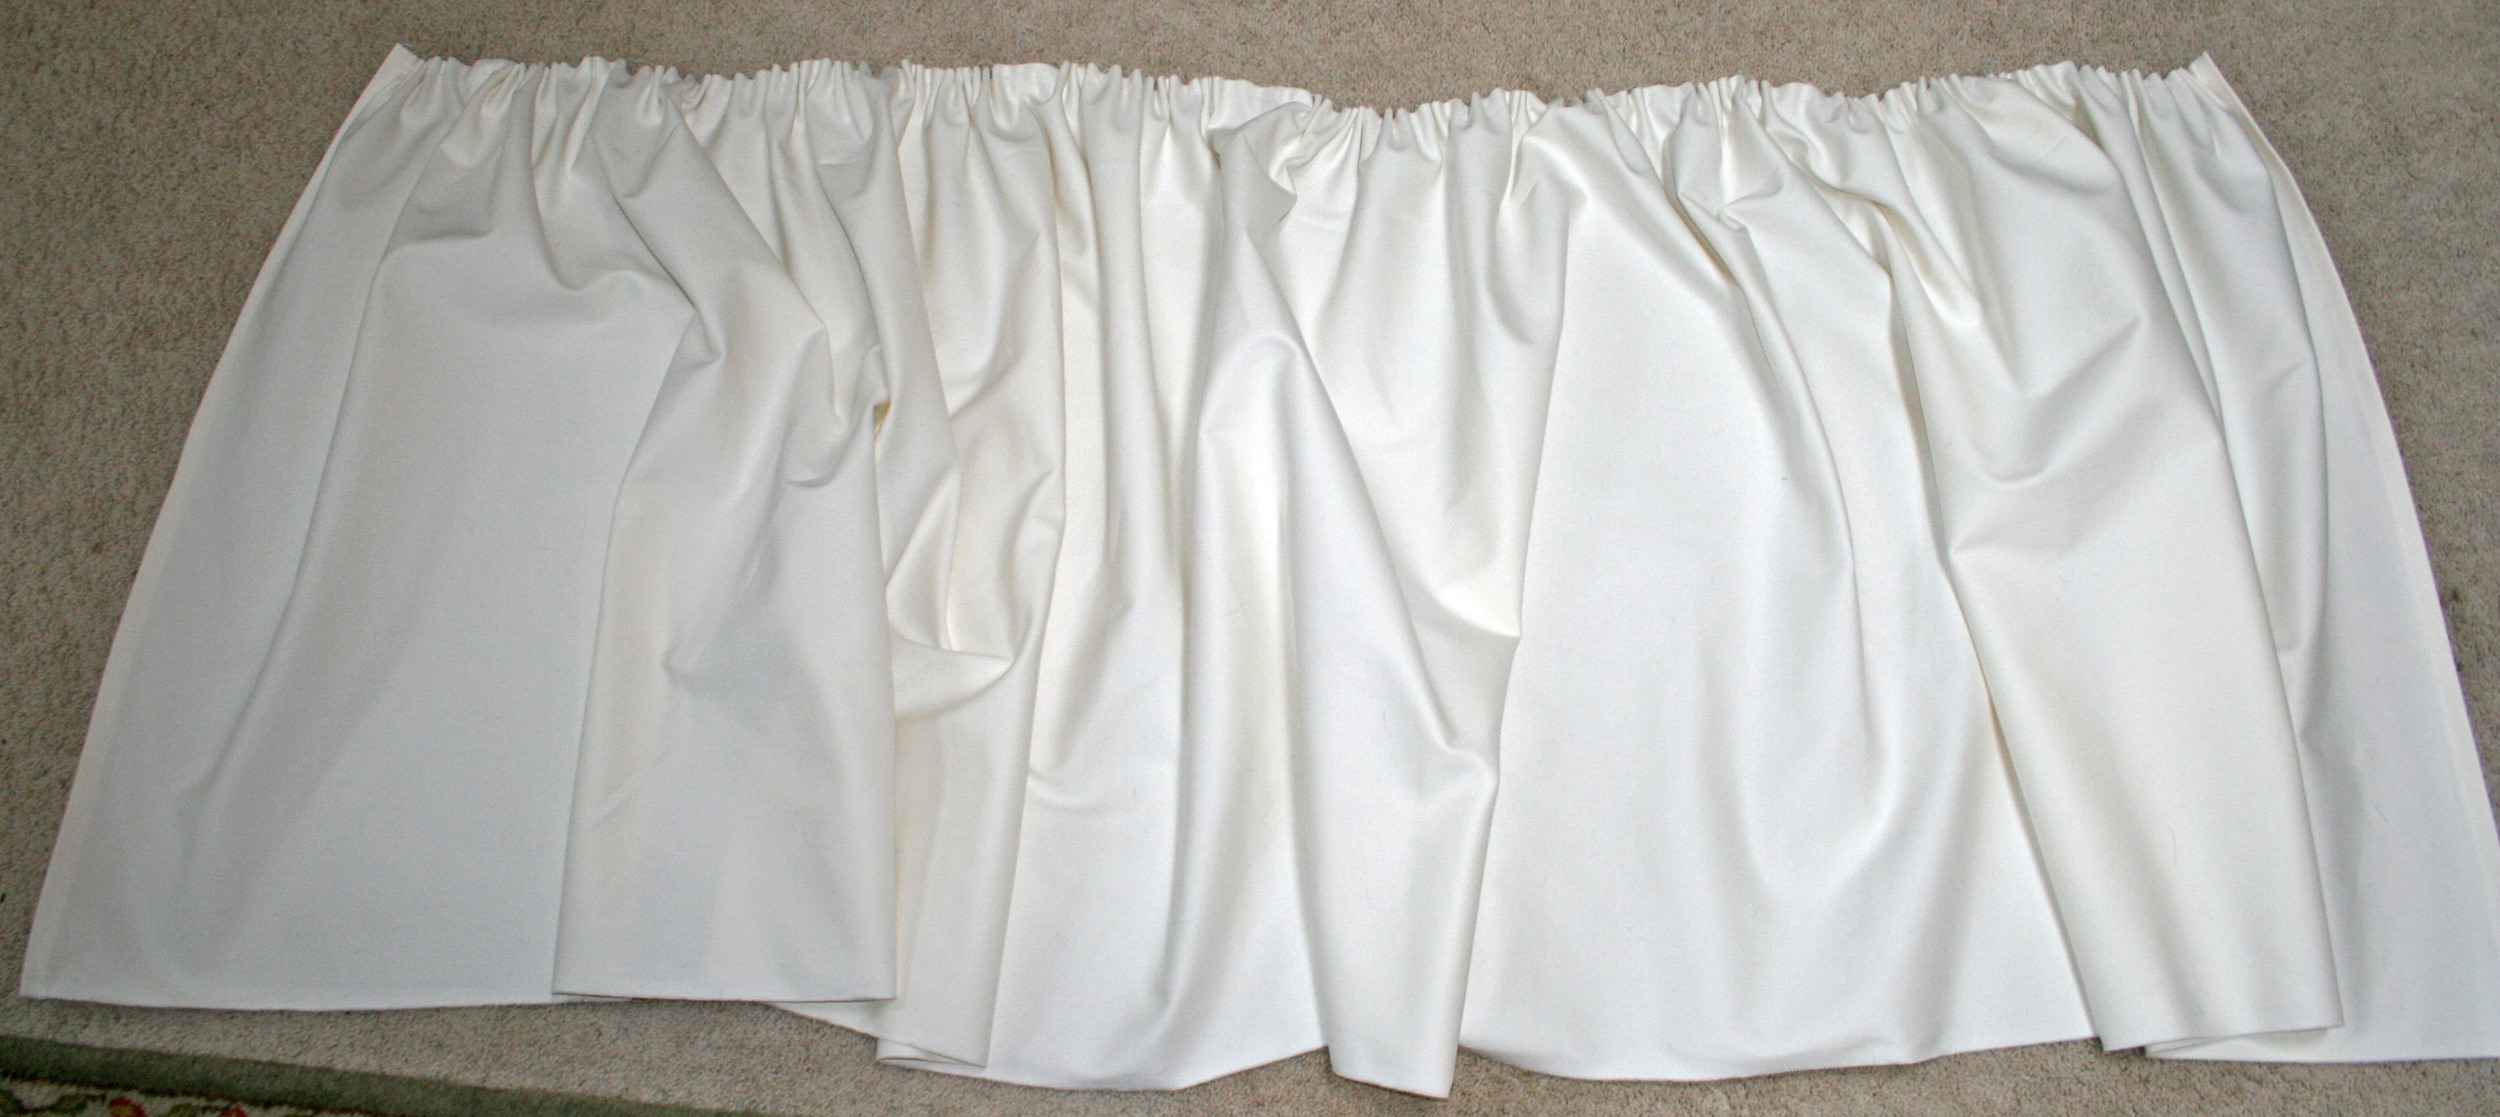
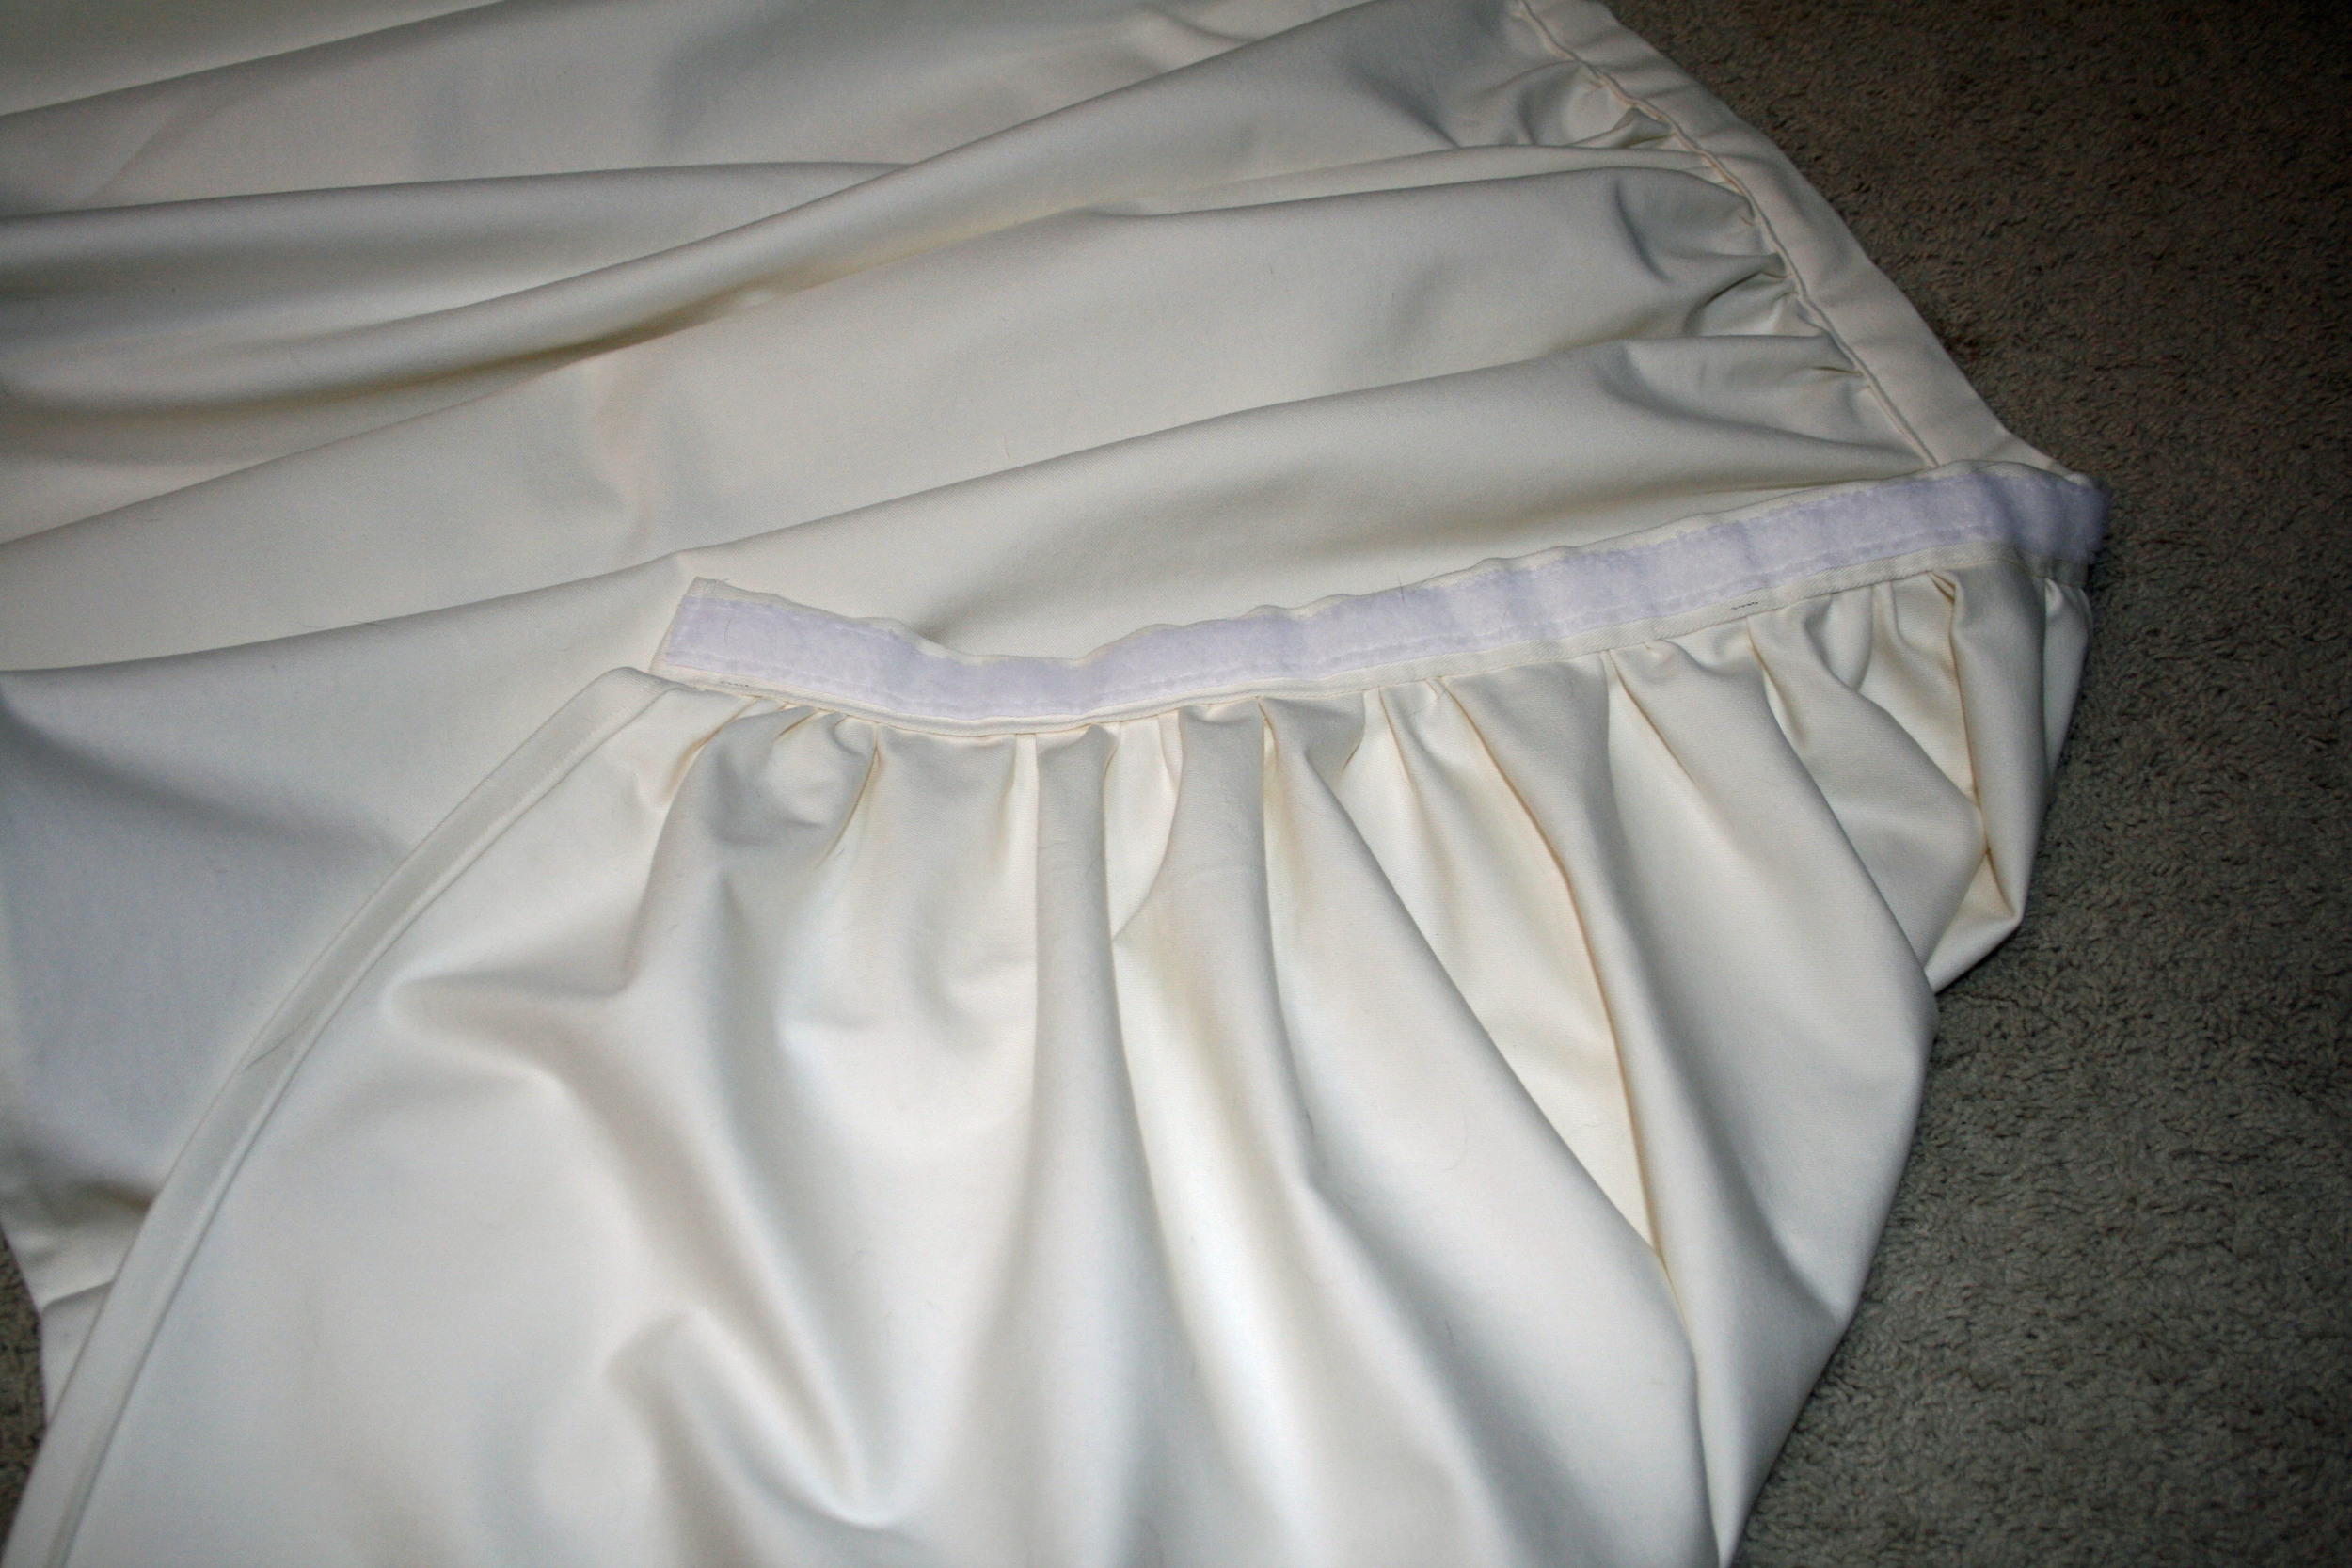
The measurements of Angela's sink are 28" x 60", so I used a 30" x 122" (double the width, plus 1" extra on each side) piece of heavyweight cotton twill fabric.  I also cut a 6" x 61" strip for a top cuff.  More on that later, but the primary reason I strayed from the tutorial here is because I planned to use Sew On and Sticky Back Velcro to attach the skirt to the sink.  I felt like regular sticky velcro wouldn't be strong enough to hold up the weight of the skirt, and the sew & stick seemed like a great solution.

Once all my fabric was cut and thoroughly lint rolled (trying to keep dog hair off of a 10 ft piece of cream colored fabric is a losing battle) I started hemming the sides with a 1/2" double fold hem, and then the bottom.  Then it was time to baste.  The fabric was not liking my attempts to machine baste, so - starting in the middle of the skirt and working my way out on each side - I hand basted two rows about an 1/8" apart.   Then I gathered the skirt until it reached a width of 60".

Now back to that cuff... I took the 6" x 61" piece,  folded in a 1/2" on each short side, and pressed.  Then I folded the whole thing in half lengthwise and pressed.  I folded each long side in toward the center crease and pressed so that the cuff was 1.5".   Then it was time to attach the velcro.

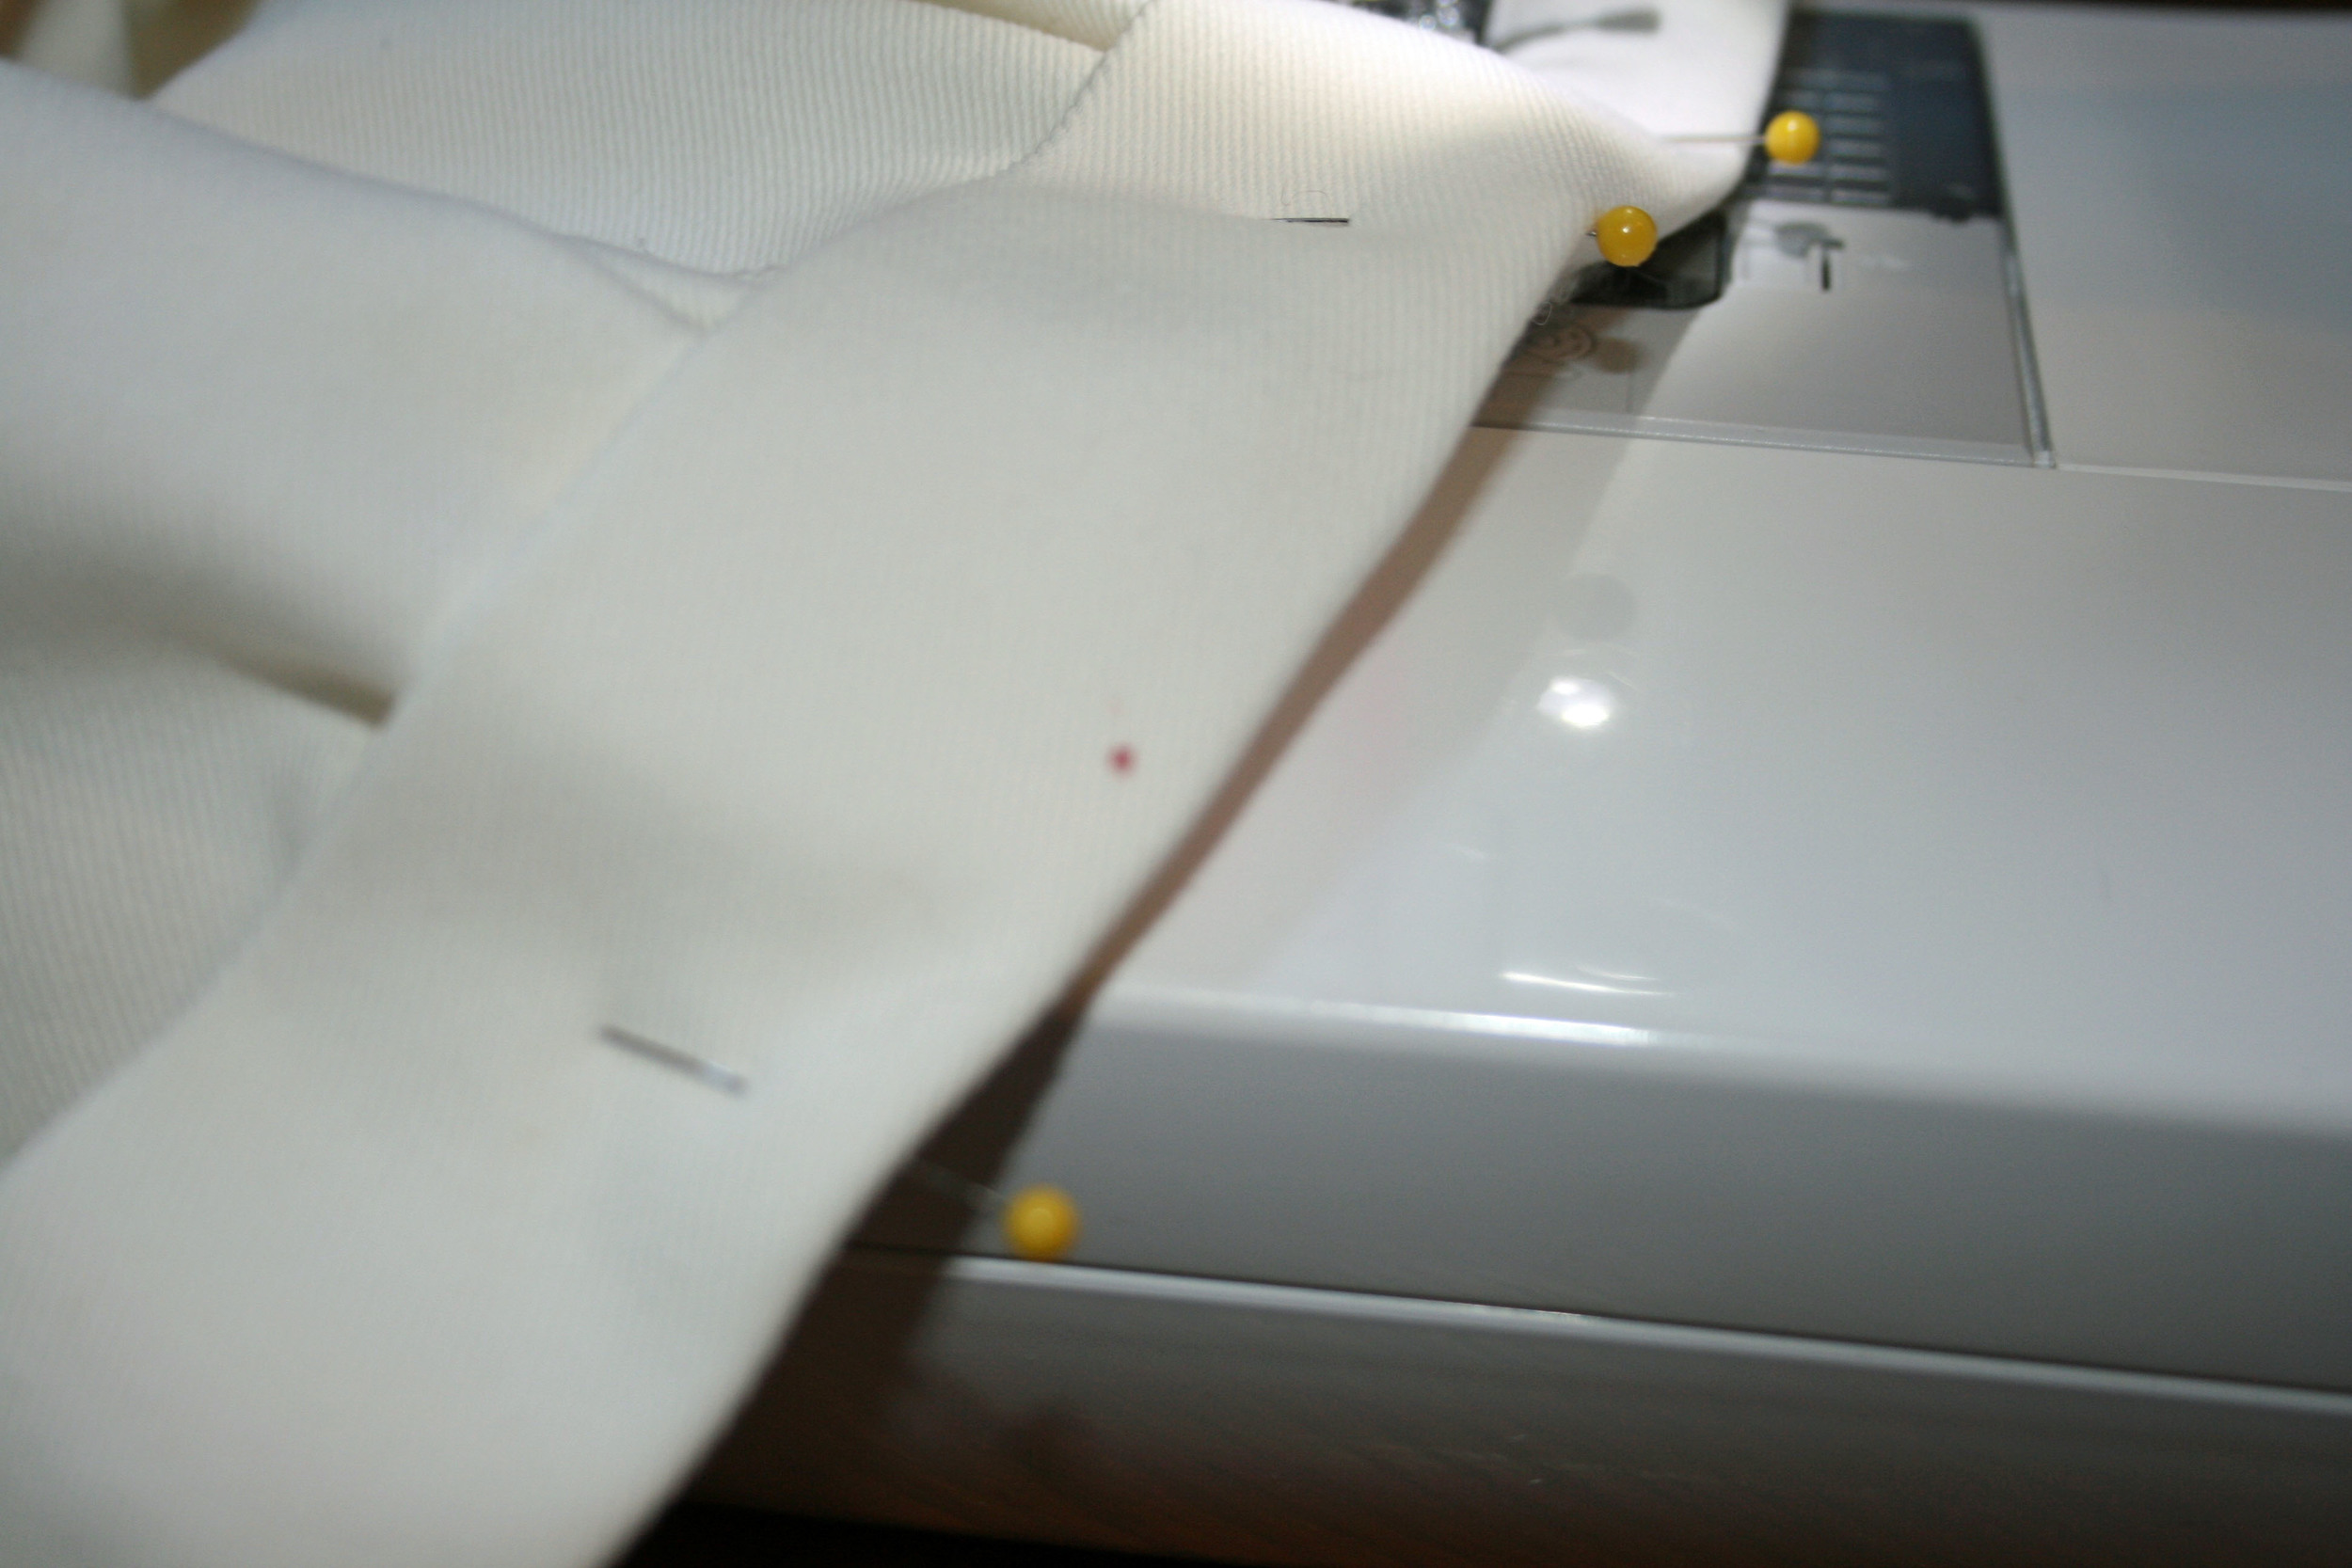
Once the velcro was attached, I was ready to sew the cuff onto the skirt.  5 feet of pinning later...

You see that little out of focus red dot on the cuff?  Yeah, that's blood.  My blood.  Because I'm a klutz.  Especially when it comes to pinning.  When I was making the Weekender Bags my arms looked like I had taken up kitten wrestling.  It wasn't pretty.

Excuse me for a minute while I tout the magic of the Tide Go pen.  If you don't already have one in your sewing kit, go get one.  Immediately.  I used it on the blood spot and - voila!  You can see the resulting wet spot in the picture above, but it left no evidence of my clumsiness once it dried.  Blood, people.  It got out blood.  Don't ask me how.  Just go get one.

Anyway, I attached the cuff with a 1/8" seam (or 1 and 3/8", depending on how you're looking at it), closed up the ends (also using a 1/8" seam) and the sink skirt was done!

I finally got to see the sink skirt in action when I went home to VA in April, and was relieved to see that it's working out exactly as Angela had hoped!  Her solution was brilliant, and I'm happy I was able to help her out.  I may have to make one now for MY bathroom!

bye bye, brass!

I hate polished brass hardware. Hate it. Unfortunately, there was a lot of it in our house when we moved in. Two and a half months later I'm happy to report that 99% of it has been replaced with brushed nickel hardware. The one hangup we encountered was with our guest bathroom door knob and lock. Our house was built in 1915, and several of the doors have antique mortise locks installed. The way the locks are cut, we either have to replace the entire door or install a new mortise lock. I had no idea how hard it would be to find a new mortise lock!  If money grew on trees, I would have happily gone to Rejuvenation and gotten the Putnam Classic Door Set.  The money-doesn't-grow-on-trees version is this:

Yep - polished brass.  That's the only finish you can get a mortise lock in these days unless you're willing to spend $200.  I reluctantly bought the lock, and immediately started researching how to paint polished brass.  The first step was to disassemble the lockset, soak it in a stripping agent and sand the polished brass paint off with coarse sandpaper.  Once the paint was removed I was ready to prime (I used Valspar spray primer in gray.)  I rigged up a stand for the lock pieces using a piece of styrofoam and toothpicks taped off with a bit of painters tape (the dumbbell was to keep the whole thing from blowing away.)

I applied the primer using multiple light coats, followed by several light coats of Rust-Oleum Metallic spray in Matte Nickel.  Rust-Oleum makes a different metallic "satin nickel" spray for their Universal line, but I highly advise against using any of the metallics in this line because they have a very glittery - not at all realistic - finish (and yes, I learned that the hard way.)  I sealed all the pieces with several coats of Rust-Oleum's Crystal Clear Enamel.

The door is a bit banged up from the old lock, and the finish isn't an exact match with our other brushed nickel hardware, but it's surprisingly close.  Given the effort and time it took to re-finish the lockset, I wouldn't recommend painting your hardware unless money or availability (or both, in my case) make it a necessity, in which case it's a great - and fairly easy to do - project.  I'd be curious to see how it would work in a different finish, especially oil-rubbed bronze.

stocking stitchery

Among the many things Jared and I purchased last year for our first official Christmas at home together were these cute little felt stockings from Joann's.  Having always had personalized stockings growing up, the white stitching on the front of the stocking begged for matching embroidered names on the cuffs.  I've been fascinated by Jenny Hart's amazing embroidery ever since Sublime Stitching, and couldn't wait to get started on my first project. I experimented with a few different ways to get the outline of our names onto the stockings and found the easiest was to do the following:

  1. Use WordArt in Microsoft Word or Illustrator to type out the names in an outlined font.  Be sure to type the names from last letter to first so they read left to right when you transfer them to your project. Lastly, view the names at 100% to make sure they'll be the right size.
  2. Print out the names on regular computer paper.  Place a sheet of tracing paper over your print out and trace the outlines using a transfer pencil.  Make sure you use a pencil color that will be easily hidden underneath your stitches.  I used a white transfer pencil and it worked great.
  3. Transfer the names to your project using a dry iron.  If your project is oddly shaped and won't lay flat, it's helpful to pin the tracing paper down before ironing.

I used white embroidery floss and split-stitch around each of the letters.  Here's how they turned out:

For Jared

For me

For the pups

Happy little family stockings :-)