activity blanket tutorial

activity-blanket-tutorial.jpg

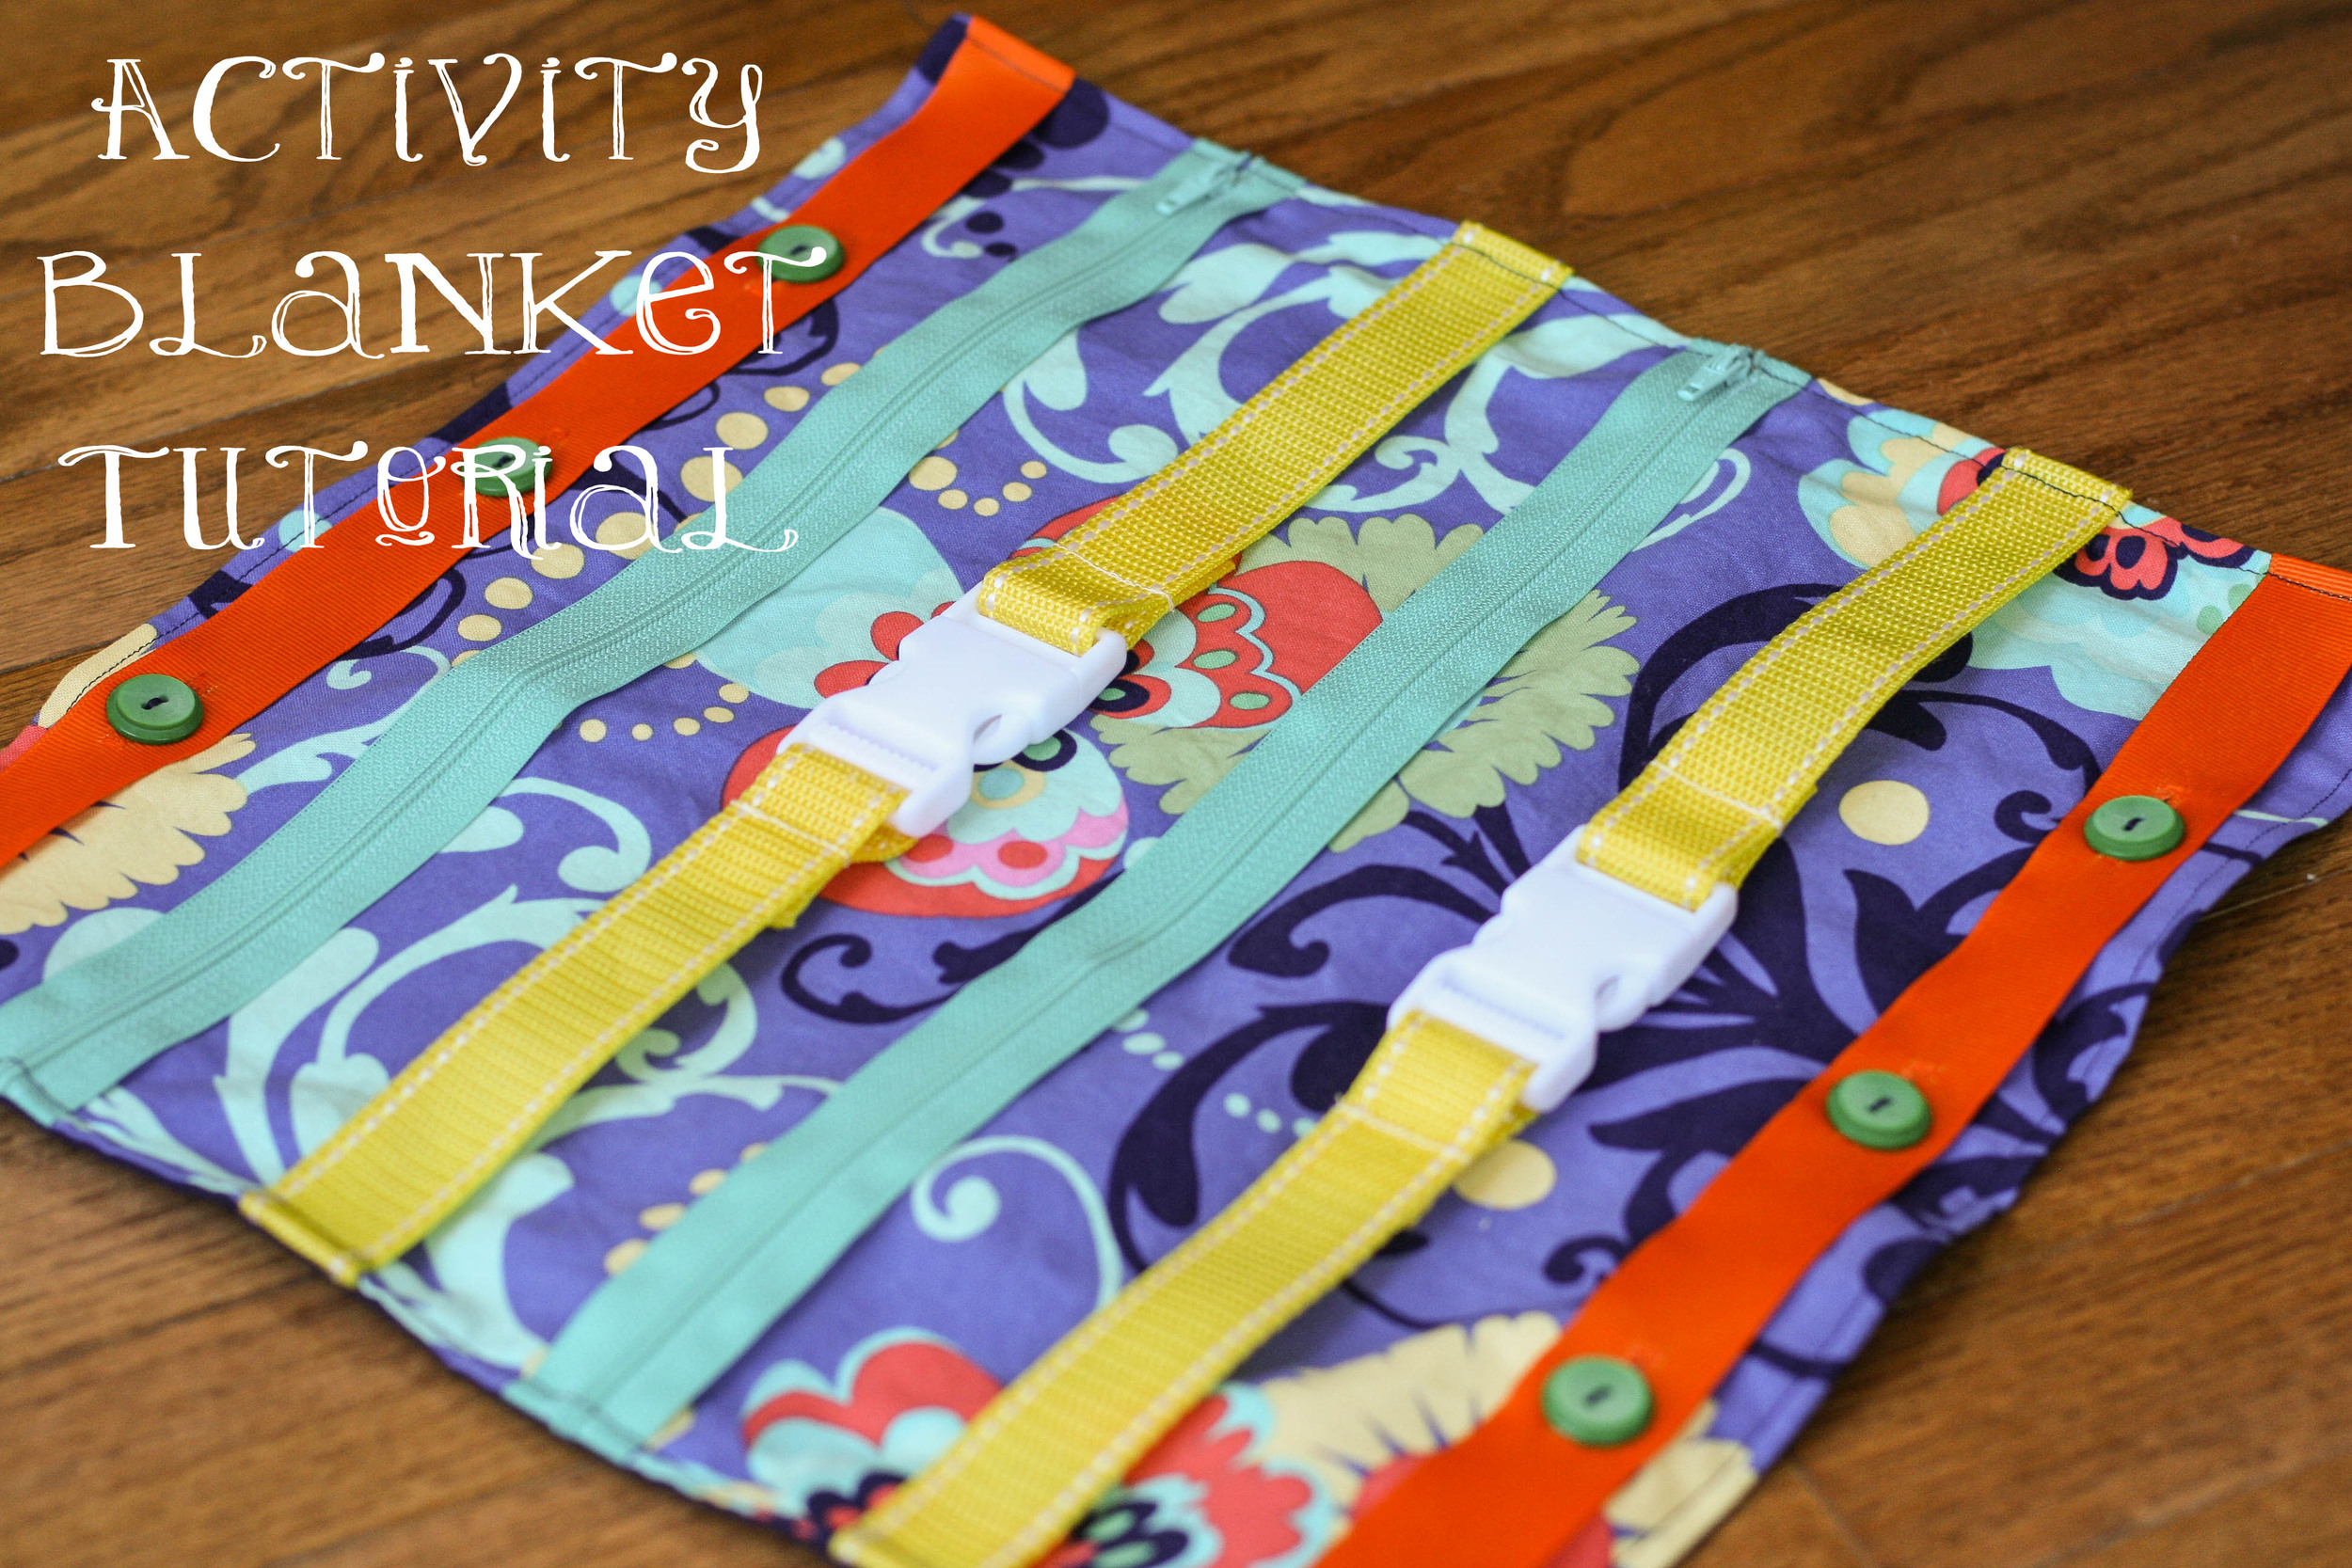
Emma has been obsessed with clips and zippers lately, so I thought I'd make her a little activity blanket so she could clip and unzip to her heart's content. (I can't even tell you how good it felt to bust out my sewing machine for the first time in months.) And, it was so simple to make that I actually made it during naptime on Sunday afternoon. Plus I used scrap fabric, and I love any project that puts even a little dent in my stash.

If you're just learning how to sew, this is a great beginner project because aside from the button holes it's just a bunch of straight stitches. And there's no need to be intimidated by button holes... most newer machines do all the work for you!

Here's what you'll need to make your own:

Materials:

  • Two 15.5 x 15.5 in. squares of fabric
  • Two 15.5 in. pieces of grosgrain (or similar thick ribbon)
  • Four 6 in. pieces of nylon webbing (or similar thick webbing, ribbon, straps, etc.)
  • Two 14 in. zippers
  • Two plastic buckles/clips
  • Buttons (at least 6)
  • Lighter (yes, you read that right!)
  • Coordinating thread

Directions:

Create your clip "activities" by sewing your 6 in. pieces of nylon webbing to each end of the buckle. Now here's the fun part - use a lighter to seal the cut ends of the webbing. Yes, it's a little sad that the most badass my life gets these days is taking a lighter to some frayed edges, but I take what I can get. :) Besides, it really is the best and quickest way to make sure your ends don't fray.

Next, lay out your "activities" on your front fabric to get the spacing right. I just eyeballed mine, leaving about an inch and a half between activities.

Pin only the zippers in place and remove the rest of the activities.

Sew your zippers into place.

Set the blanket aside for now and grab the ribbon for your button activities. Mark the spots for your button holes at 4", 7.5", and 11".

Sew your button holes. I used 1" buttons for this, and wouldn't go any smaller. (Note, if you use grosgrain and have some fraying when you open your button holes, use your trusty lighter to carefully seal the edges.)

Next, lay your activities out on the front fabric again, pin and baste into place.

Then, grab your back fabric and pin it to the front fabric, right sides together. Sew together using a 1/2" seam, leaving a 4-5" opening at the bottom.

Press your seams open, then turn the blanket right side out and sew a 1/4" topstitch around the perimeter.

Last but not least, sew on your buttons. I chose to sew mine on at the very end because I'm paranoid about Emma being able to get them off, creating a potential choking hazard. I figured two layers of fabric would be a sturdier hold.

And once all the buttons attached, you're done!

Emma is loving it so far, and I'm excited to see how her interest in it changes as she becomes better at manipulating each activity.

Let me know if you make one, and leave a comment if you have any questions!

watch her grow

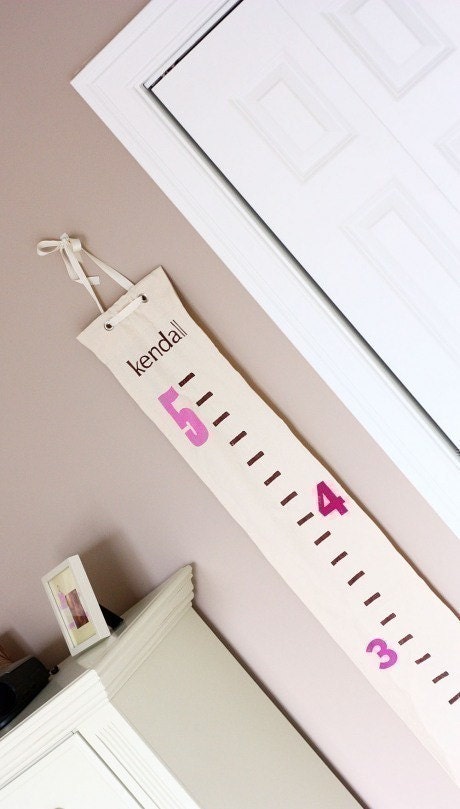
Emma's approaching an age where she might actually stand still long enough for us to mark her height on a growth chart, so I've been scouring the Internet looking for just the right one. I want something that has a clean look and that can be easily moved to our next home in a couple of years. Here are my favorites:

 This one is a little more than I want to spend, but I love how fun and unique it is.

This one is simple and cute, and would be really easy to DIY.

Measure Me Stick from Studio 1am

This is my favorite among the wooden ruler variety, but I'm still not sure it's the best fit for our decor.

Embroidered growth chart on Apartment Therapy

This one is easily my favorite of the bunch... I have plenty of scrap fabric I could use, and it has both an heirloom and modern feel to it. It's nice enough to keep out if we want, but can also be easily rolled up if we want to keep it stored. I'm determined to make it before the end of the year. Or at least before Emma's like 5 feet tall. :-)

{christmas crafts} car seat blankets

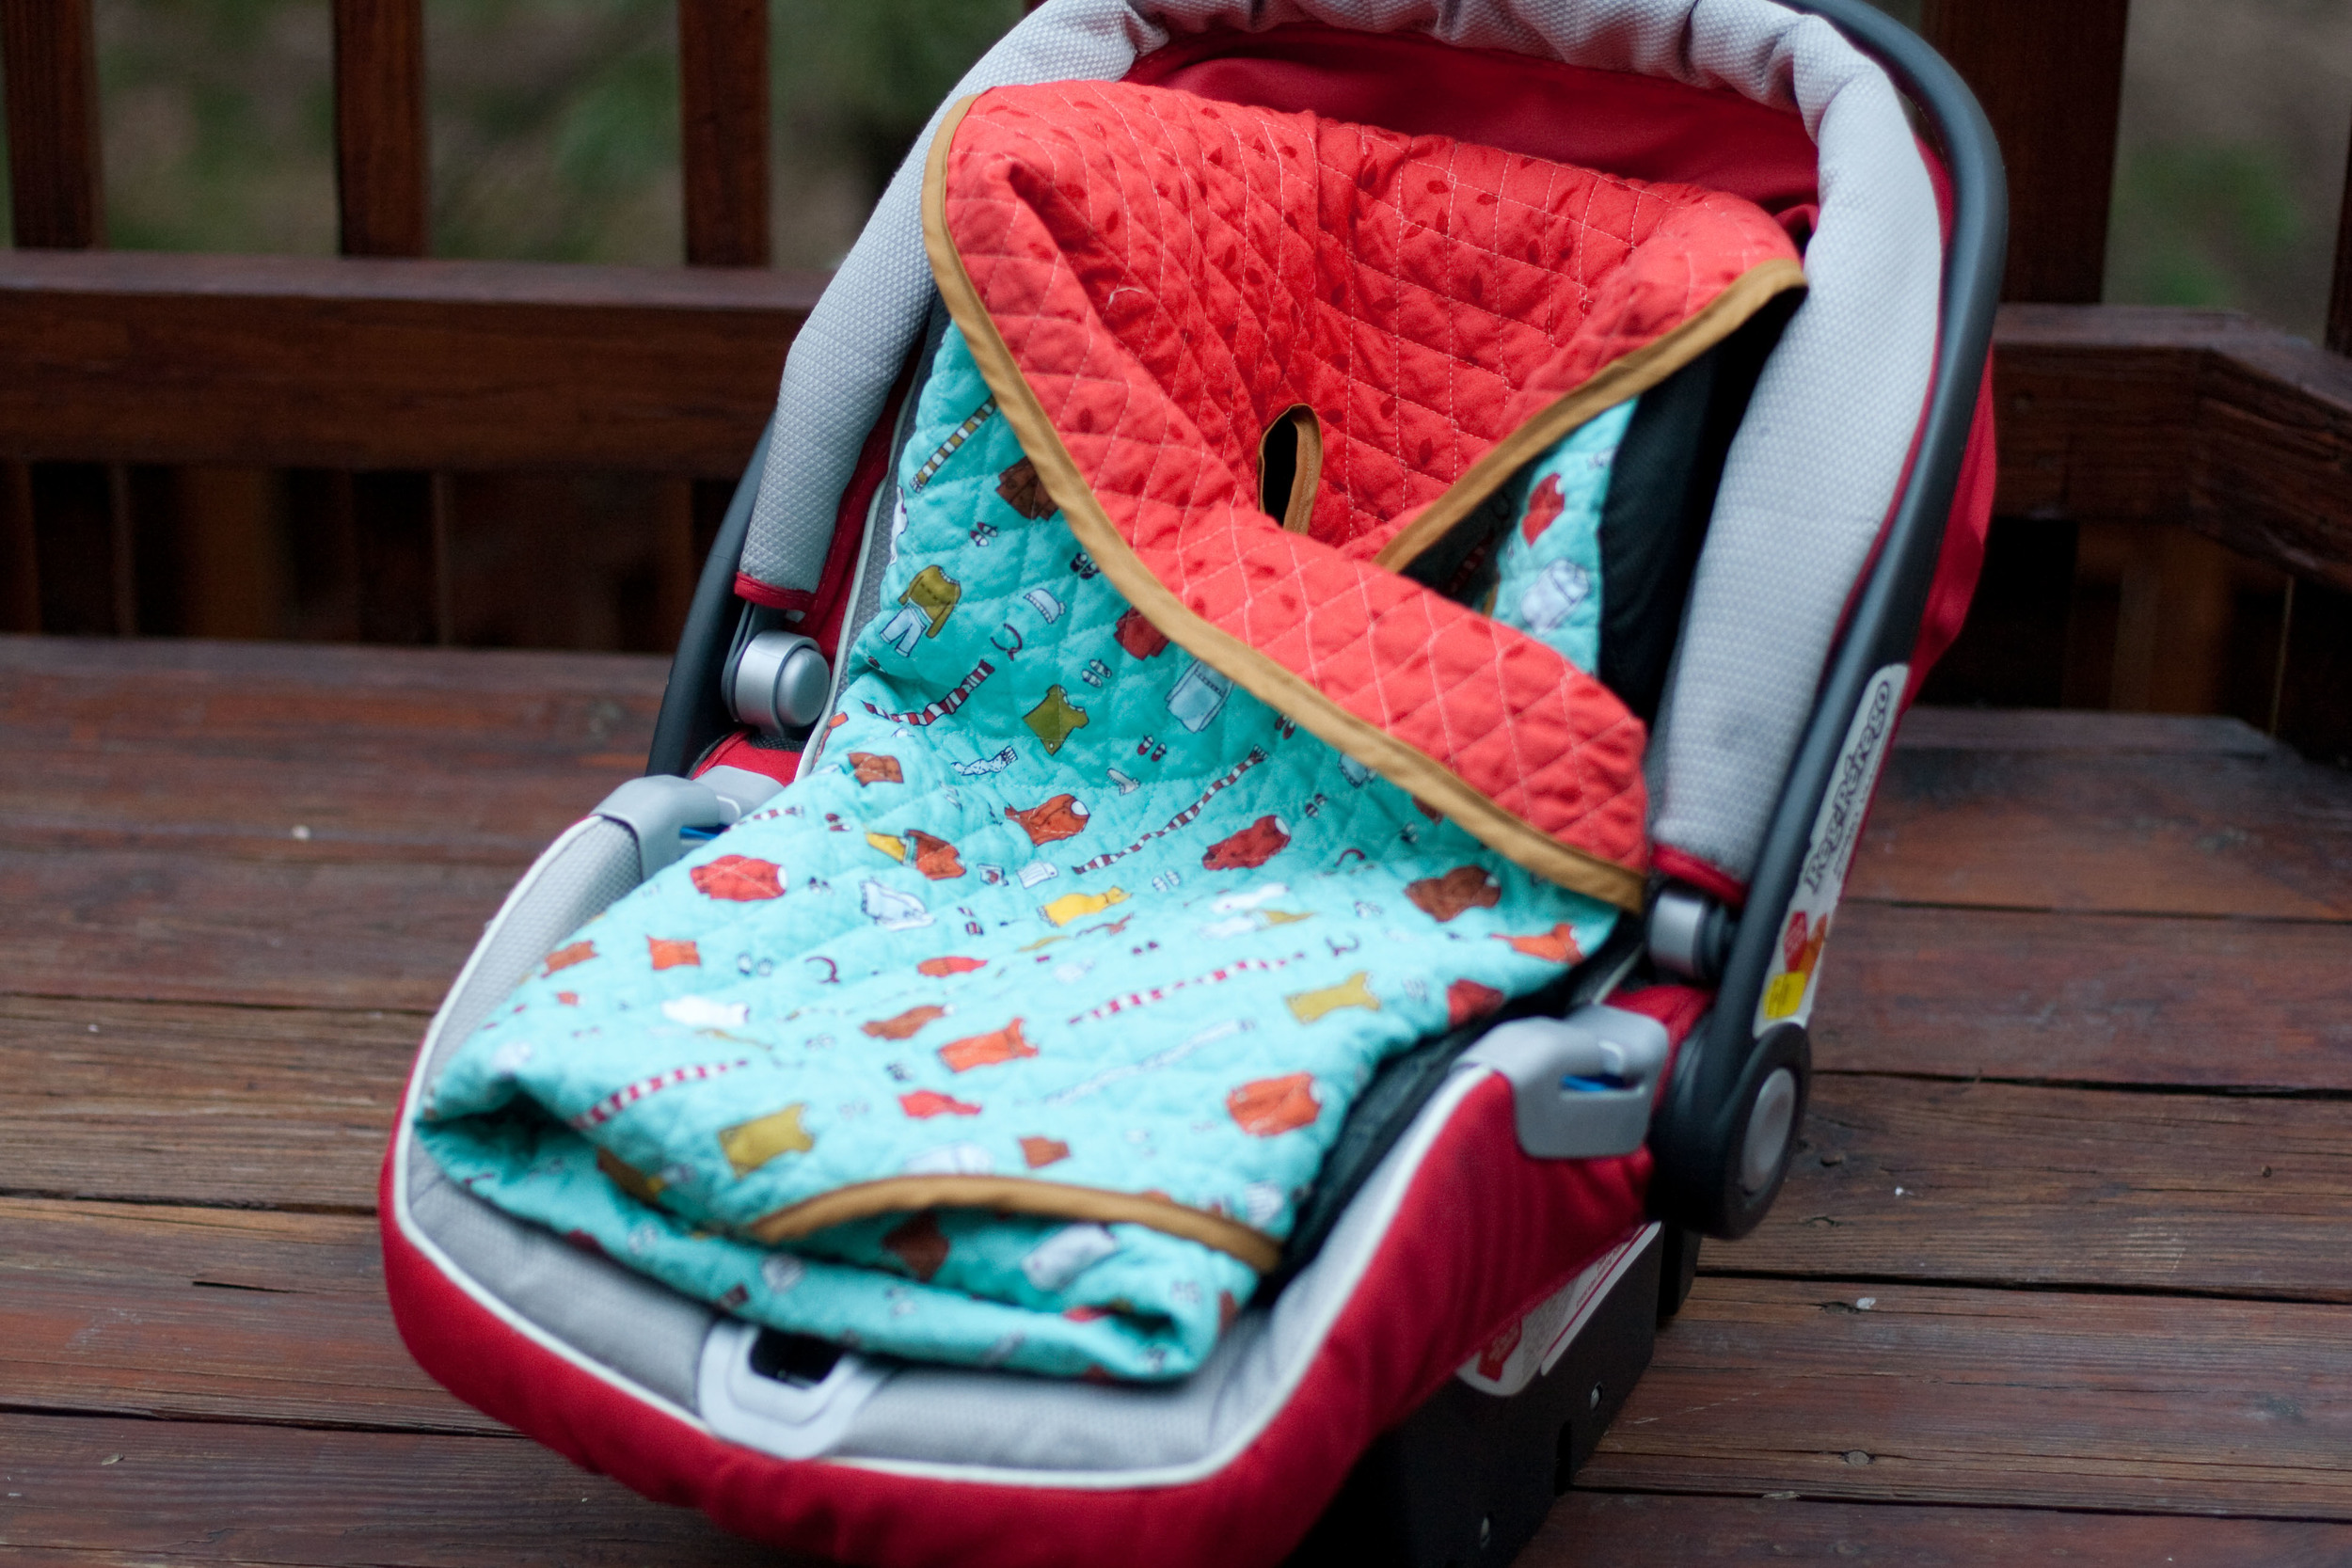
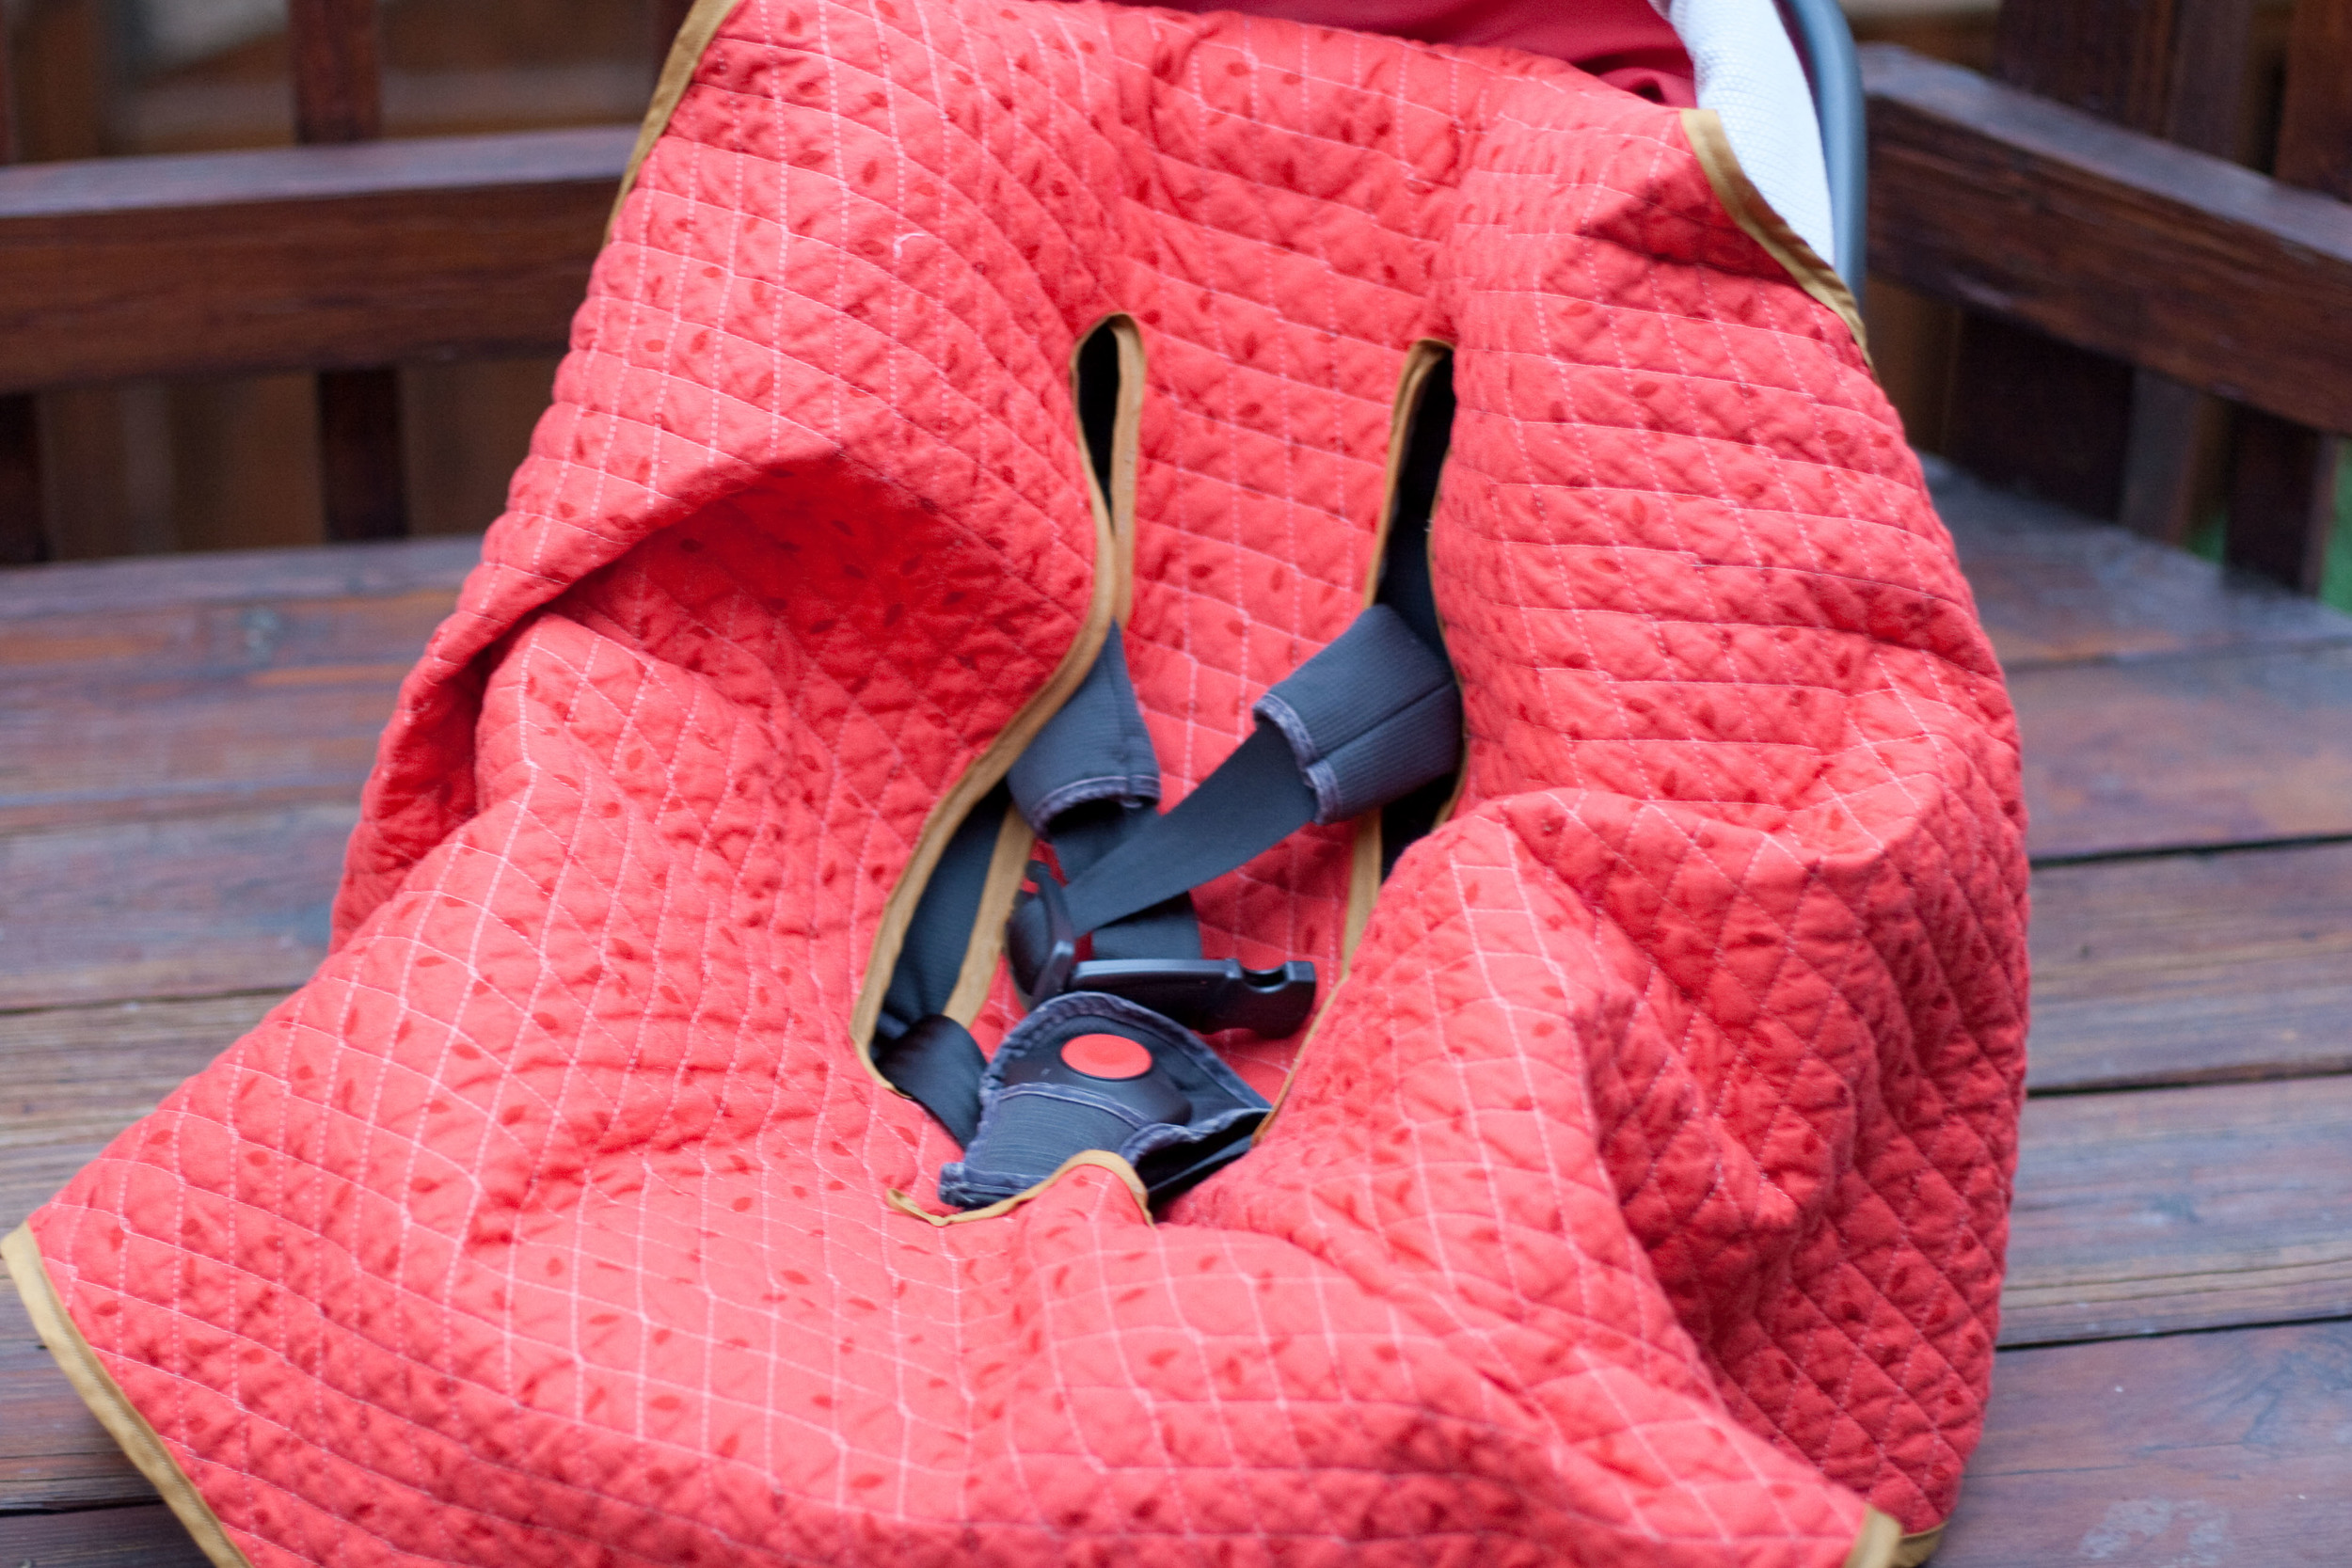
Believe it or not, I managed to sew more than just Emma's dress this Christmas. Kind of a new/working mom miracle, I'd say. I started out making this car seat blanket for Emma...

I followed this very easy tutorial, and while the instructions recommend using Minky or fleece, I just couldn't find any that really appealed to me. Most of the stuff for girls is pink or purple, and I wanted something that would coordinate with Emma's red car seat. That's when Aneela Hoey's Little Apples collection caught my eye and when I saw this adorable red and aqua quilted fabric - forget about it. I was done for. It might be my favorite fabric I've ever worked with. Look at the little retro school clothes! I die.

Anyway, by using the quilted fabric all I had to do was cut the fabric and sew on the bias tape. Easy peasy. Here's what it looks like opened up...

And here's Emma all snug and cozy...

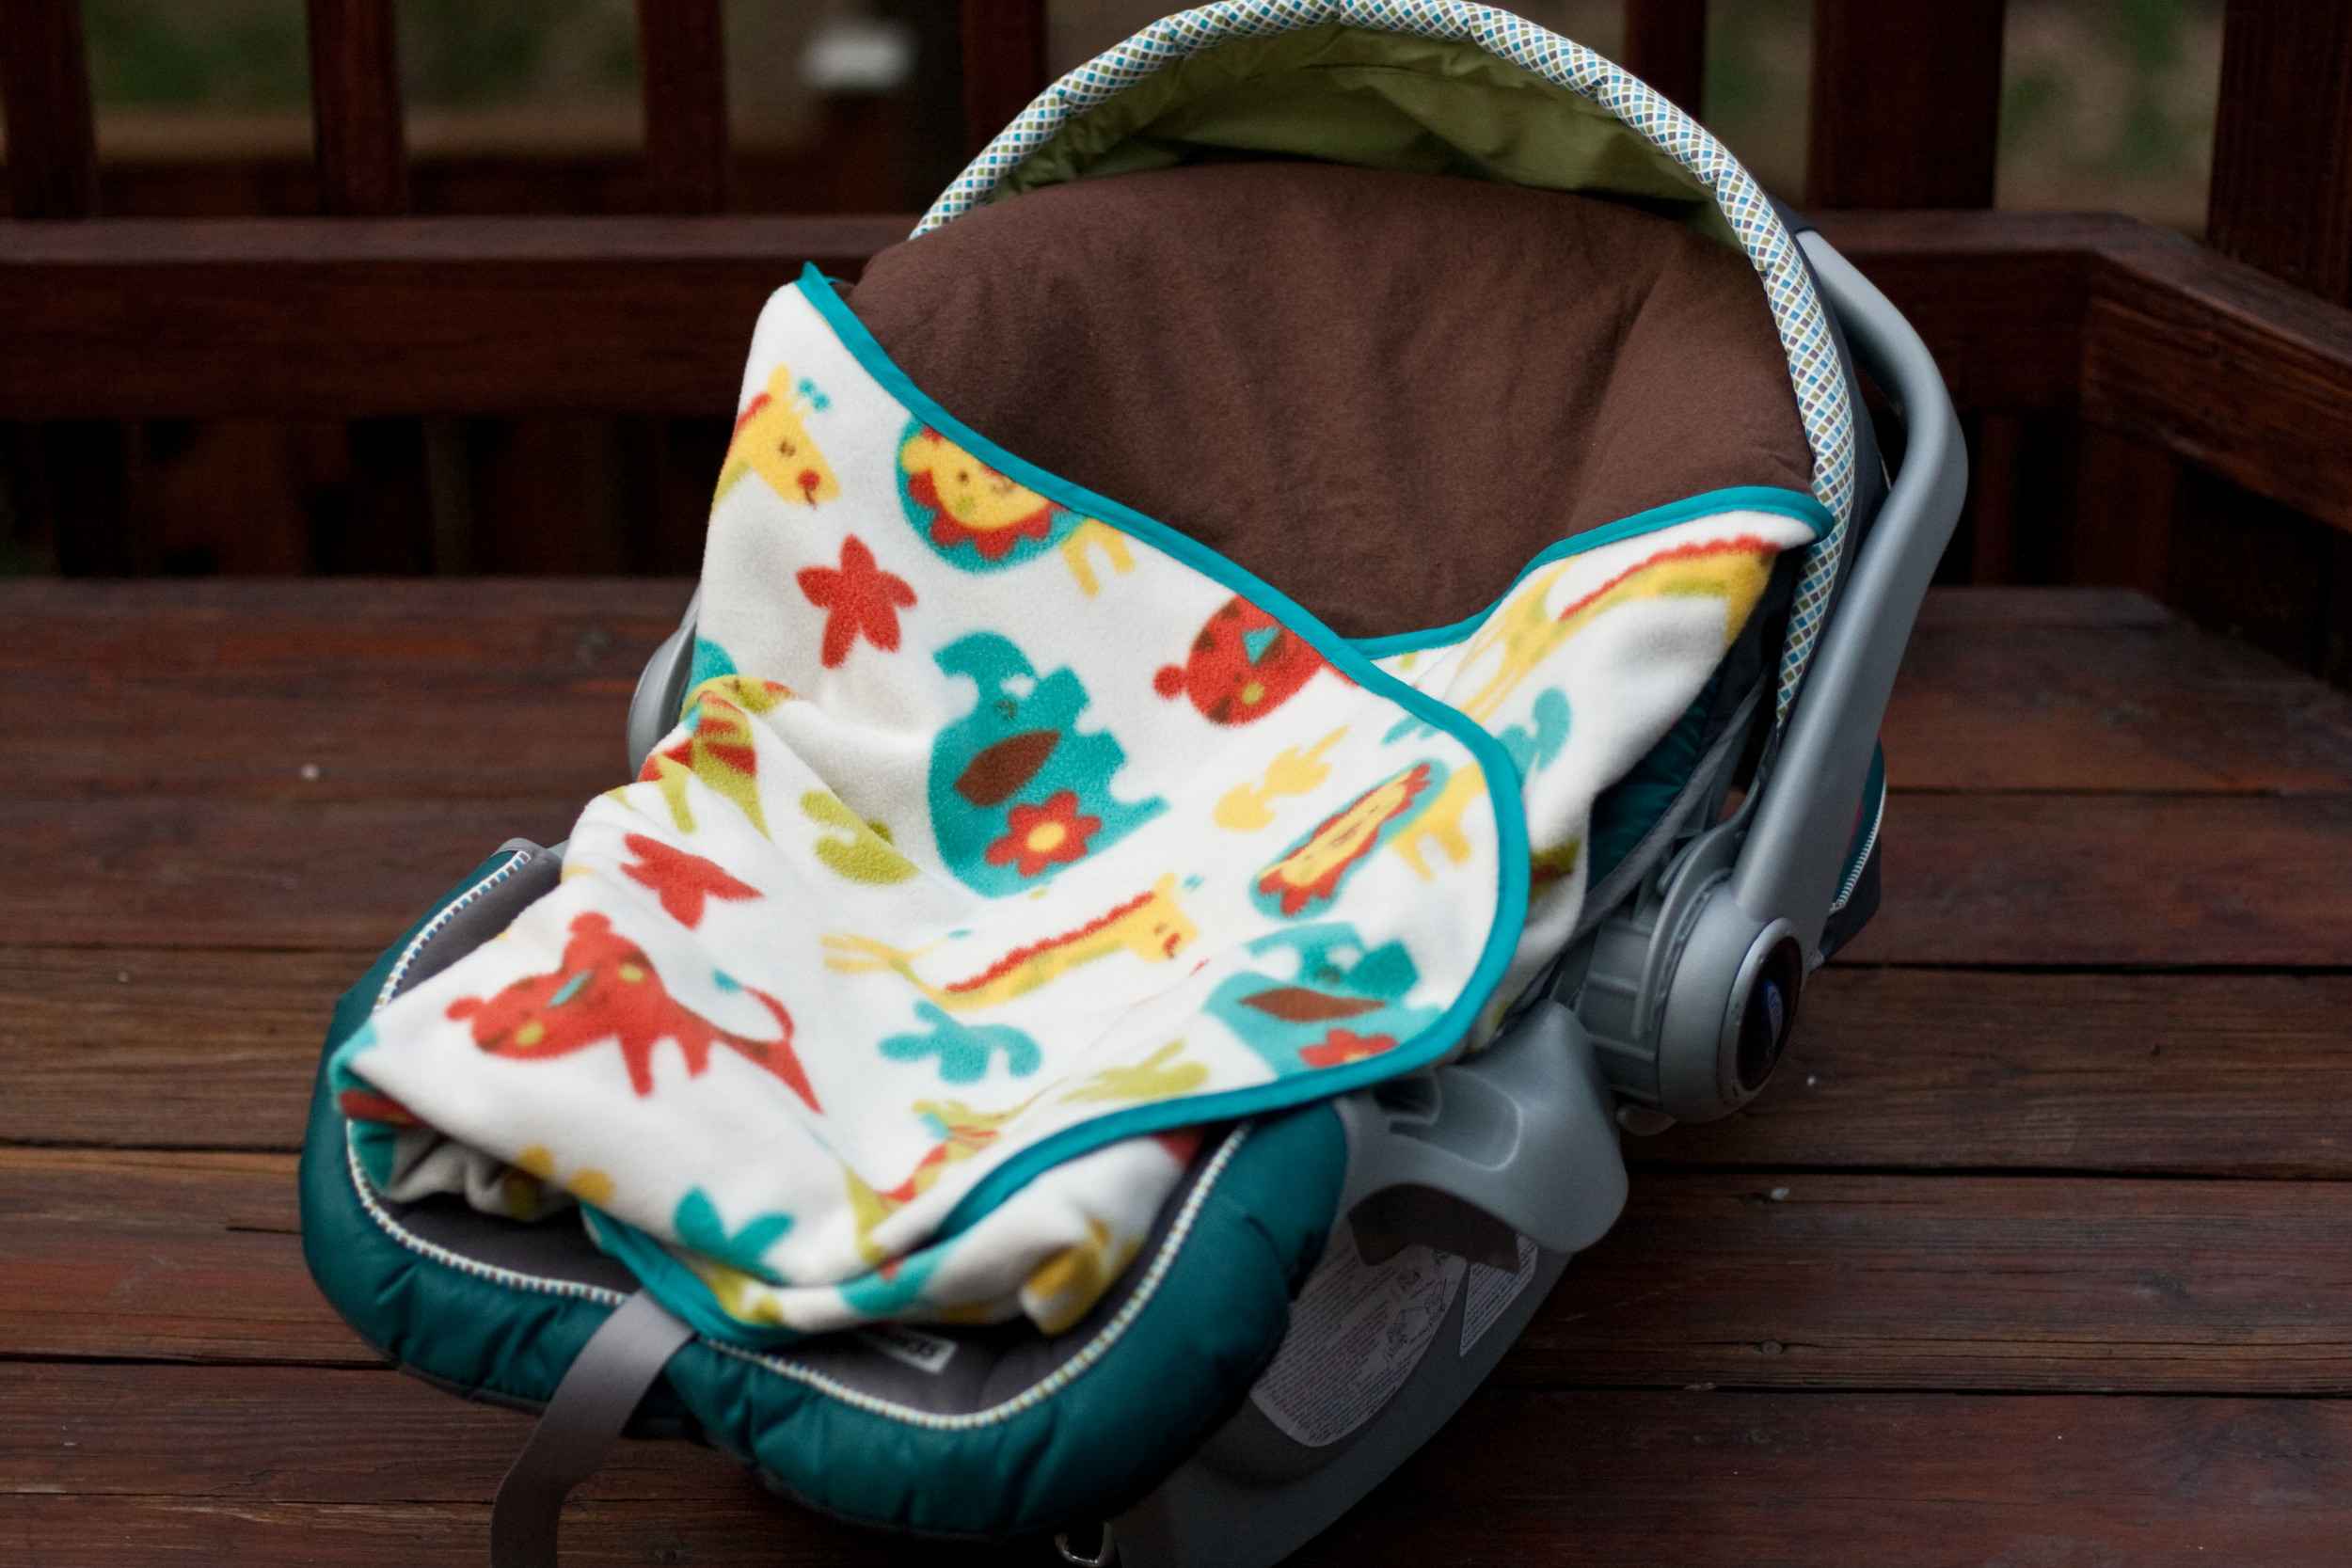
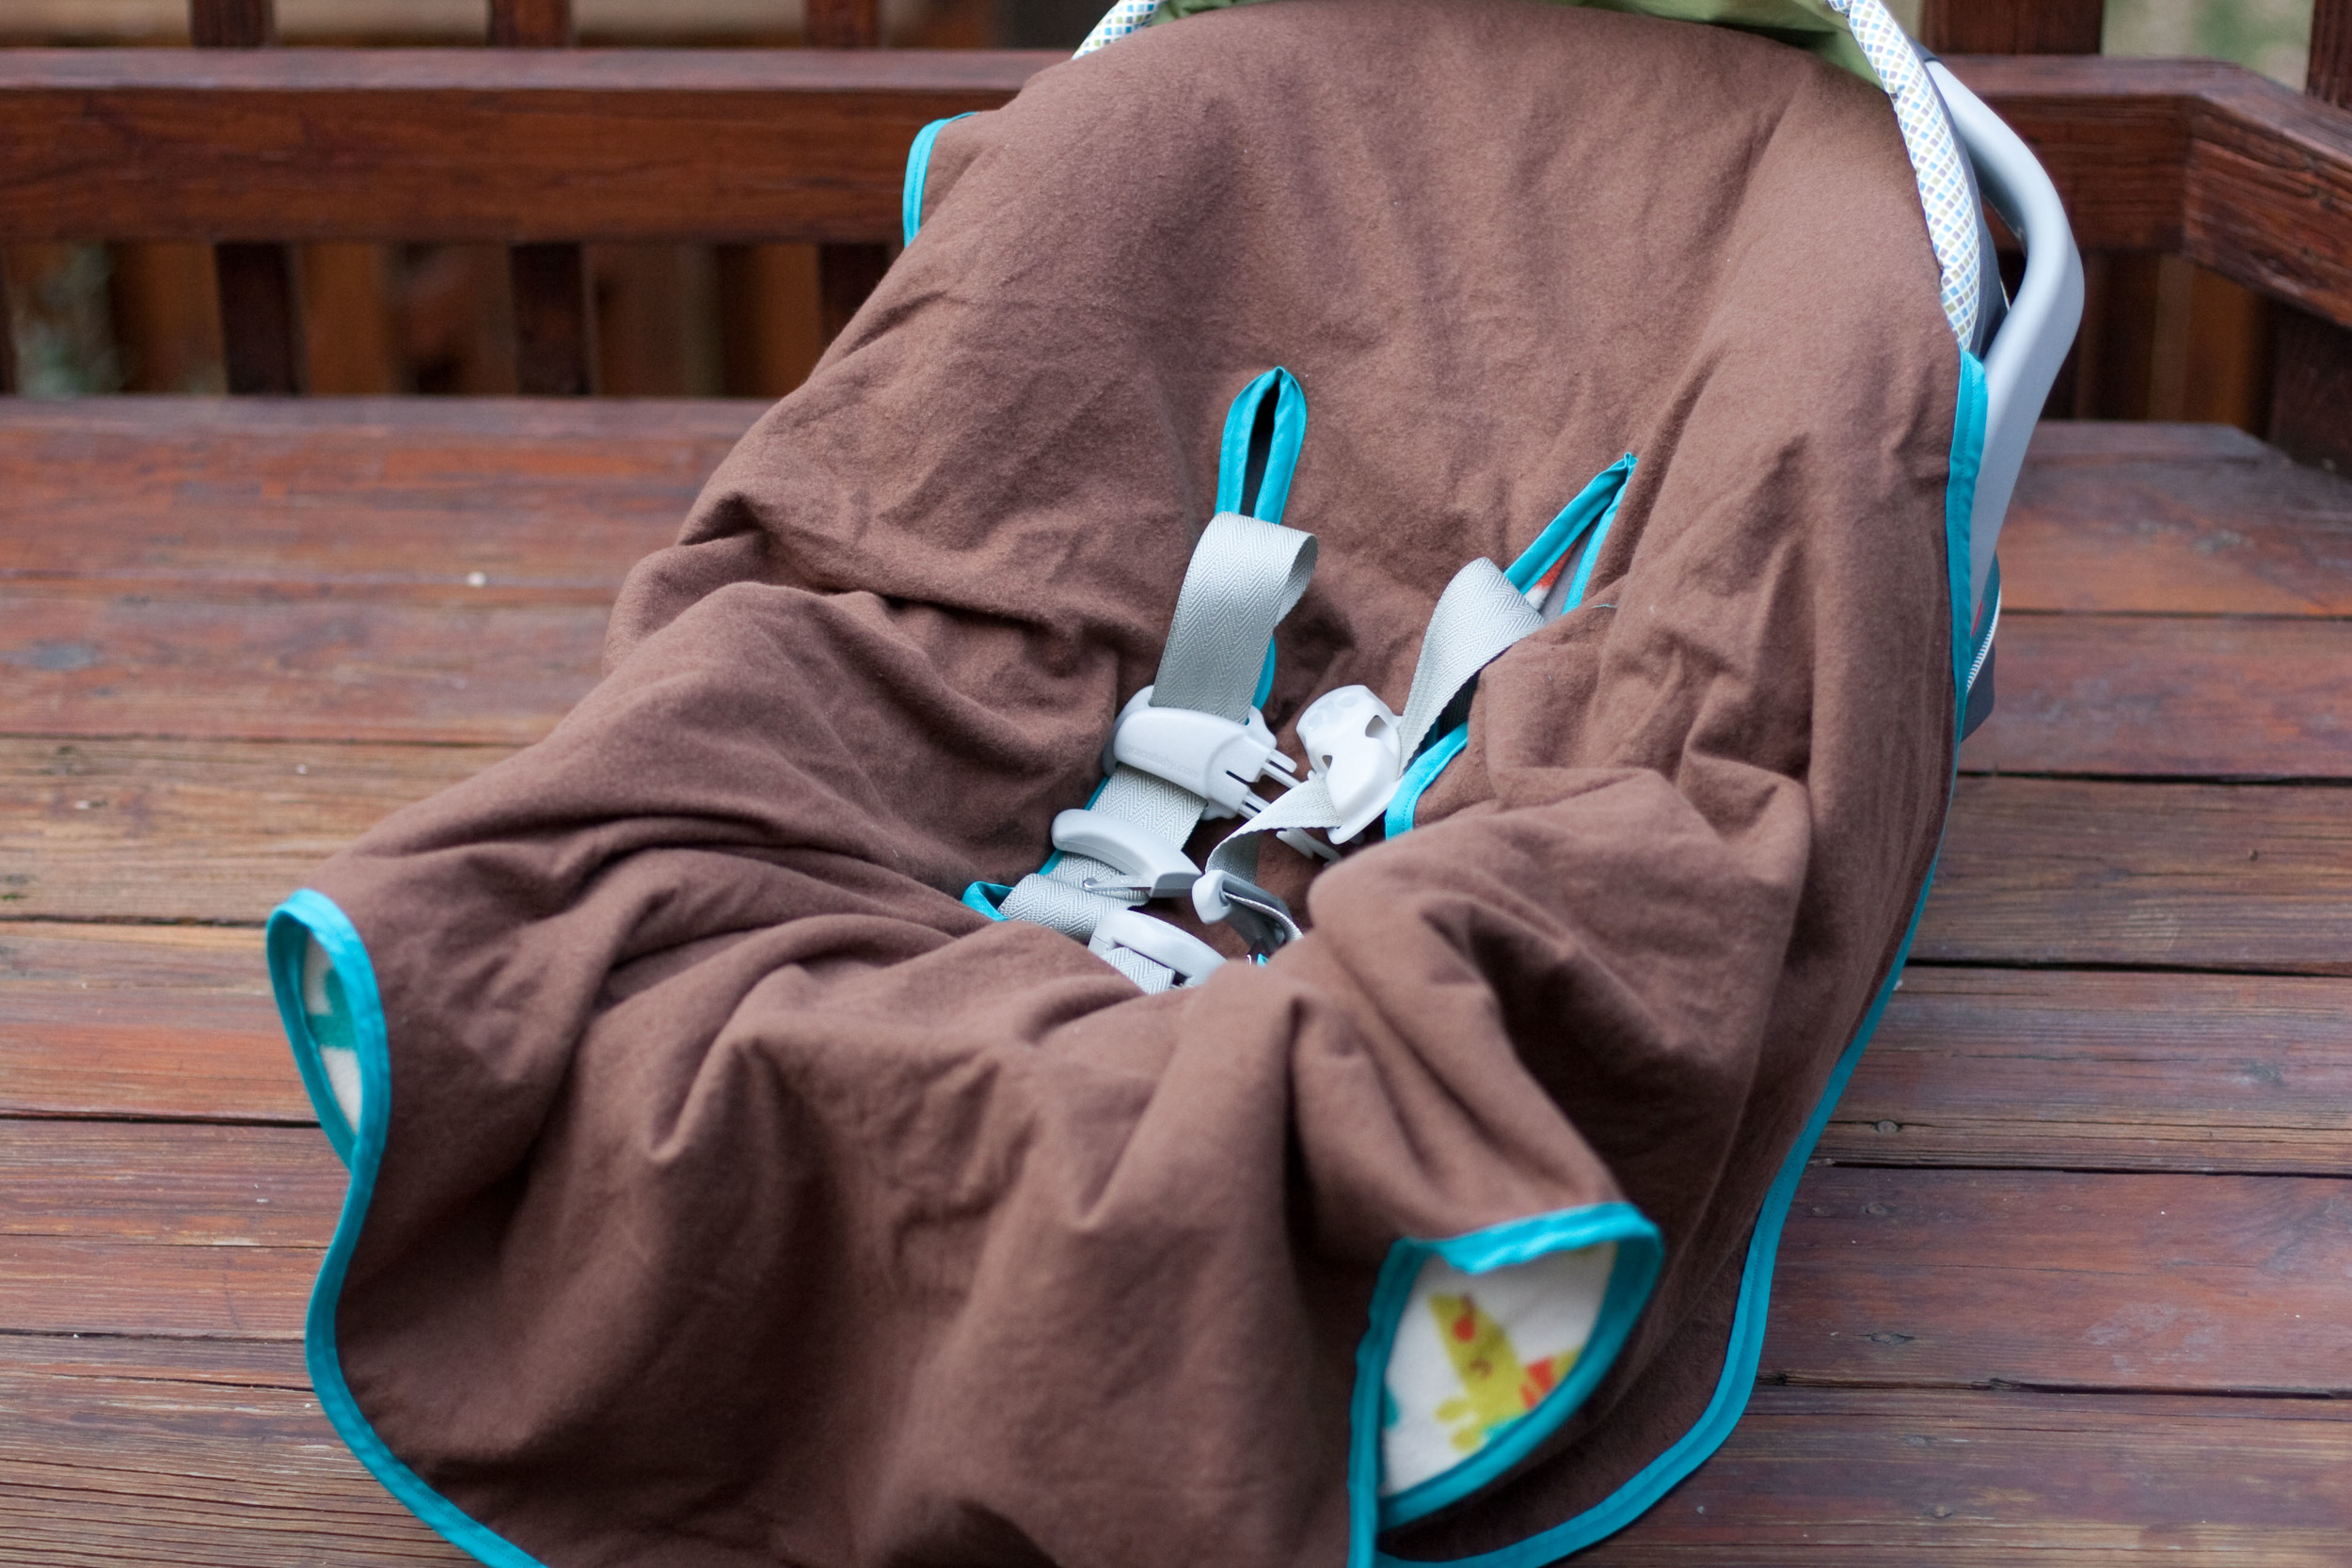
As soon as I made one for Emma, I knew I had to make one for my adorable little nephew, Zachary. And it's a good thing I did, because as soon as we got to Virginia for the holidays my sister went on and on about how great Emma's car seat blanket was, and how I need to make one for Zachary asap. I hedged and was like "oh, if only I had time." She definitely didn't think she was getting one. So she was pretty stoked when this jungle themed bundle of warmth was waiting for Zach under the Christmas tree...

As much as I love the Little Apples fabric I used for Emma's blanket, the fleece/flannel combo I used for Zach's actually works a bit better than the quilted fabric because it's not so stiff. If you're making this for a younger/smaller babe, I definitely recommend the fleece/Minky/flannel recommendation from the tutorial... it'll be a lot easier to fold down around baby's face.

I sadly didn't get any pics of Zach all wrapped up in his blanket, so you'll just have to take my word for it that he looks super cute in it. :-)

Emma's Christmas Dress

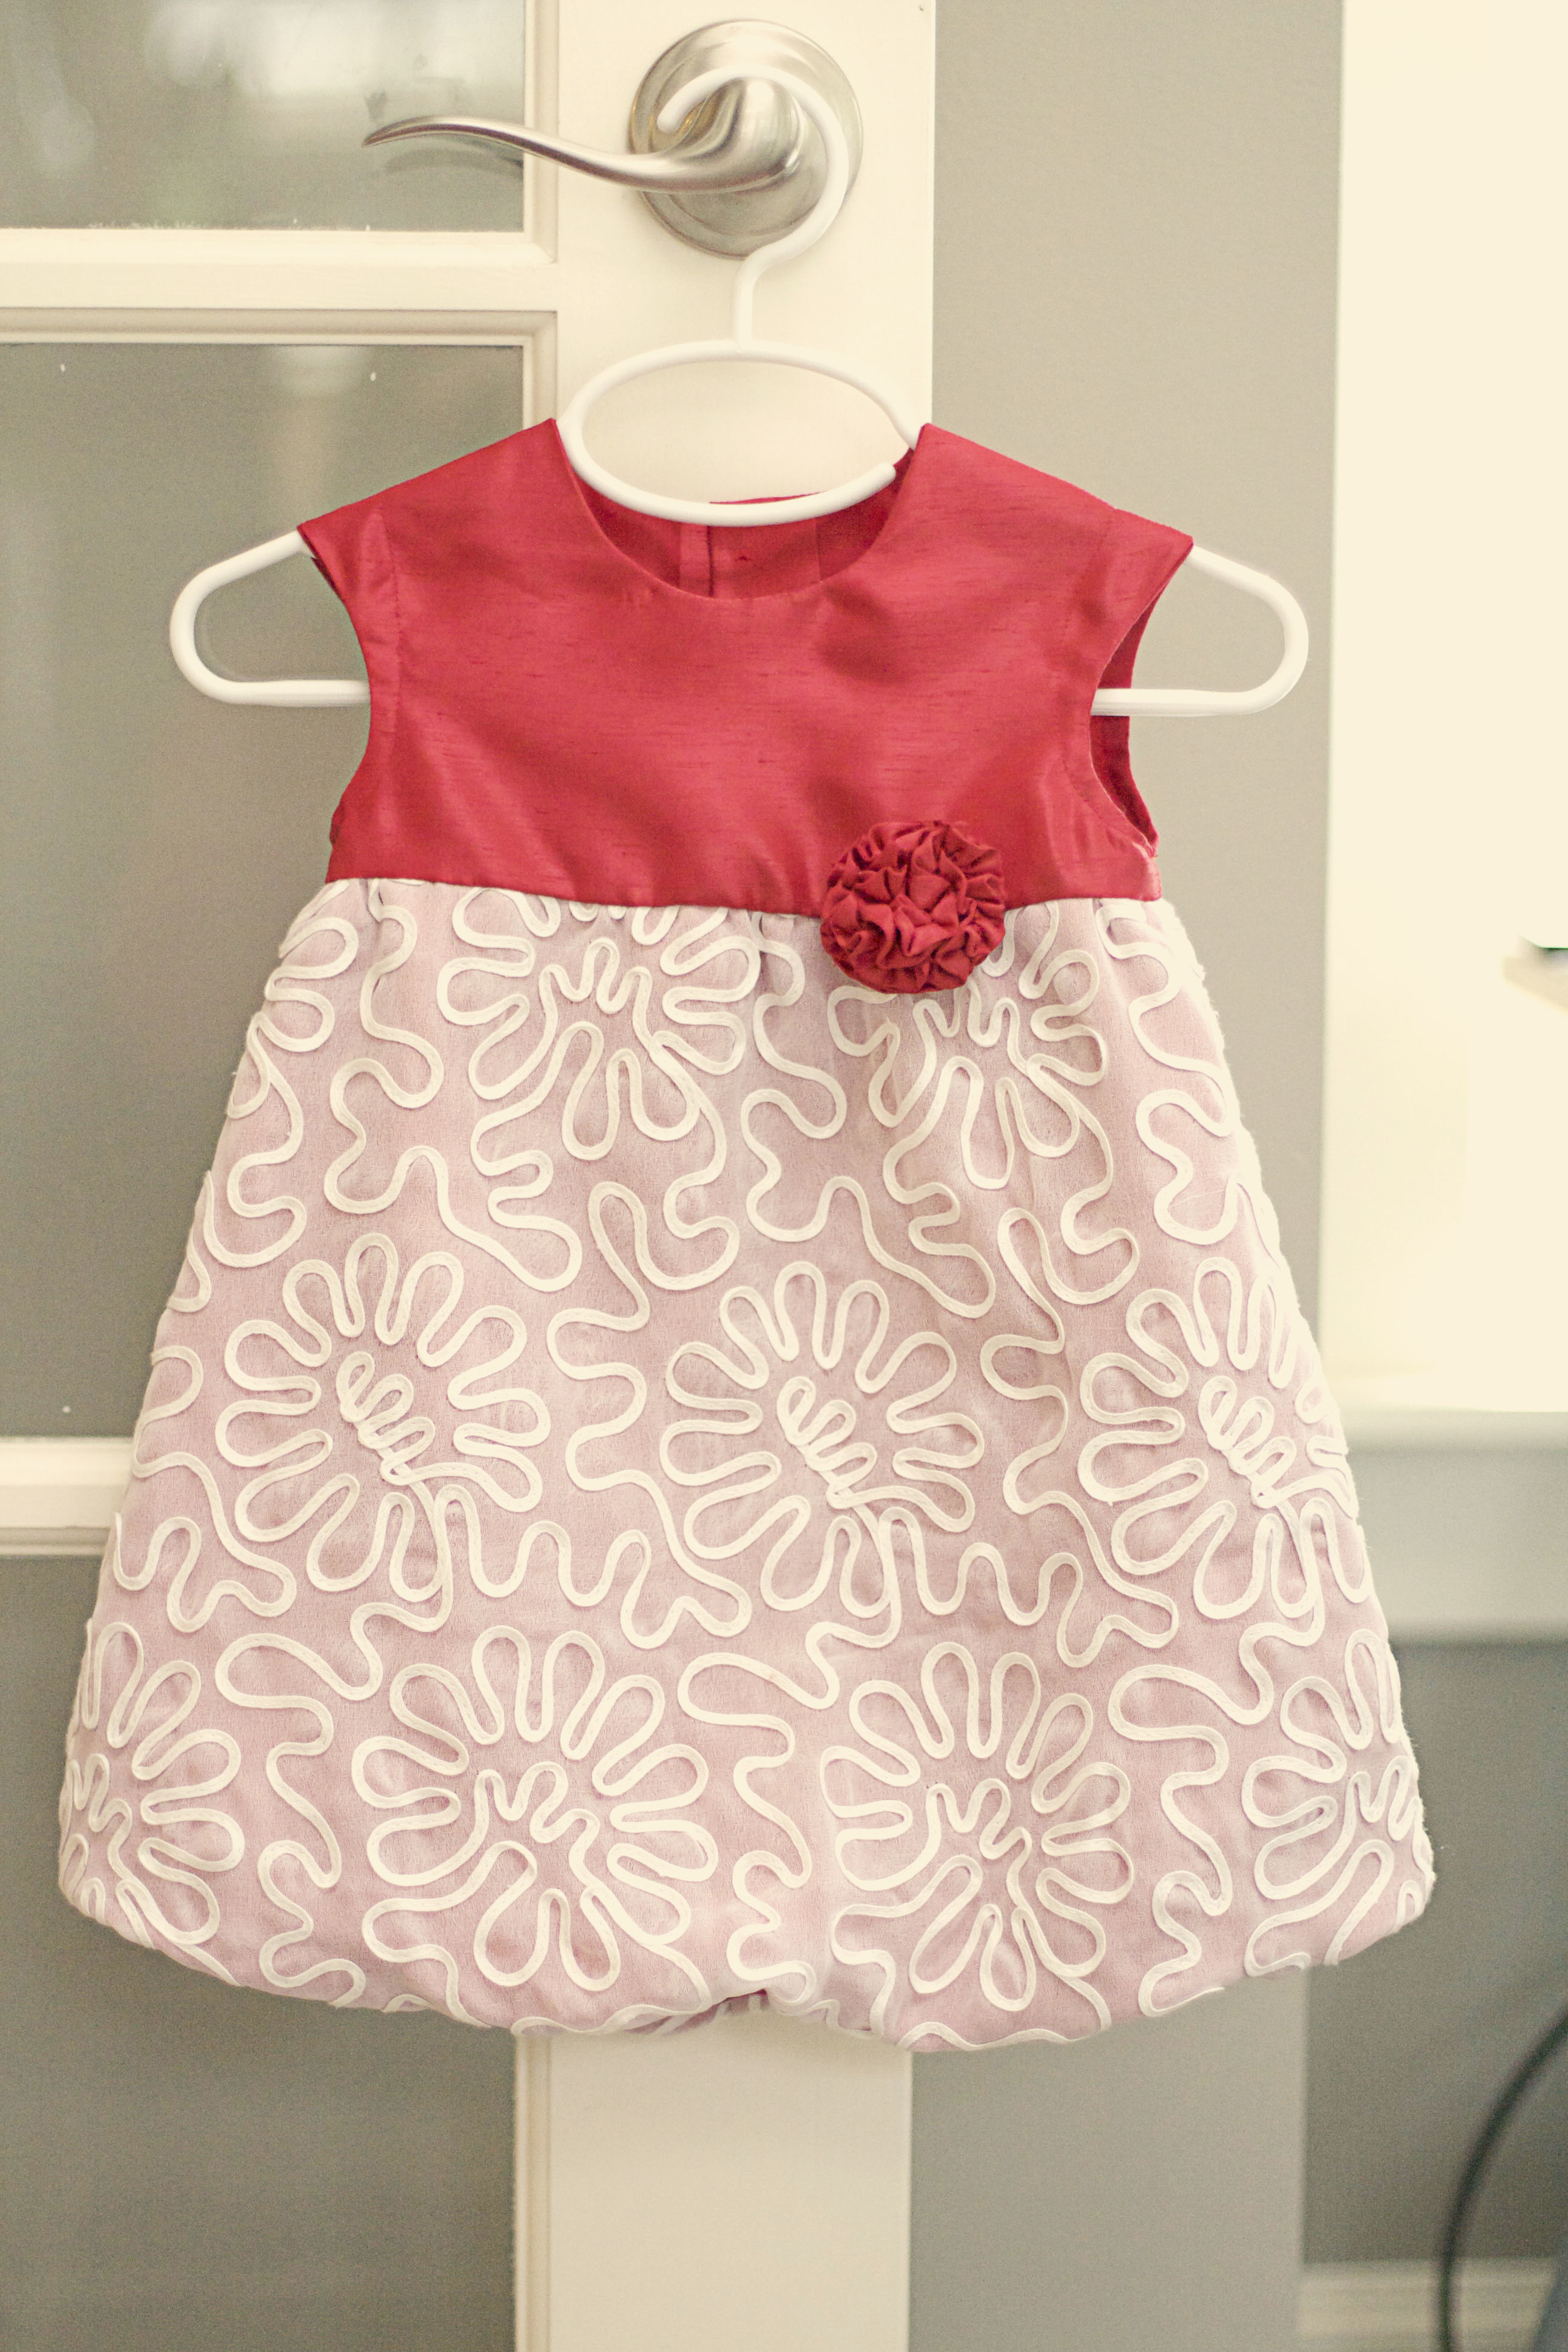
I decided not long after Emma was born that if I get no other sewing done this year, I have to at least make her a Christmas dress. My mom made Christmas dresses for me and my sister when we were little and I was determined to carry on the tradition. And with a week or so to spare, I actually managed to get it done.

I used the Oliver + S Bubble Dress pattern, and added a layer of sheer white fabric to the skirt, and a fabric flower to the bodice (using this tutorial).

The absolute best thing about baby clothes (aside from how stinking cute they are) is that they're usually very easy and quick to make. This was my first experience with an Oliver + S pattern and I found it super easy to follow. Emma's 6 months, almost 18 lbs, and very tall for her age, and the 6-12 month size fit her great, with room to grow.

 My mother in law was sweet enough to get me Little Things to Sew for Christmas, so I'm hoping to get a few more kiddo projects done this year. (Okay, I'm really hoping to get one done, plus this year's Christmas dress. I figure if I set my expectations low enough I won't end up disappointing myself. Right? Right!)

{nursery progress} the big reveal!

Now that Emma is finally here, I can show you her finished nursery! The expression "labor of love" has a whole new meaning for me now, but we did put a lot of hard work and care into getting her nursery just right. If you remember back to my initial post about the nursery, this is the design plan I started with:

And here's what the room looked like before:

Starting with a firm budget of $1500, we set out to try to create a sweet, DIY inspired, eco-friendly nursery...

Here's the breakdown of what we DIY'd:

DIY'd:

As I mentioned before, we set a firm $1500 budget for the nursery - and while my husband had serious doubts about my ability to stick to that budget - I'm very proud to report that I came in UNDER BUDGET at $1302.24. The biggest expenses in the room were the Naturepedic organic crib mattress ($259), the Ikea Hemnes dresser ($199), the DaVinci Rivington crib (on sale for $191.99), the Elfa stacking drawers for the closet ($99), and the Naturepedic organic changing pad ($89.10). Together, those purchases made up almost 2/3 of our whole budget. We could have cut corners a bit by not going organic for the mattress and changing pad, but raising Emma in an eco-conscious way is very important to us, so we were willing to invest a little more for those things.

Here are close-ups of most of the things I DIY'd:

Bird mobile

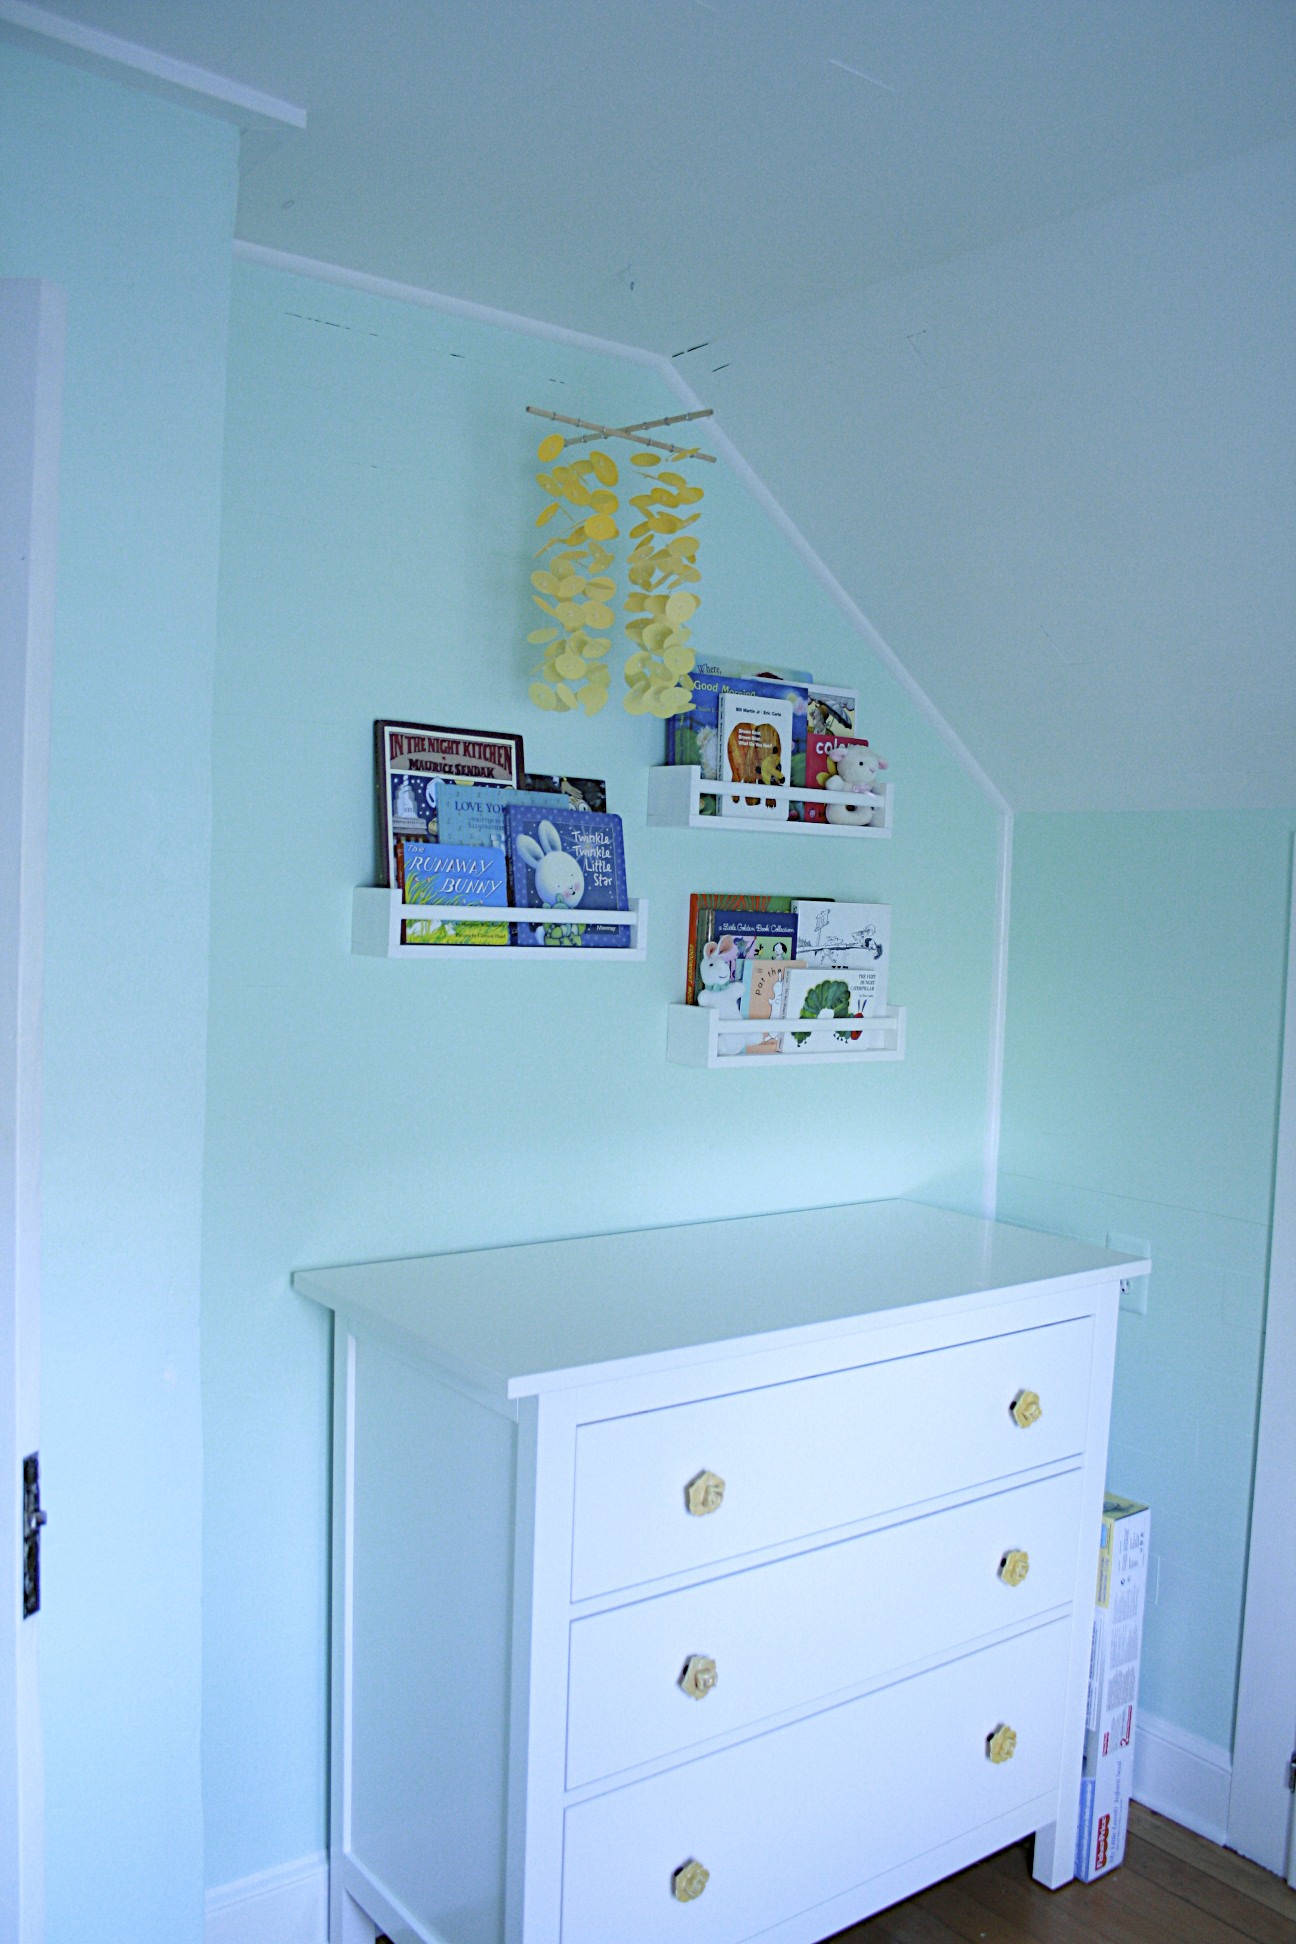
Paper circle mobile

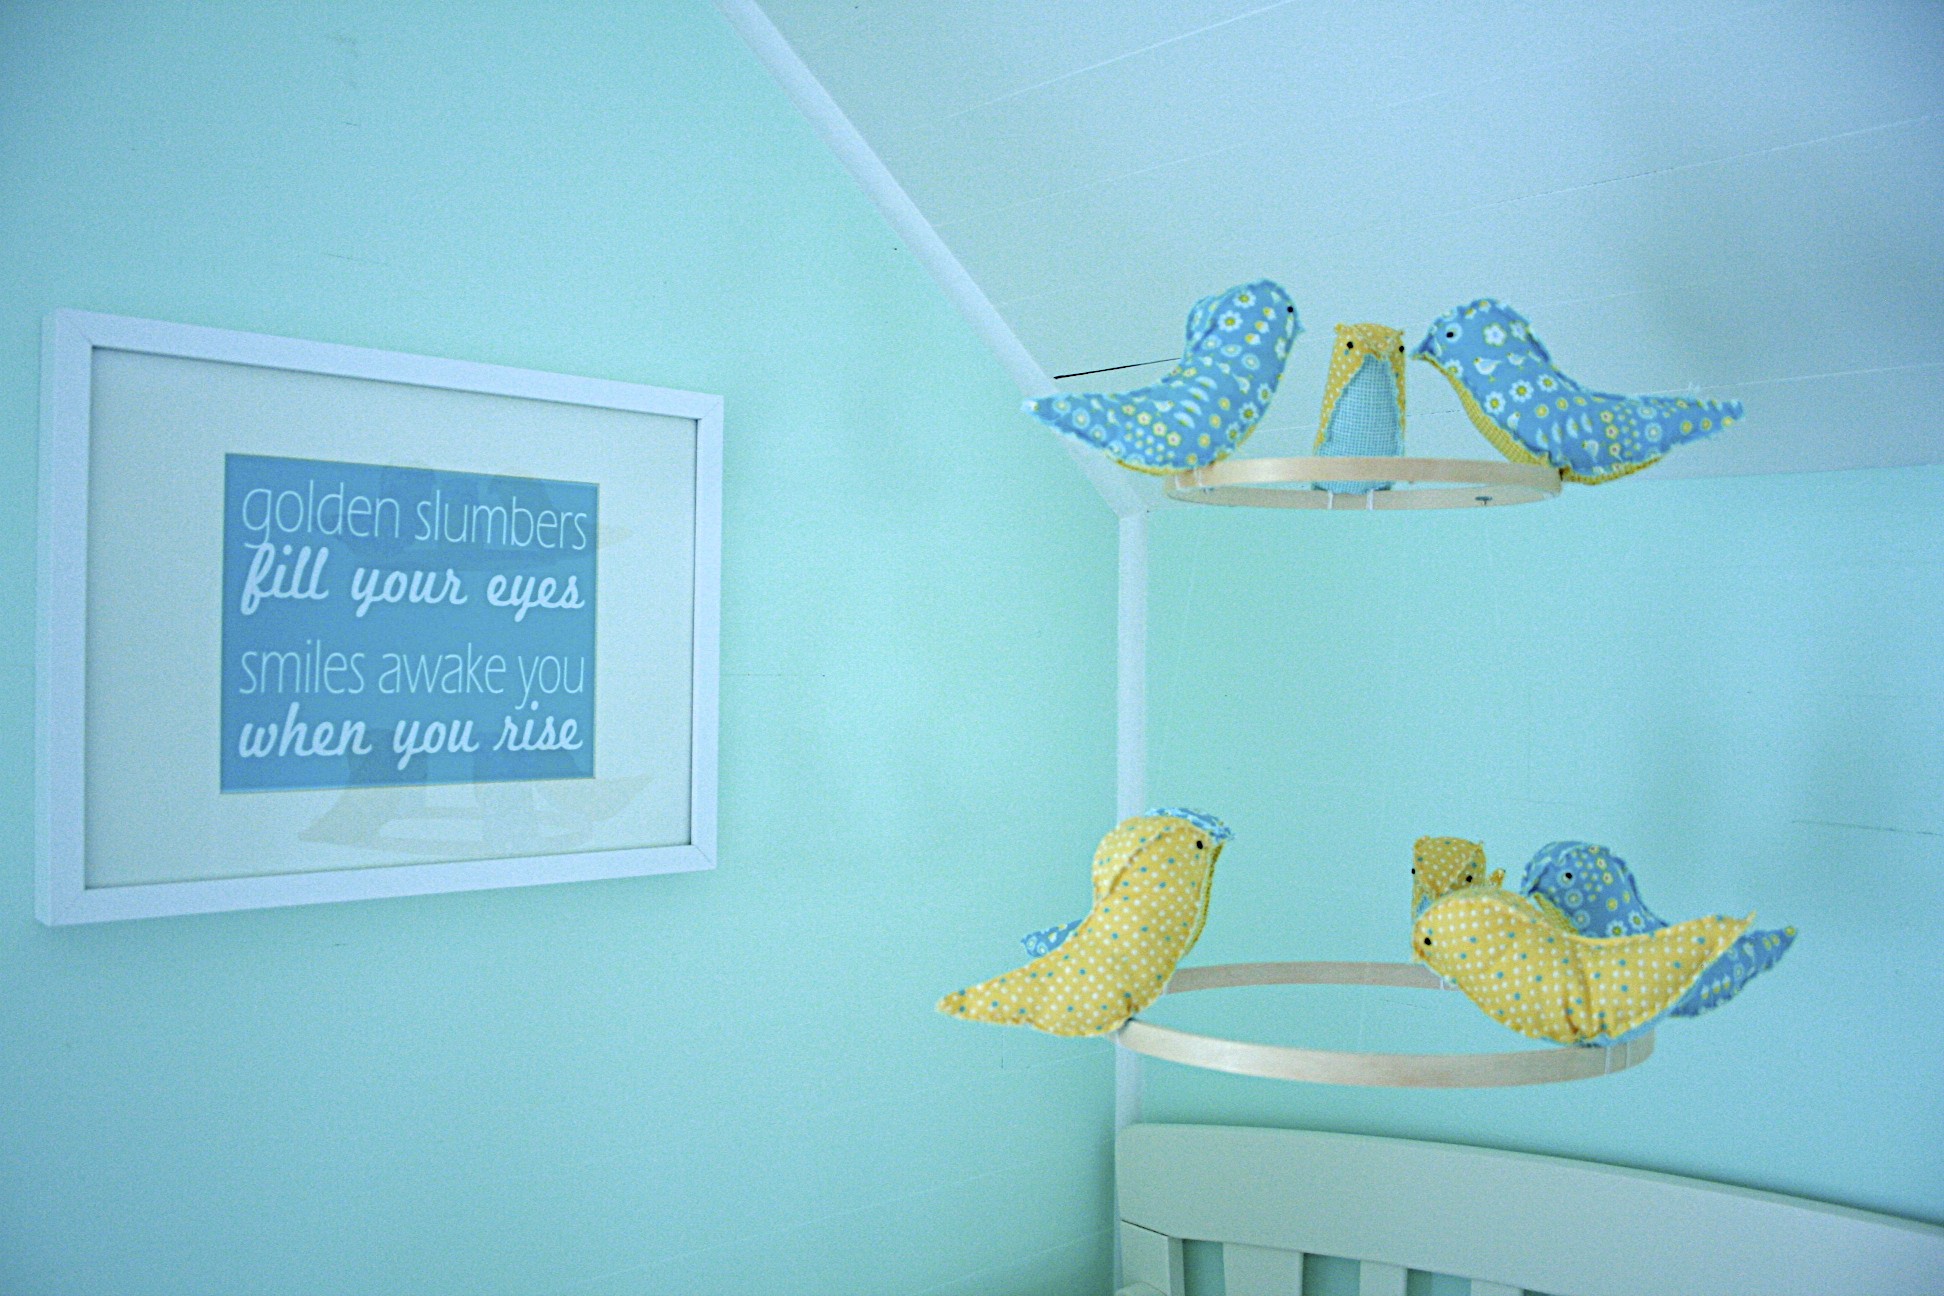
Golden Slumbers print

Murder in the City print

Monogrammed throw pillow

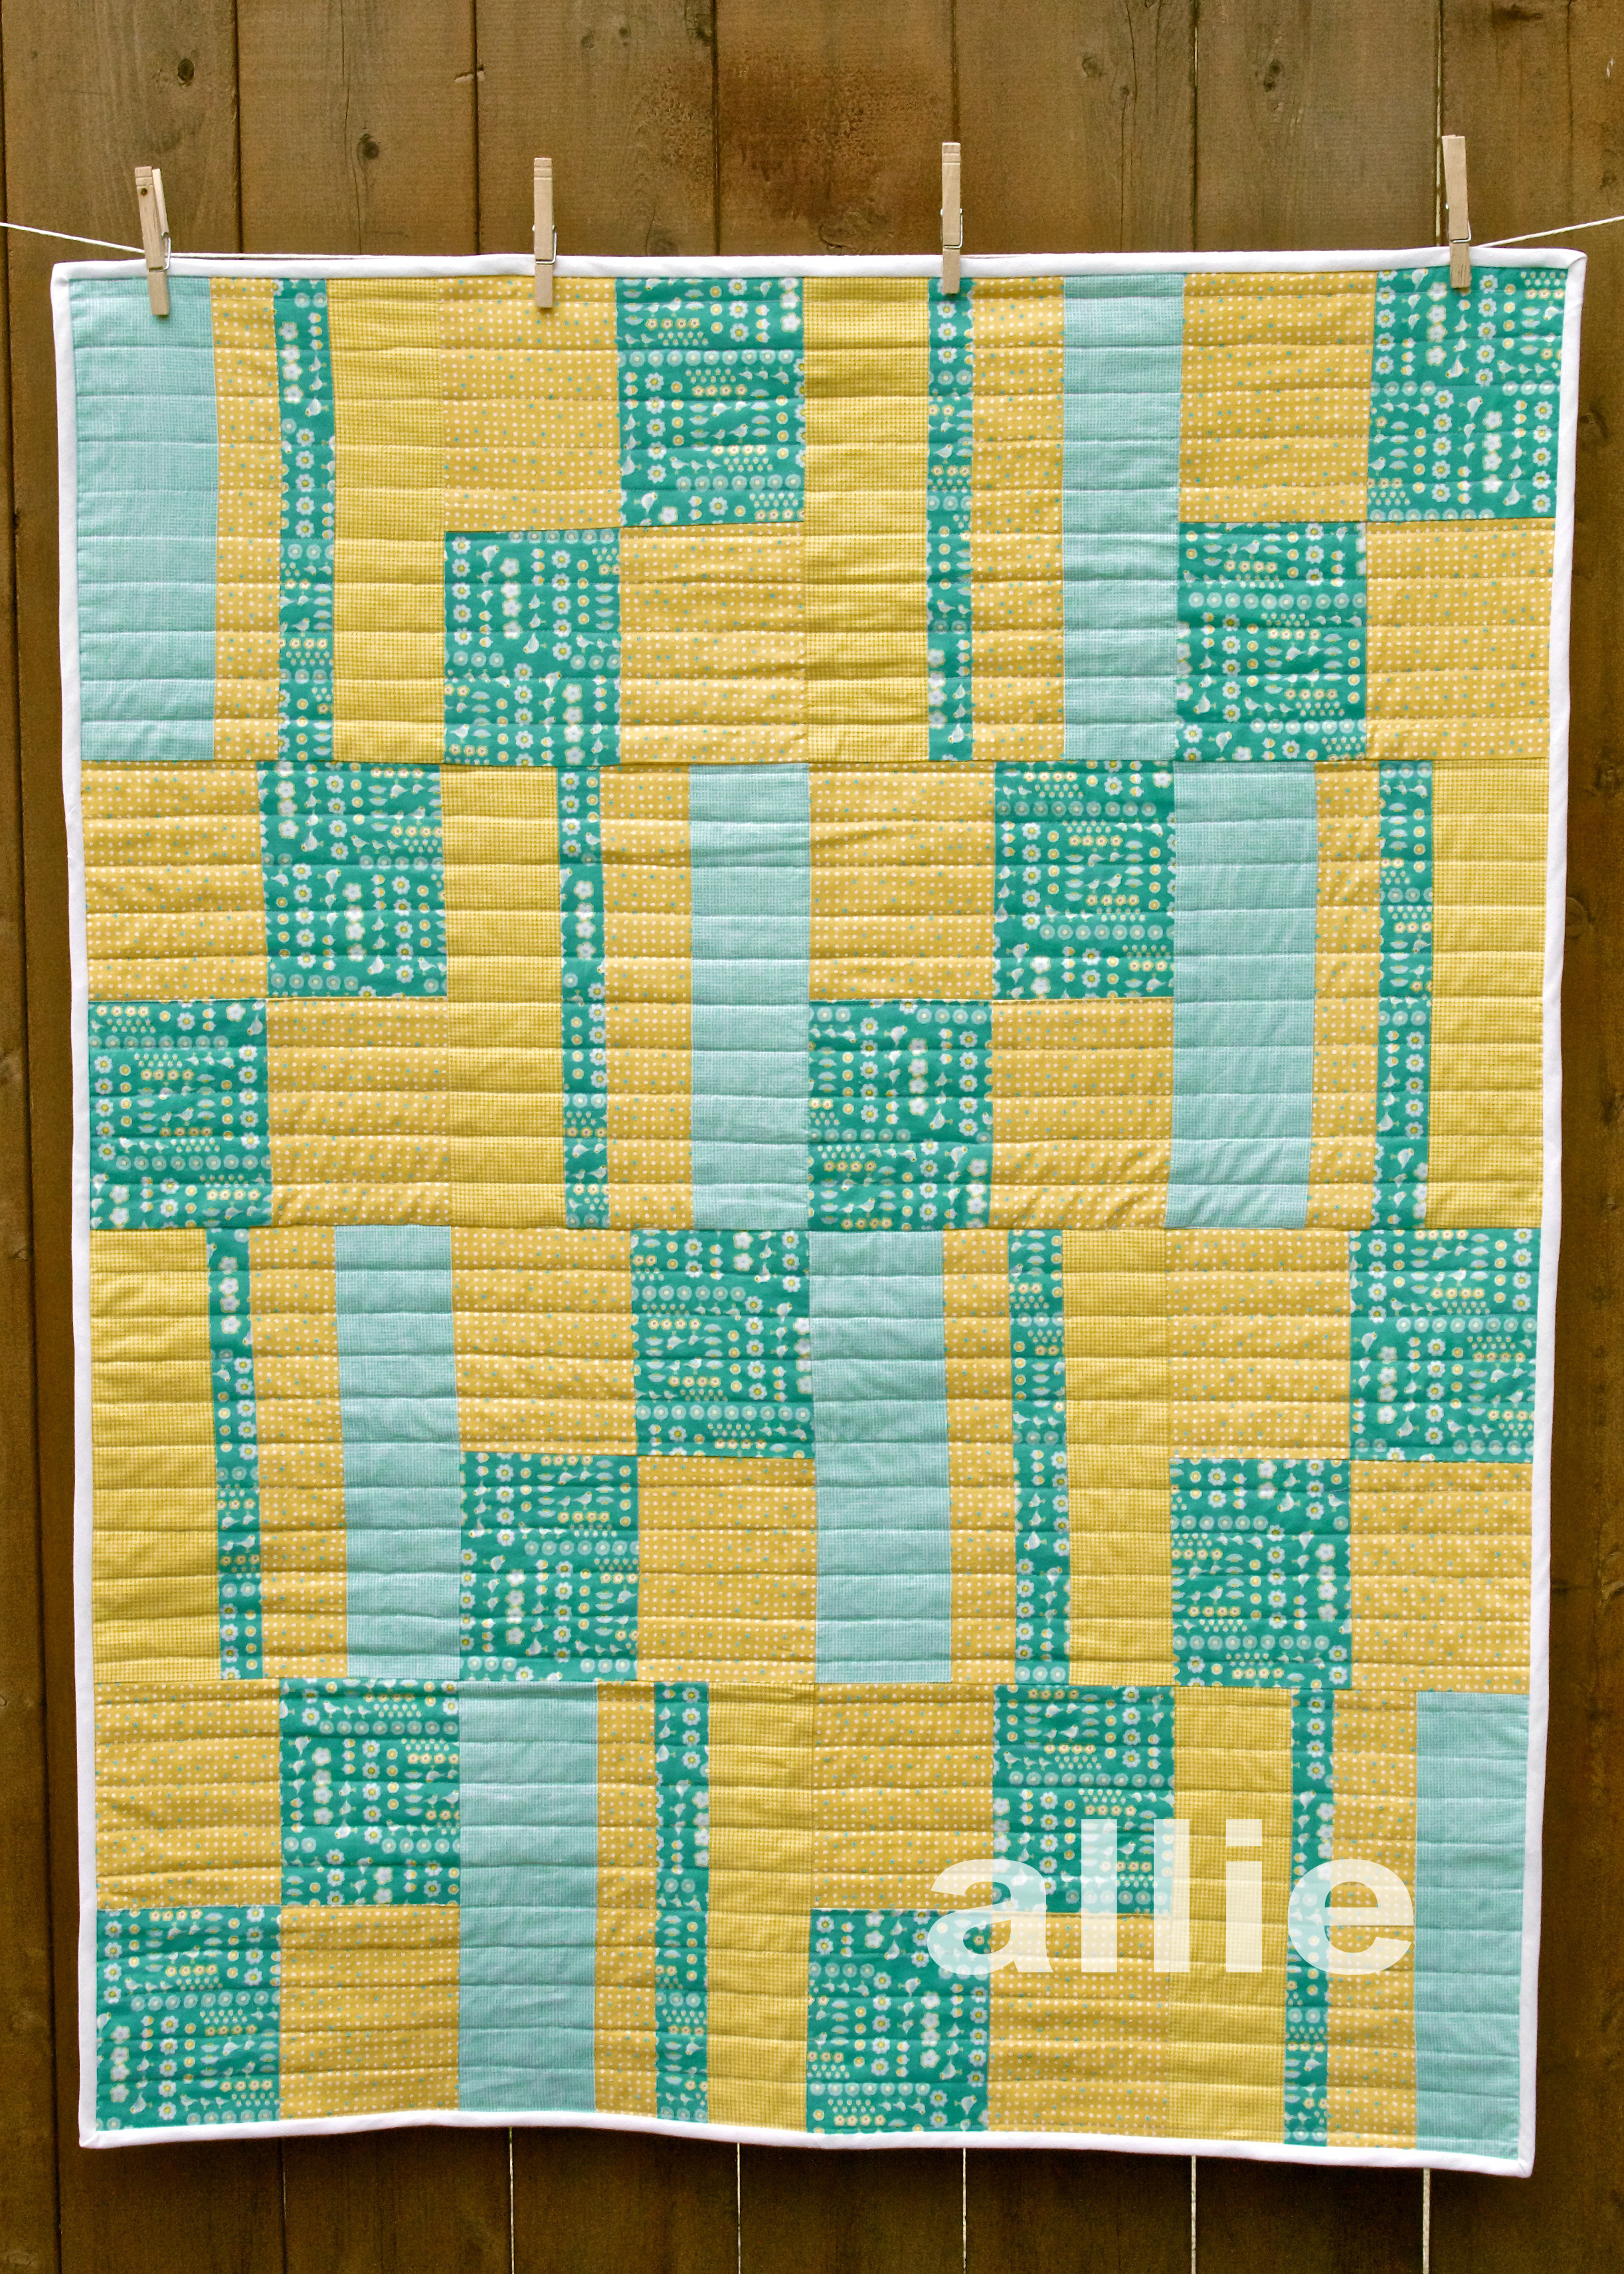
Personalized baby quilt

Bunting

Gum Drop ottoman

I hope you like it!  Well, really I just hope Emma likes it. :-) It was a lot of hard work, but we couldn't be happier with the final result. Leave me a comment if you have any questions about resources or any of the DIY projects!

{nursery progress} a tale of two mobiles

IMG_54411.jpg

Yes, you read that correctly... I ended up making not one, but two mobiles for the nursery. If you'll remember, I started out with the idea to DIY a mobile like the one I had in my mood board:

But then my friend, Rachael, sent me the link for this bird mobile tutorial and I decided to make that one instead.  Here's how it turned out:

I was so so happy with how it looked, especially once I hung it over the crib - but the idea of that original mobile kept nagging at me.  I love a good challenge, and finding a way to DIY something I saw selling on Etsy for $80 was just my kind of challenge.  So... much to my husband's dismay, I decided to make a second mobile for the nursery.  I had no idea where I'd put this one - if it would replace the bird one, if I'd end up with two mobiles, if I'd junk it altogether after punching out a gazillion little circles.  Luckily, by the time I finished it late one Sunday night, I was completely smitten.  It was so fun and cheery... just looking at it made me smile.  I knew I had to find a home for it in the nursery.  So over the changing table it went...

Here's a close up:

I used 3 shades of yellow paper to get a gradient effect, fishing line, clear beads, wooden dowels, and jump rings.  The whole thing cost me maybe $15.  I'm hoping to get a tutorial posted for it next week so stay tuned!

monogram ruffle butt onesies

There are few things I love making more than gifts for my friend's babies, so when I found out that one of my oldest friends in the world, Stephanie, was coming to my baby shower I got to work on brainstorming something for her beautiful new baby girl.  Applique onesies are always a solid choice (quick, easy, and a great use of scrap fabric) but I wanted to jazz them up a bit this time.  I started out with a basic monogram applique using Steam-a-steam fusible web and a zig-zag stitch around the letters...

And then things got crazy...

RUFFLE BUTTS!  Seriously... these ruffle butt onesies are pretty much the cutest things I've ever made.  I take no credit for this brilliant creation - as far as I can tell that credit goes to Char from Crap I've Made.  I followed her tutorial to a T and it turned out even better than I hoped.  I used the serger approach, since I've been waiting for an excuse to practice using my new serger.  Here's a close-up...

As fun as it was to make these onesies, it was even better getting to catch up with Steph (we hadn't seen each other in about 9 years)... it's amazing to think about how far we've come since we first became friends in the 2nd grade. It seems like just yesterday our biggest concern was making sure our Trapper Keepers were organized just-so, and now we're approaching 30 and our lives are consumed by babies.  Ba-na-nas.  But good bananas. :)


{nursery progress} gum drop ottoman

I'm happy to report that I reached my goal of having the quilt and ottoman done before the end of my 2nd trimester.  Woohoo!  I'm not sure I want to know how much worse my back would have felt if I'd left all this sewing for my 3rd trimester.

The Gum Drop Pillow/Ottoman pattern was pretty easy to follow (for an Amy Butler pattern), but I think my choice of flannel is going to come back to haunt me.  I'm not sure how it'll hold up over time, and it was stretchier than regular cotton so I ended up needing way more batting than the pattern called for (11 1/4 lbs!!!).  So why did I go with flannel?  It was the exact color I was looking for.  Sometimes color trumps common sense.

I'm also not sure how I feel about it being slip-stitched closed.  I've become slightly anal about making sure every bit of fabric in the nursery is removable and washable, so it makes me nervous that this ottoman doesn't meet those criteria.  I'm thinking the first time I have to rip those stitches open, take out all the batting, and wash out whatever unpleasantness got all over it, I'm going to sew in an invisible zipper.

Since the ottoman is pretty big (though it's the perfect size for supporting my feet while nursing or reading to the baby) it'll spend most of the time living under the window to clear up floor space.

You'll also notice that we finished painting the Poang!  It took 3 coats of semi-gloss (using a foam brush) after sanding down the varnish, but it was worth it.  It fits much better in the room than the natural wood did.

Up next... I've been working away on the mobile and I'm hoping to get it done this week.  I didn't realize until I had everything cut that the birds need to be hand sewn.  Yuck.  But I have 4 done, and they look super cute, so hopefully it'll be worth all that extra time.  In case you're wondering, it does occasionally cross my mind that my daughter will never remember all this stuff I'm doing for her room, but then I stand in there and see how everything's coming together and it makes me happy enough to no longer care.  :)

new in the Etsy shop: nursing covers!

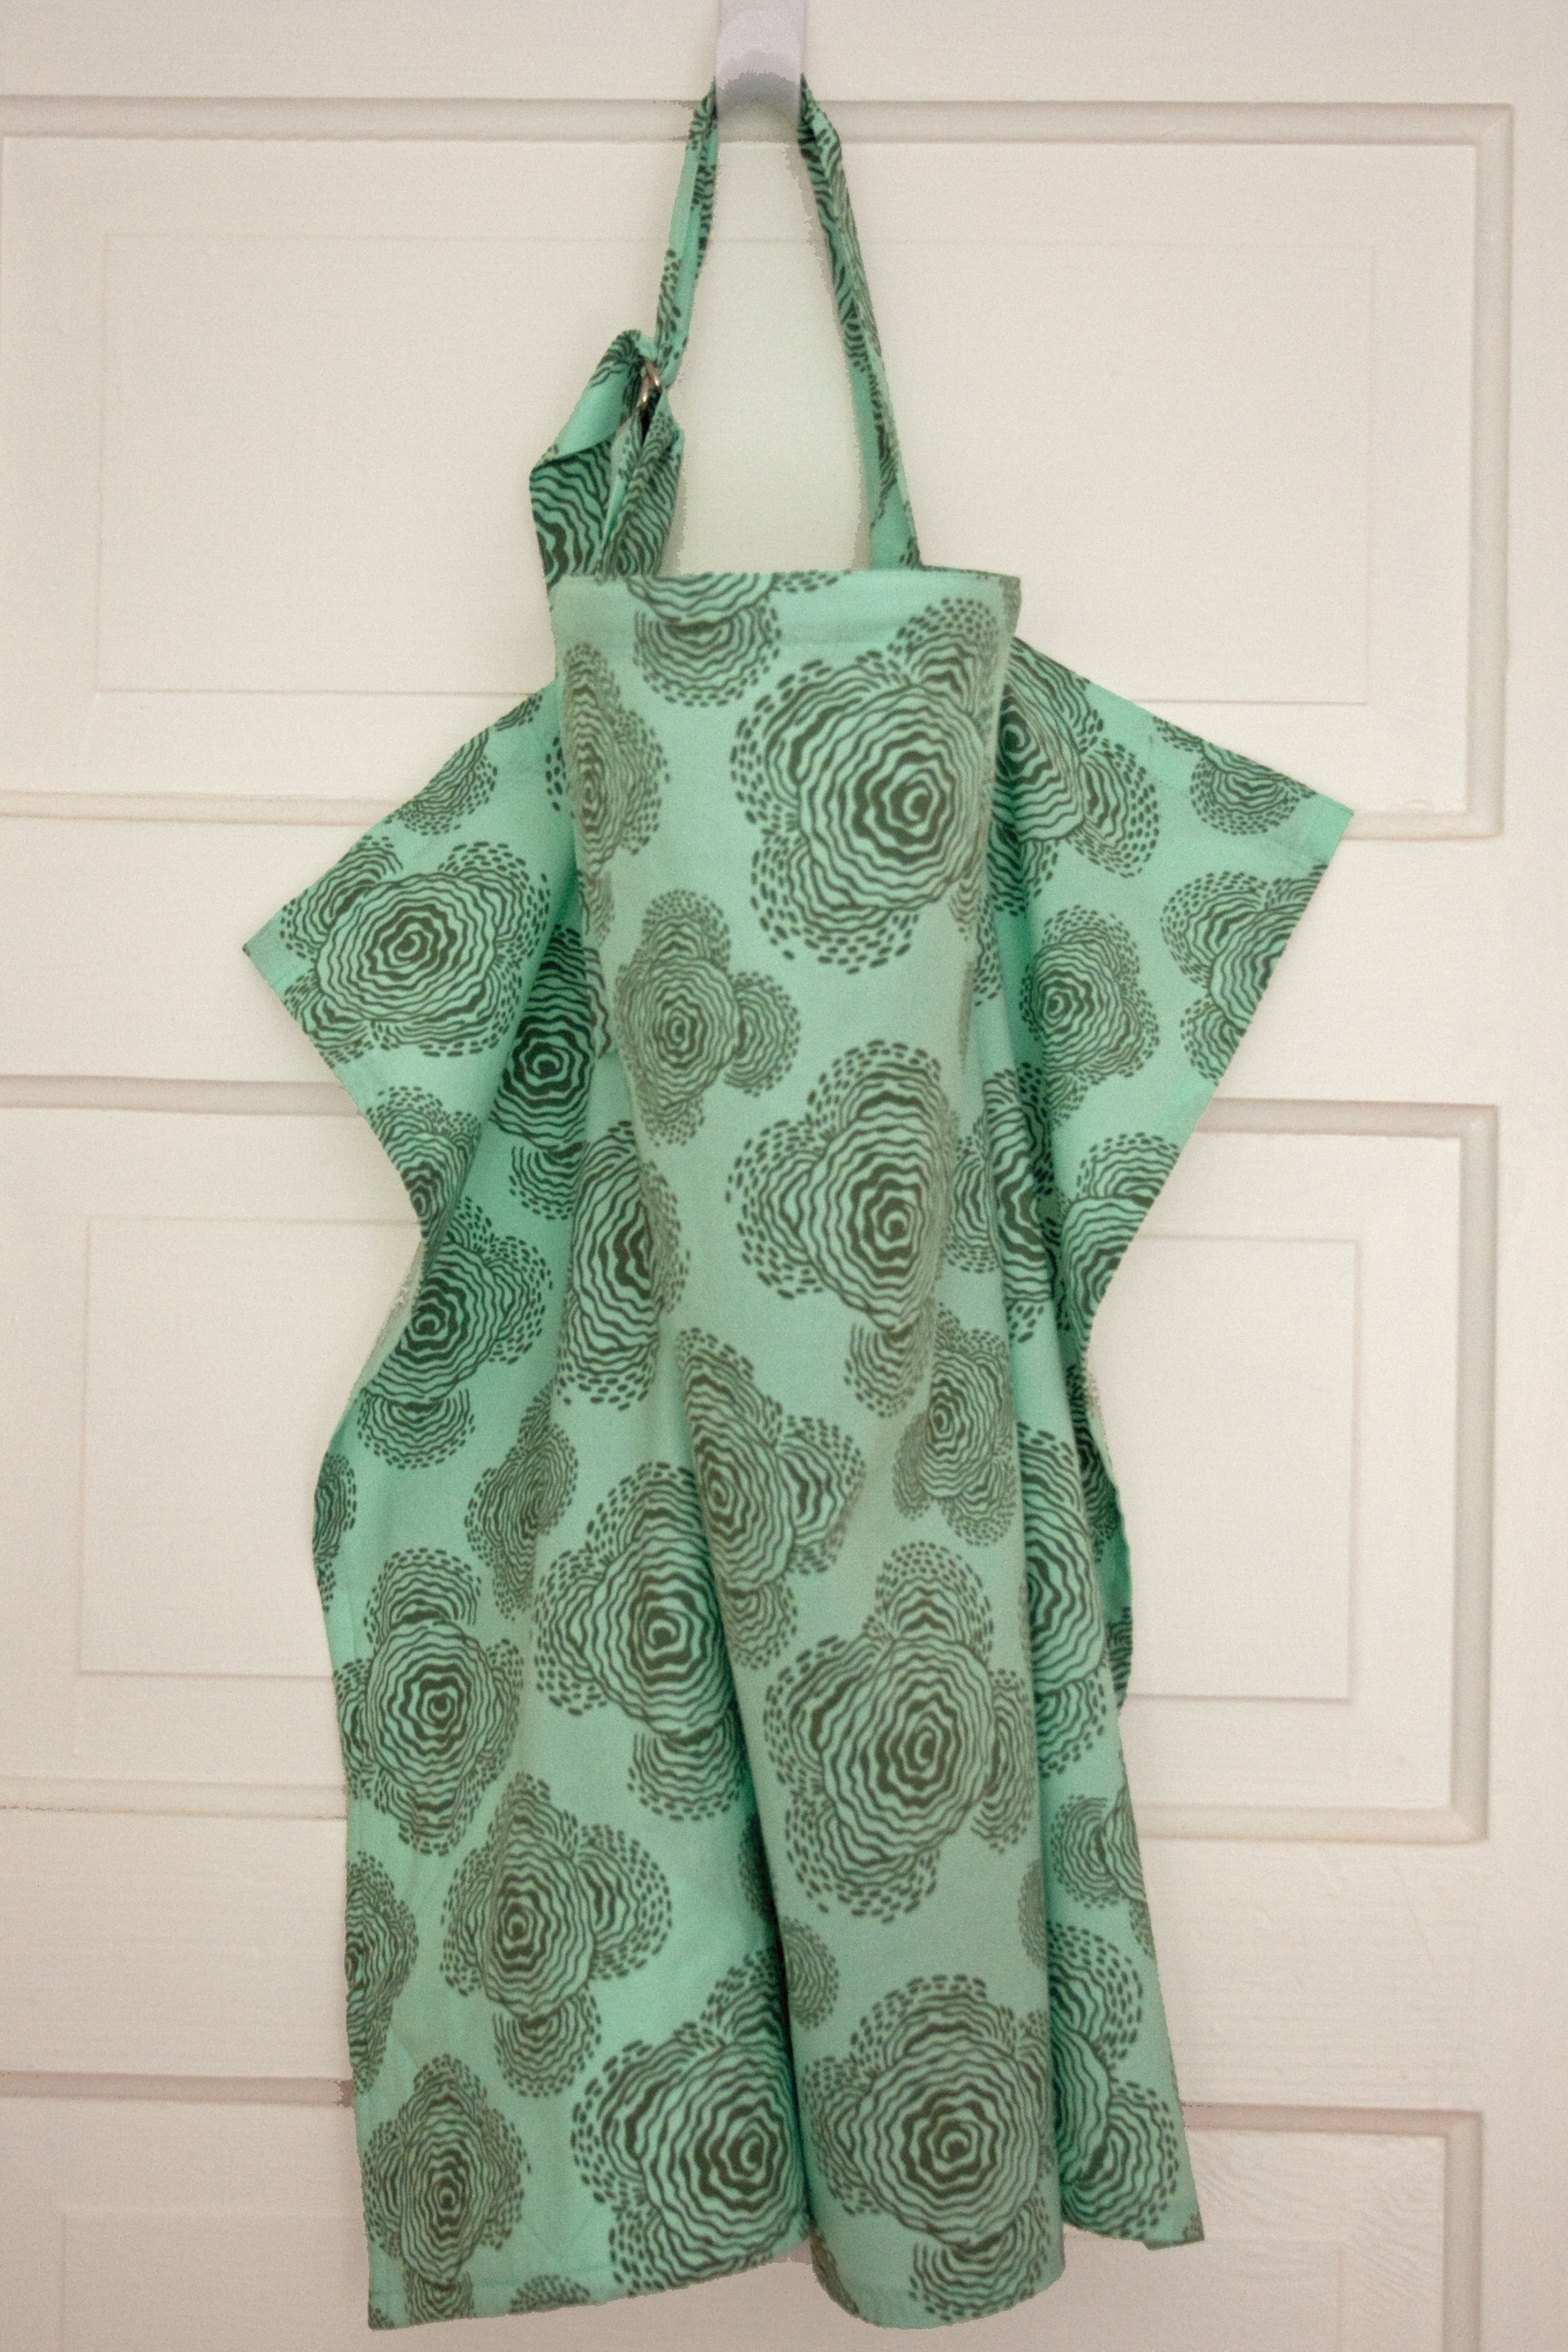
I'm so excited to announce that the nursing covers I mentioned earlier this year are finally up for sale in my Etsy shop.  Each nursing cover features 100% cotton Amy Butler fabric, and has a corner pocket made from a prefold cloth diaper - perfect for storing breast pads or using as a facial wipe for baby.  There's an adjustable strap and the boning at the neck enables mom to maintain eye contact while breast feeding and allows for ventilation, which helps keep baby nice and cool.


{nursery progress} the baby quilt


The baby quilt is DONE!  It took me a little over a week, which honestly wasn't as long as I thought it would take. I'm not sure why I was always so intimidated about quilting... I think it's the whole culture of it.  Or at least the culture I always saw at the fabric store - middle aged to elderly women scouring for batiks and taking forever at the cutting counter with their 1/4 yard cuts of 100 different fabrics. It just seemed like it wasn't for me. But I was determined to make a quilt for my little girl and when I started piecing it together I was delighted to discover that I actually really like quilting. It's like putting together a pretty puzzle... kinda nerdy, kinda artistic, definitely challenging, and all the sewing is in straight lines! What's not to love? And the more I googled for tips and inspiration, the more I realized that there's a whole new generation of quilters making really amazing, fun, modern quilts. I might be hooked.

Okay, enough babbling... here's how things went down with my first quilt.  I started with Amy Butler's Patchwork Crib/Playtime Quilt pattern from her Little Stitches for Little Ones book, and made some small deviations along the way. She laid out a specific order for piecing the blocks together, but I reordered things so that the blue and yellow would be alternated. I also used a straight-line approach for the quilting instead of stitch-in-the-ditch like AB used in the pattern.

I used 2 1/2" bias strips for the binding instead of the 3 1/4" specified in the pattern, because that's what worked with the attachment I had for my bias tape maker.  The pattern was pretty weak on instructions for doing the binding, but thankfully this tutorial and this tutorial saved me.

The last step to finishing the quilt was to applique our baby's name to the bottom right corner.  I used the same approach described here and hand embroidered the letters with white embroidery thread.  It pretty much makes the whole quilt so I'm sad I can't show you pics until after she's born (we're keeping the name a secret).  So until then, here's a not-nearly-as-cute idea of how it looks (thanks Photoshop!):

Oh, and here are the fabrics I used: the yellow checks and blue checks are both City Weekend by Liesl Gibson for Oliver + S for Moda, and the yellow and blue dots and blue with white birds are both Hideaway by Lauren + Jessi Jung for Moda.

Now that I've gotten over my quilt-phobia, I'm already planning my next quilt!  The fabric arrived last week, but I have a lot of other sewing to get done for the nursery before I can dive back into quilt land.  Next up... the ottoman.


nursery progress: the design plan

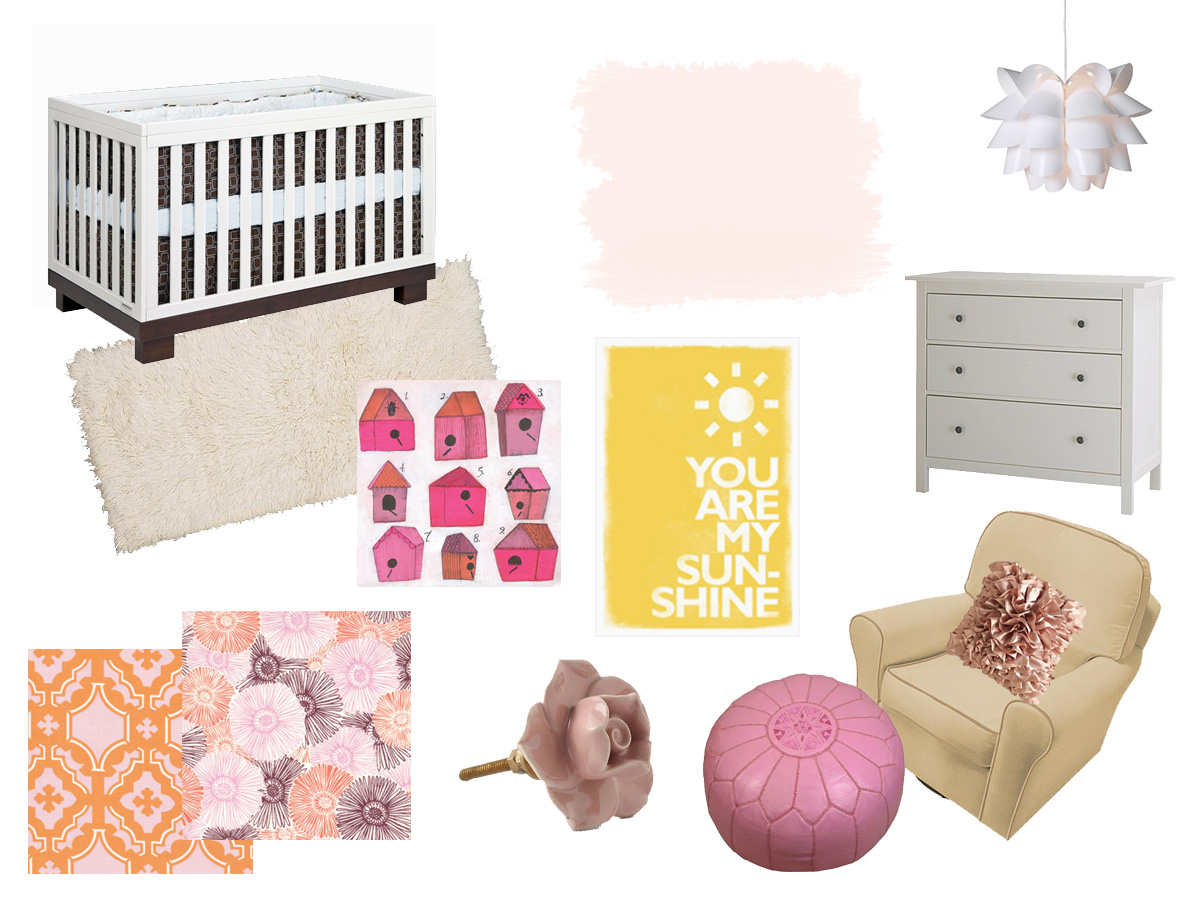
Before we found out the baby's gender, I thought I had my mind pretty made up about the direction I wanted to go in for the nursery if it was a girl. (I didn't really have a clue for the boy, so from a design perspective it was rather convenient that the baby turned out to be a girl.) I never ever thought I'd be a pink nursery kind of person, but when I saw this color palette I was a convert. It was the right combination of feminine, fun, pretty, and vintage. I just had to sell Jared on the idea. So I created two mood boards: one with the pink palette and one with a cute yellow/aqua palette I'd seen on one of the baby design blogs I subscribe to. The plan was to make the pink palette so good that he just had to go for it, and make the yellow/aqua palette just so-so. Hey, I never said I was going to be totally objective about this process. :-) Here's the pink mood board I came up with:

Here's the thing. I liked it, but didn't love it. I had a much harder time than I thought I would finding the right fabrics and accessories, and I'm still not 100% thrilled with what I ended up with. It's cute and girly, but it just didn't come together as well as I had hoped.

So then I moved on to creating the yellow/aqua mood board:

And you know what? I completely fell in love with this room. Creating this mood board was fun, unlike the stress I felt trying to create the pink one. It was so easy to find great fabrics, art, and accessories to bring the room to life - which gave me hope that actually shopping for all that stuff would be a breeze. And I really liked the feel of it once it was all done - it's so sweet and cheerful - girly without being too obvious about it.

So I sent the mood boards to Jared for his thoughts, not telling him which one I liked better. He genuinely liked them both, but said there was something about the yellow/aqua room that sold it for him. Phew!

Now that the design was done I went back to the budget worksheet I'd put together to see if we could really have the nursery of our (okay, my) dreams on a $1500 budget. Thankfully, with a good amount of DIYing and a bit of repurposing, it's actually possible. Here's the plan:

To buy:

  • Crib
  • Mattress
  • Dresser
  • Rug
  • Light
  • Sheers
  • Cornice kit
  • Hardware (the Anthro hardware is a bit of a splurge, but it's one of those elements that really makes the room for me)
  • Bookshelves
  • 3 Frames
  • Hot air balloon print
  • Slide out bins for the closet floor

To DIY/sew:

  • Painting the walls, ceiling, trim, Poang, bookshelves, and built-ins
  • Fabric covered 7" cornice for the window
  • 2 changing pad covers
  • Crib/play quilt (Amy Butler pattern from Little Stitches for Little Ones)
  • Gum Drop Ottoman
  • Padded arm rests for the Poang
  • Toss pillow for the Poang
  • Paper circles mobile
  • 2 DIY art prints

So yeah, kinda a lot in the DIY column. I'm desperately going to try to get at least the quilt and ottoman done before the end of my 2nd trimester. The other DIY projects are on the easier side and I can enlist help for those if need be.

We've already gotten the first step of the nursery makeover done - bringing in an electrician to install a light switch for the overhead light (fumbling to find that little chain the middle of the night just wasn't going to happen, plus we feel like having a switch that dims is going to come in very handy) and adding another outlet to the wall where the window is. (For the record, the electrical work was not included in the $1500 budget because we felt like it was something the room needed regardless of what we used it for.)

The next step is paint! Luckily, Jared's "never painting another room in this house ever again" vow is no match for the love he has for his pregnant wife and beautiful unborn daughter, so we'll be tackling the painting together. I'll try to post pics of our progress along the way, so stay tuned...

Sock Monkey onesie gift set & tutorial!

I’m at a point in my life where it seems like most of my girlfriends are either pregnant or just had babies, and as a result I’ve become slightly obsessed with making baby gifts for them.  I started making applique onesies when Lindsey (awesome mama and best friend extraordinaire) was pregnant with her son, Will, last year.  The necktie tutorial on Crap I’ve Made got me hooked and from there I started making my own applique designs.  What I love about applique onesies is that they’re quick, a great way to use up fabric scraps, and there are endless design possibilities.

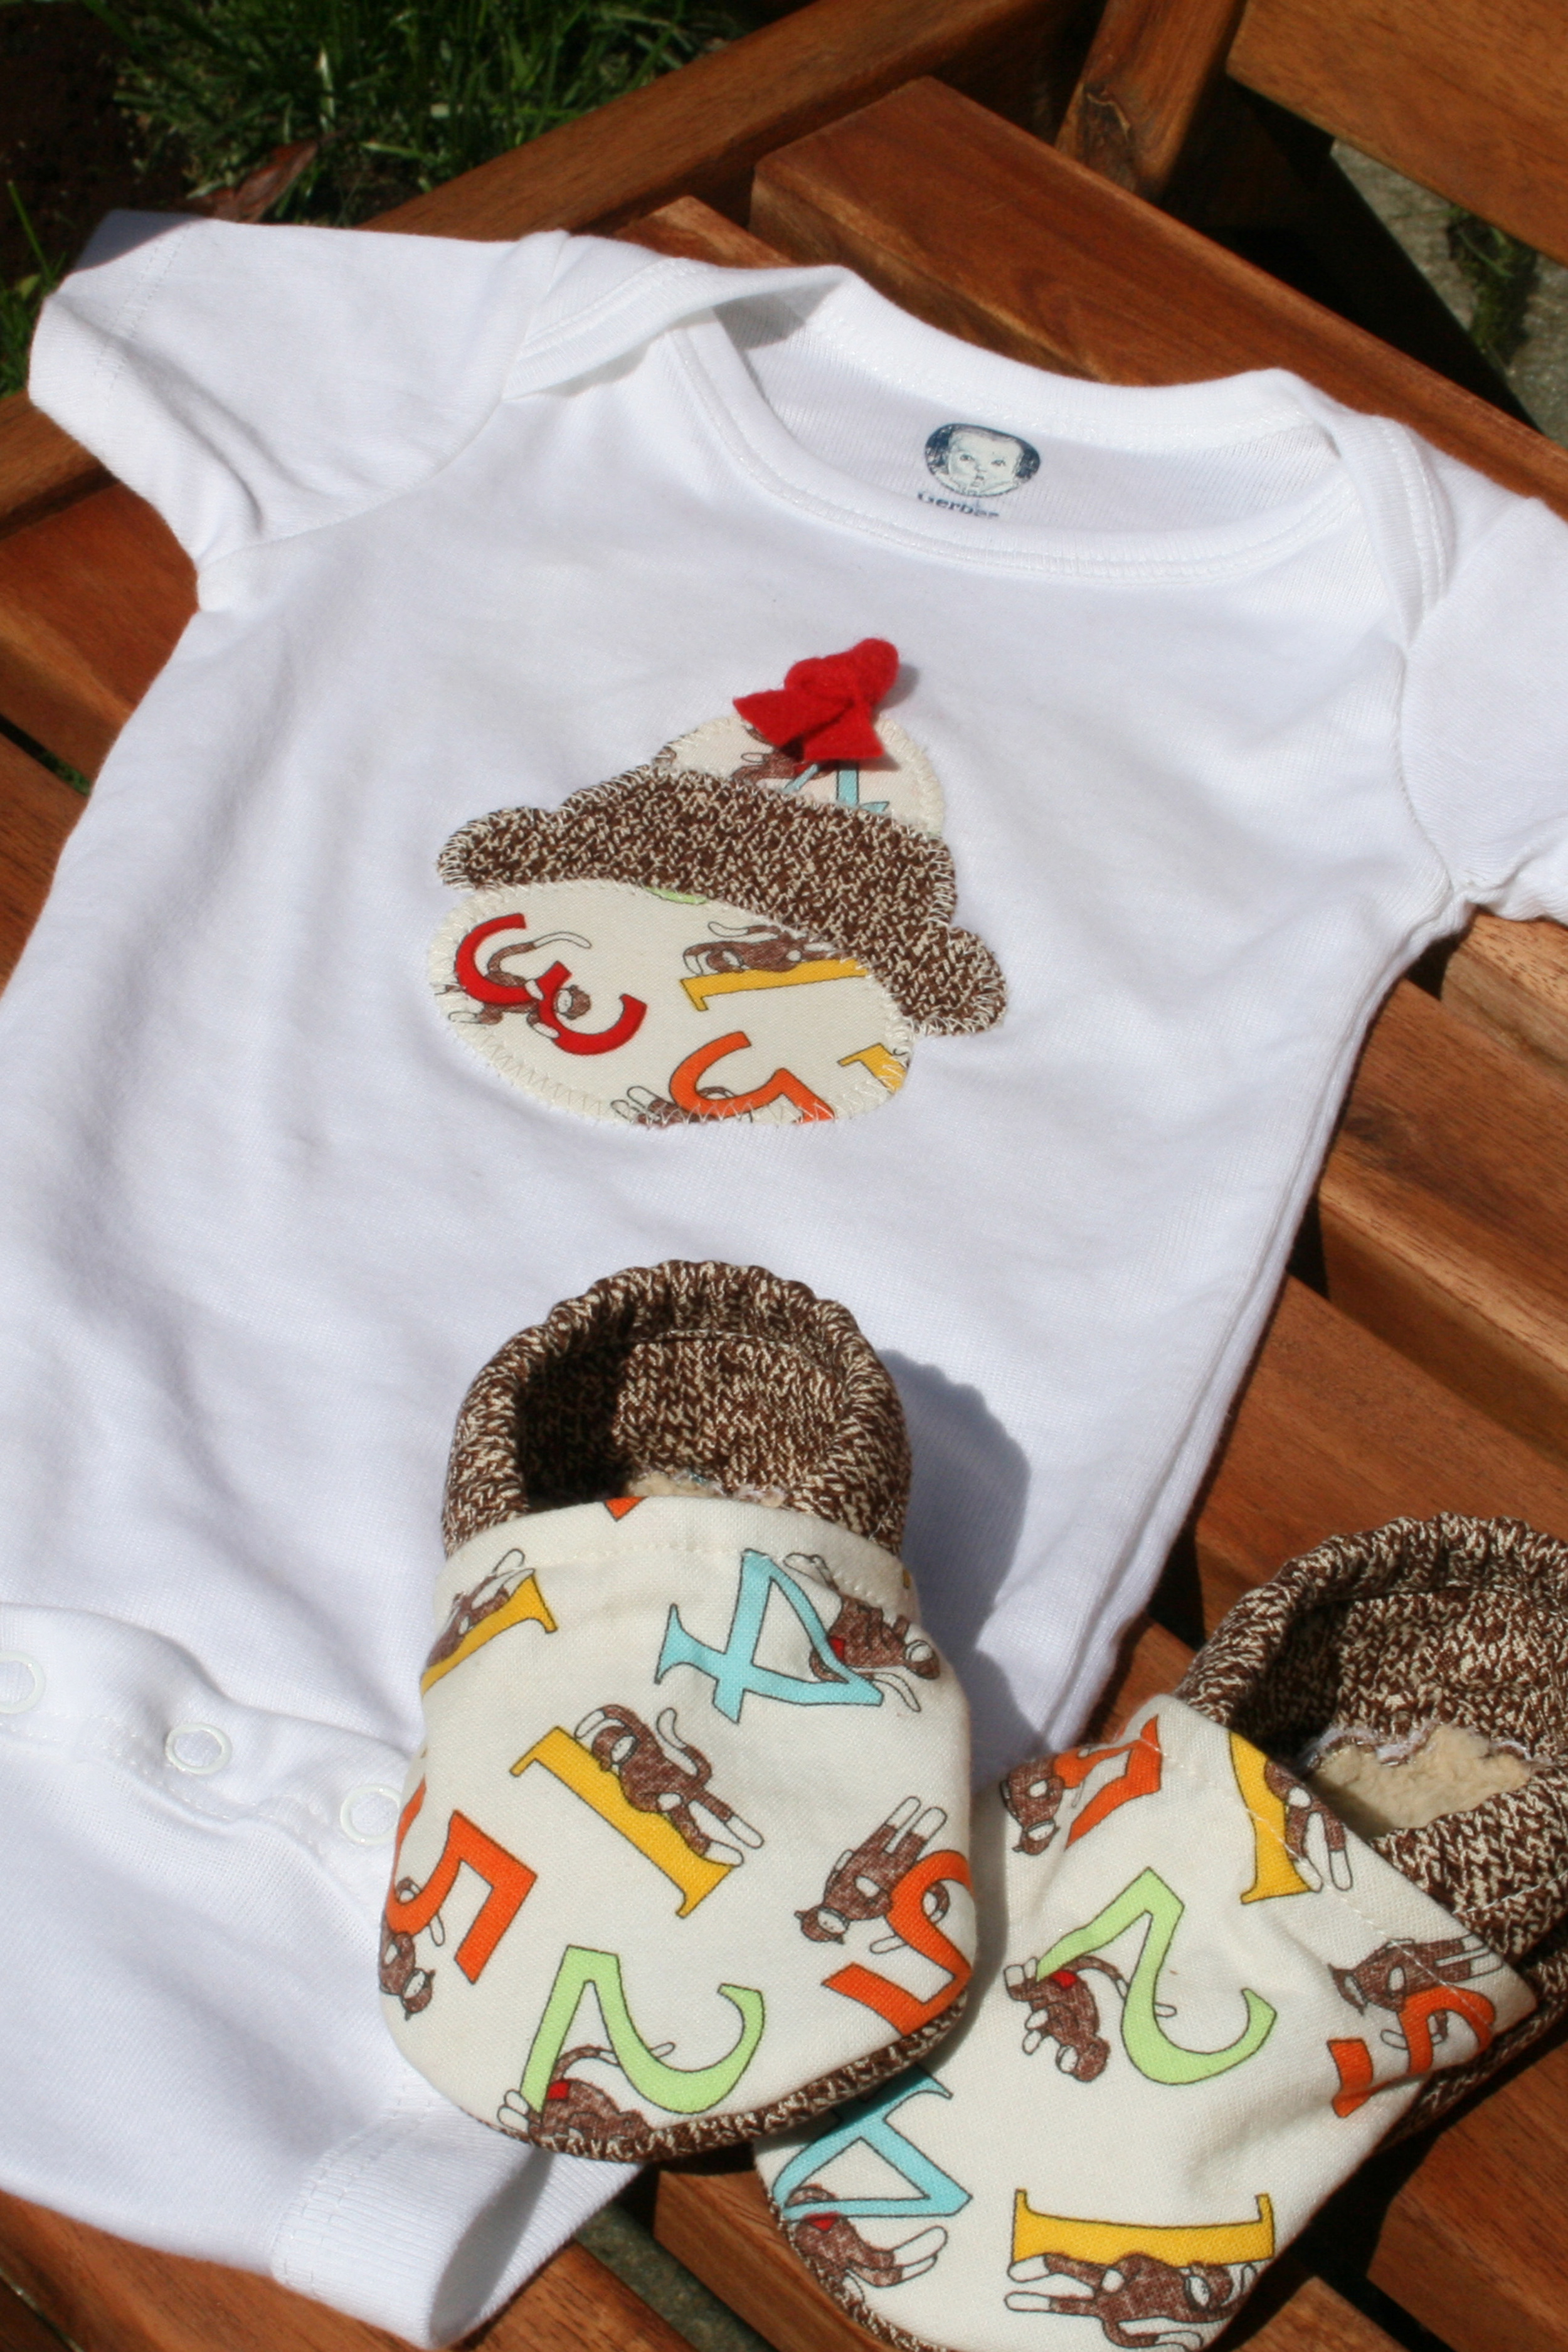
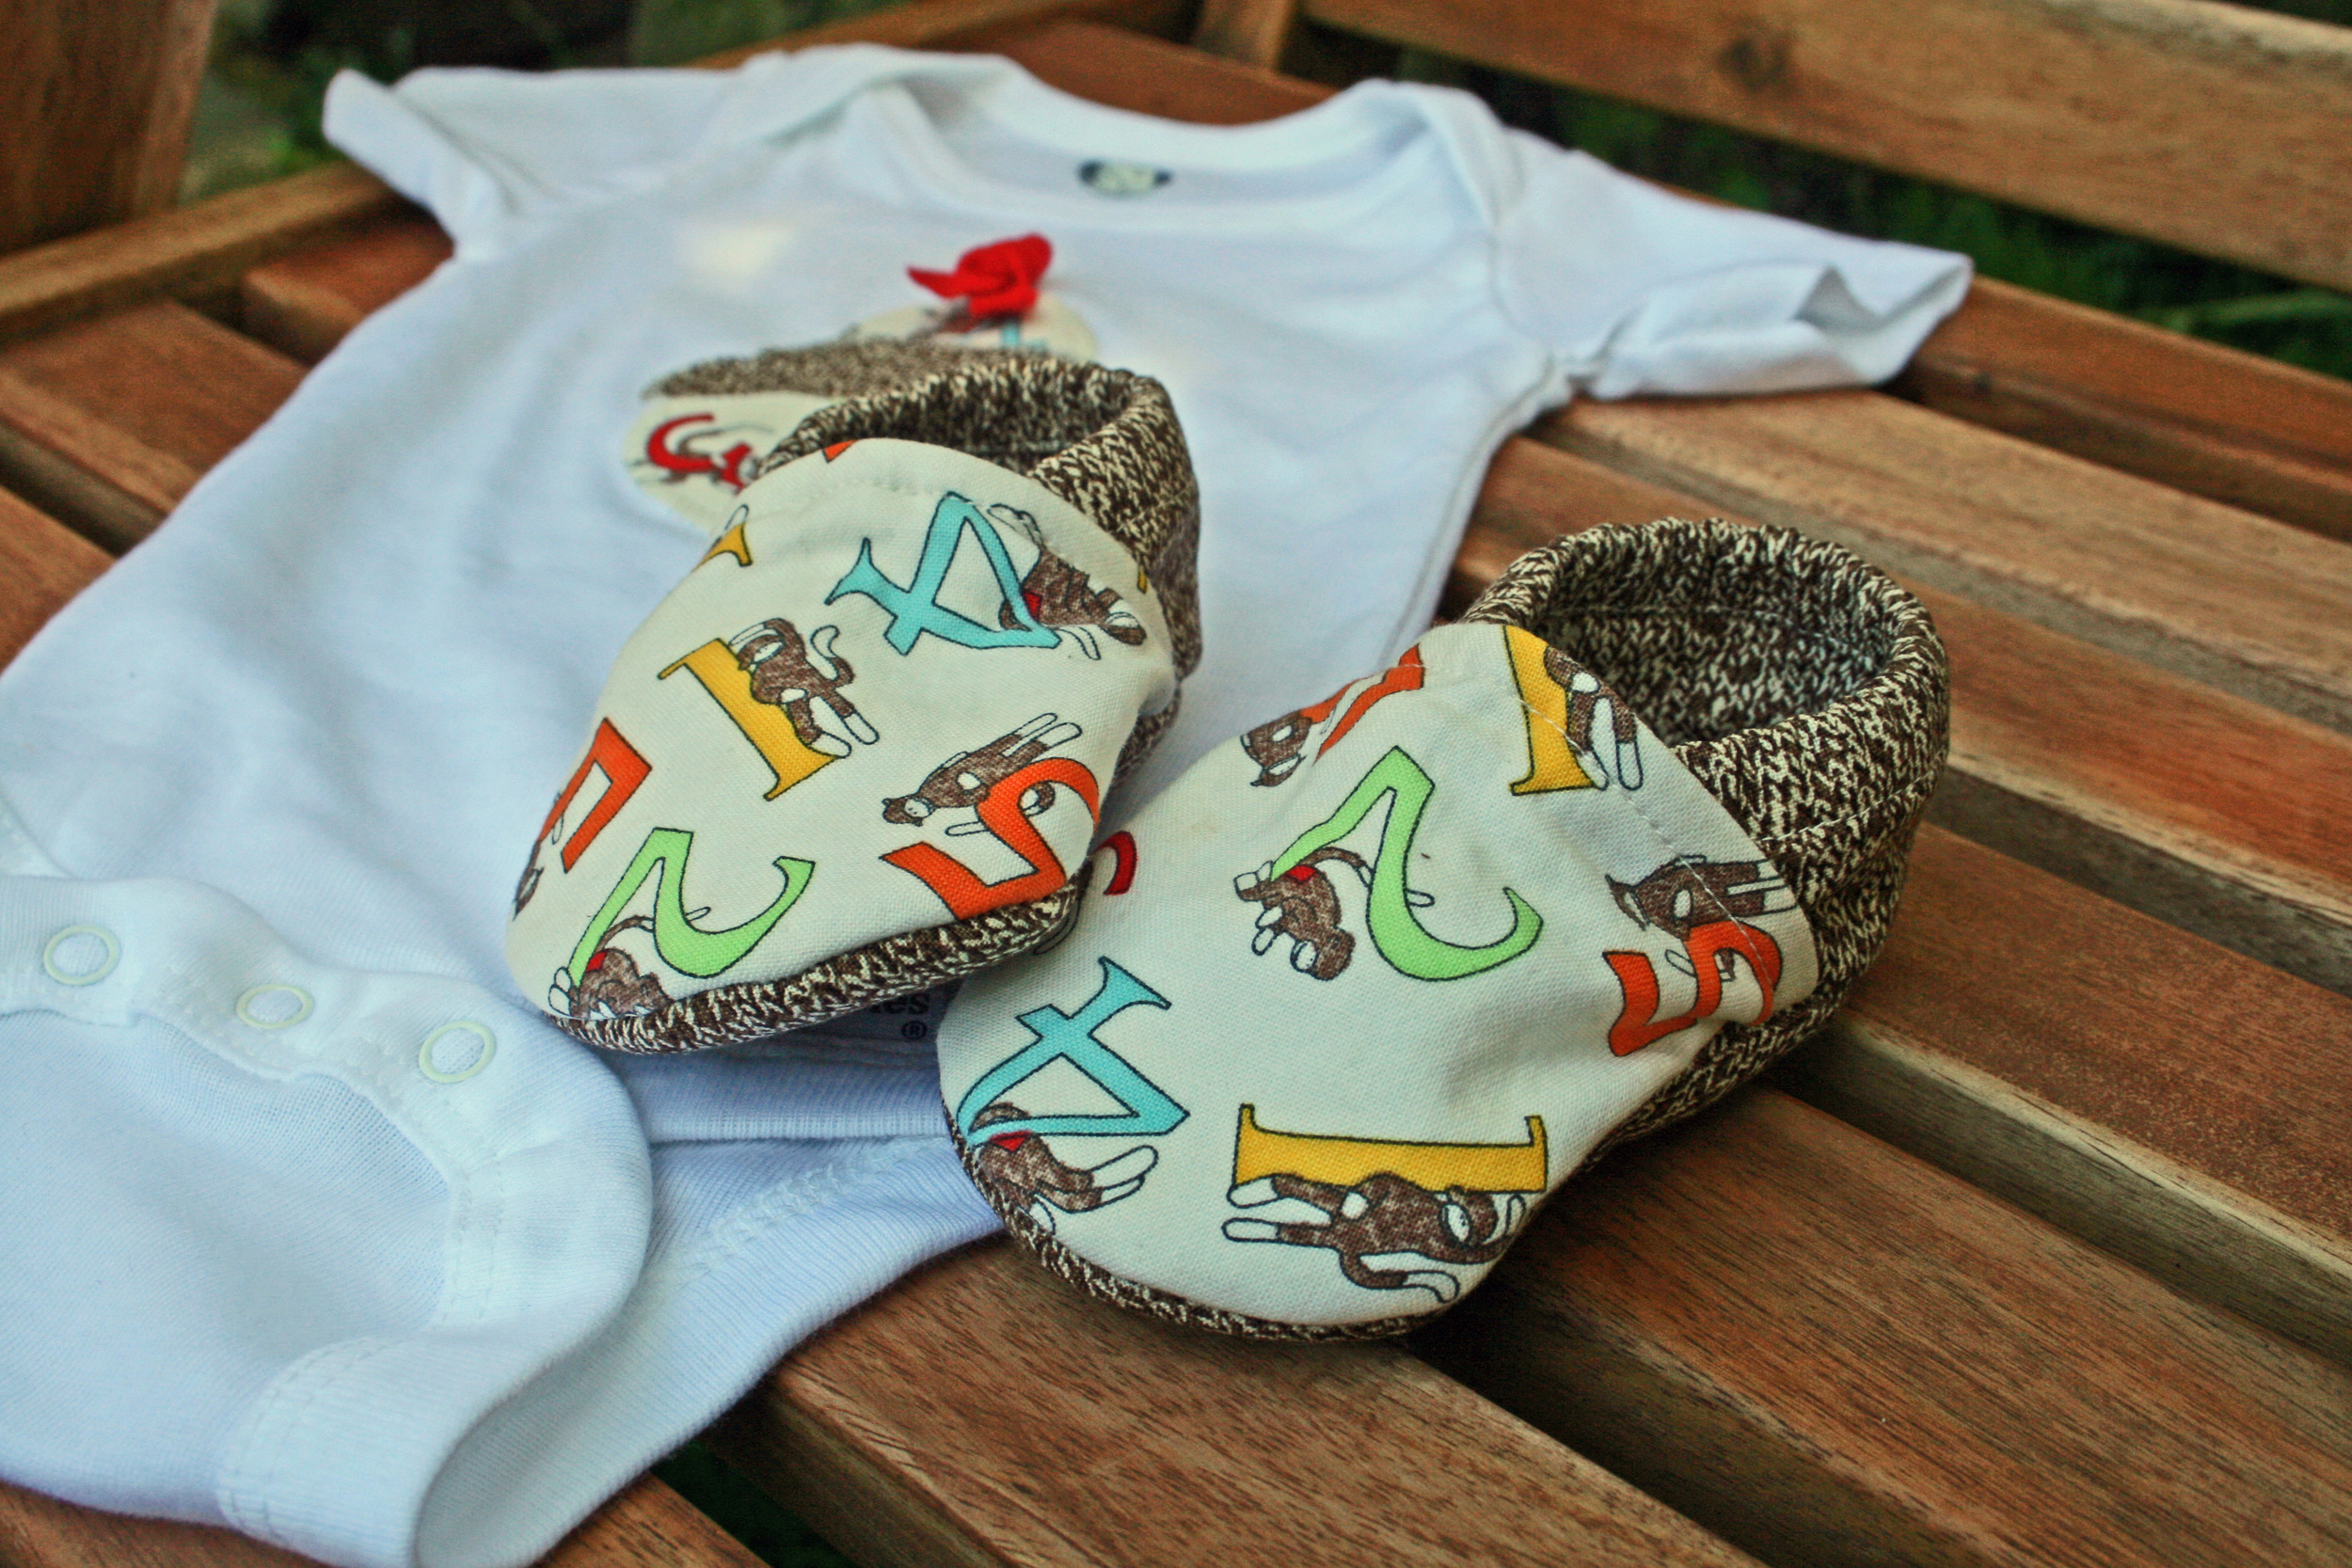
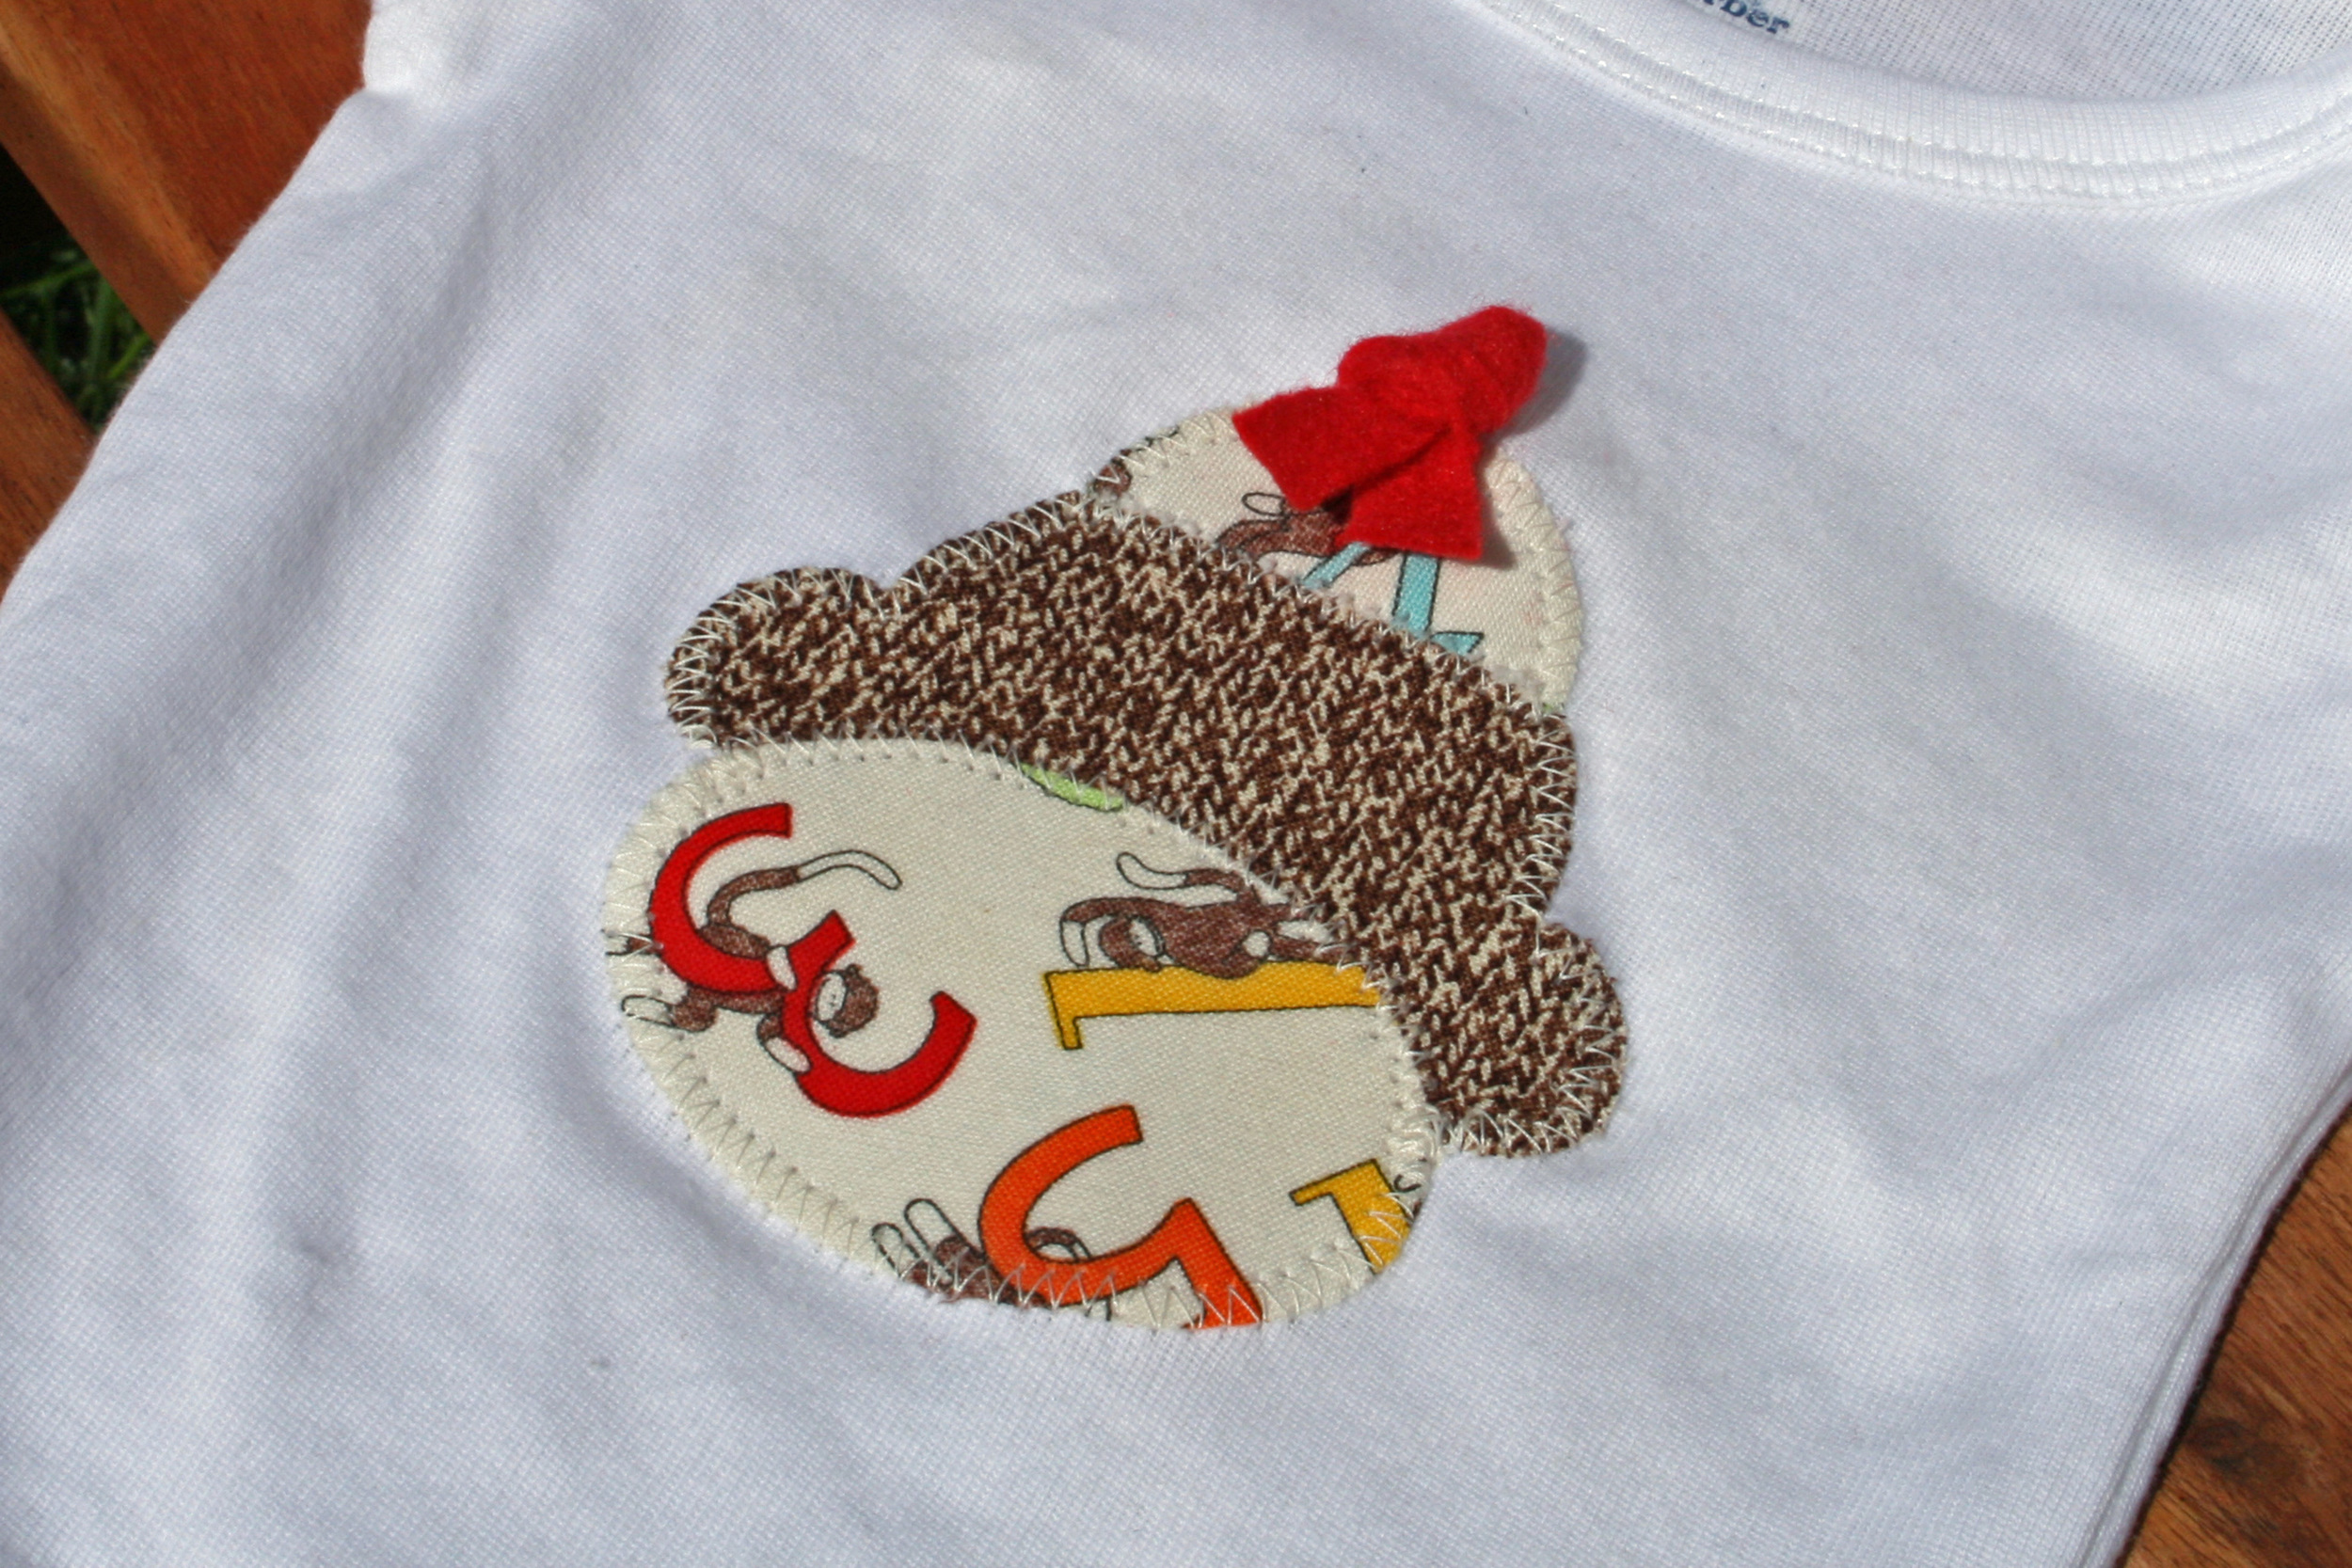
When deciding what to make for two of my girlfriends who are due this summer, I knew I wanted to try to use up some of my leftover Sock Monkey fabric so I created a Sock Monkey applique design using Microsoft PowerPoint (a program I use daily at work, but have recently started experimenting with for sewing and design projects).  You've probably noticed by now that I have a hard time stopping at just one baby gift, so when I came across this tutorial for cloth baby shoes, the Sock Monkey gift set was born.  They’re both having boys, but I think the set works for either a boy or a girl.

The cloth shoes were a little tricky to work with due to their small size and all the layers of fabric and interfacing, but - like most baby stuff - they were pretty quick to make.  It probably took me longer to cut out all the pattern pieces than it did to actually sew them together.  One thing I'd recommend is to play around with the length/tension of the elastic because if it's too tight it makes the tops of the shoes bunch up.  If you're attaching a little ribbon or button to the tops then this won't matter so much, but it can look a little wonky if you're leaving them bare.

Okay, now on to the exciting part...

I'm so thrilled with how the Sock Monkey onesie design turned out that I decided to make it into my very first Made by Bird tutorial!  Click here to download the PDF pattern: [dm]4[/dm](The materials list and instructions are in the PDF and located below, but you'll need to download the PDF to get the pattern pieces.)

Here are the materials you'll need to make the onesie (or tee if your tot is a little older):

  • Baby bodysuit or tee
  • Sock Monkey pattern (see PDF download)
  • 4"x4” piece of cream colored Sock Monkey fabric by Moda
  • 3"x4” piece of brown sock texture Sock Monkey fabric by Moda
  • ½"x4” strip of red felt, ribbon, or fabric
  • Wonder Under
  • Thread
  • Sewing machine
  • Hand sewing or embroidery needle

And here are the instructions:

  1. Prewash your garment and fabric scraps in hot water.  Prewash the red strip for the hat in the warmest water your material can tolerate.  The goal here is to prevent any future bleeding when you wash the finished onesie or tee.
  2. Fuse Wonder Under to the wrong side of your fabric scraps (reference the Wonder Under packaging for fusing instructions.)
  3. Print the sock monkey pattern pieces found on page 2 of the PDF pattern.
  4. Trace the hat and mouth pieces onto the Wonder Under paper backing fused to your cream colored Sock Monkey fabric, and trace the face piece onto the backing fused to your brown sock texture Sock Monkey fabric.
  5. Cut out all three pieces and line them up on your onesie or tee.  The top of the hat should be about 3-4” down from the neckline.
  6. Fuse the pieces to your onesie or tee.
  7. Zig-zag stitch around the perimeter of each piece.  Be sure to remove the flat bed attachment on your machine so you can easily slip the onesie or tee around the base.
  8. Fold the red strip for the hat in half and knot the top.
  9. Hand sew the knot to the onesie using embroidery floss or strong thread. You’ll want to make sure it’s very securely attached to the onesie or tee.

If you have any questions or comments, please leave them in the comments section below.  I'd probably pass out from excitement if anyone sent me pictures of their finished onesies, but since this is my first tutorial, any type feedback you have would be greatly appreciated.  :-)

baby shower gift set

My dear friend Angela is expecting her first baby any minute now, and I was lucky enough to be home in Virginia for her shower a couple weeks ago.  About a month before the shower I started searching the web for gift ideas and settled on a nursing cover / burp cloth combo set.   (I'm not one for going completely off-registry, so Jared and I also got her the breast pump and pump car charger she'd been wanting... yes I know, a bit of an accidentally awkward theme gift.)  Angela doesn't know if she's having a boy or girl (I'm in awe of her will power), and I had a stash of Amy Butler's Morning Glory fabric so... voila:

The nursing cover tutorial couldn't have been easier.  As you can see I opted to use one fabric (I also skipped the optional pocket.. shhhhh.)

I went a little off-tutorial for the burp cloths, though not intentionally.  The tutorial makes it very clear that you should cut your fabric to the size of each pre-washed cloth diaper, as each one is different and very rarely 18" long.  So what did I do?  I cut each strip 18" inches long!  Brilliant.  I didn't have enough fabric left over to cut new strips, so I added the ribbon trim to the top and bottom of the strips (instead of down the sides) to hide the shortages.  They still look pretty cute, though.  Right?  (Yes, in my humble-completely-biased-opinion.)

I added a very special little touch to this gift set...

...but more on that later.  :)