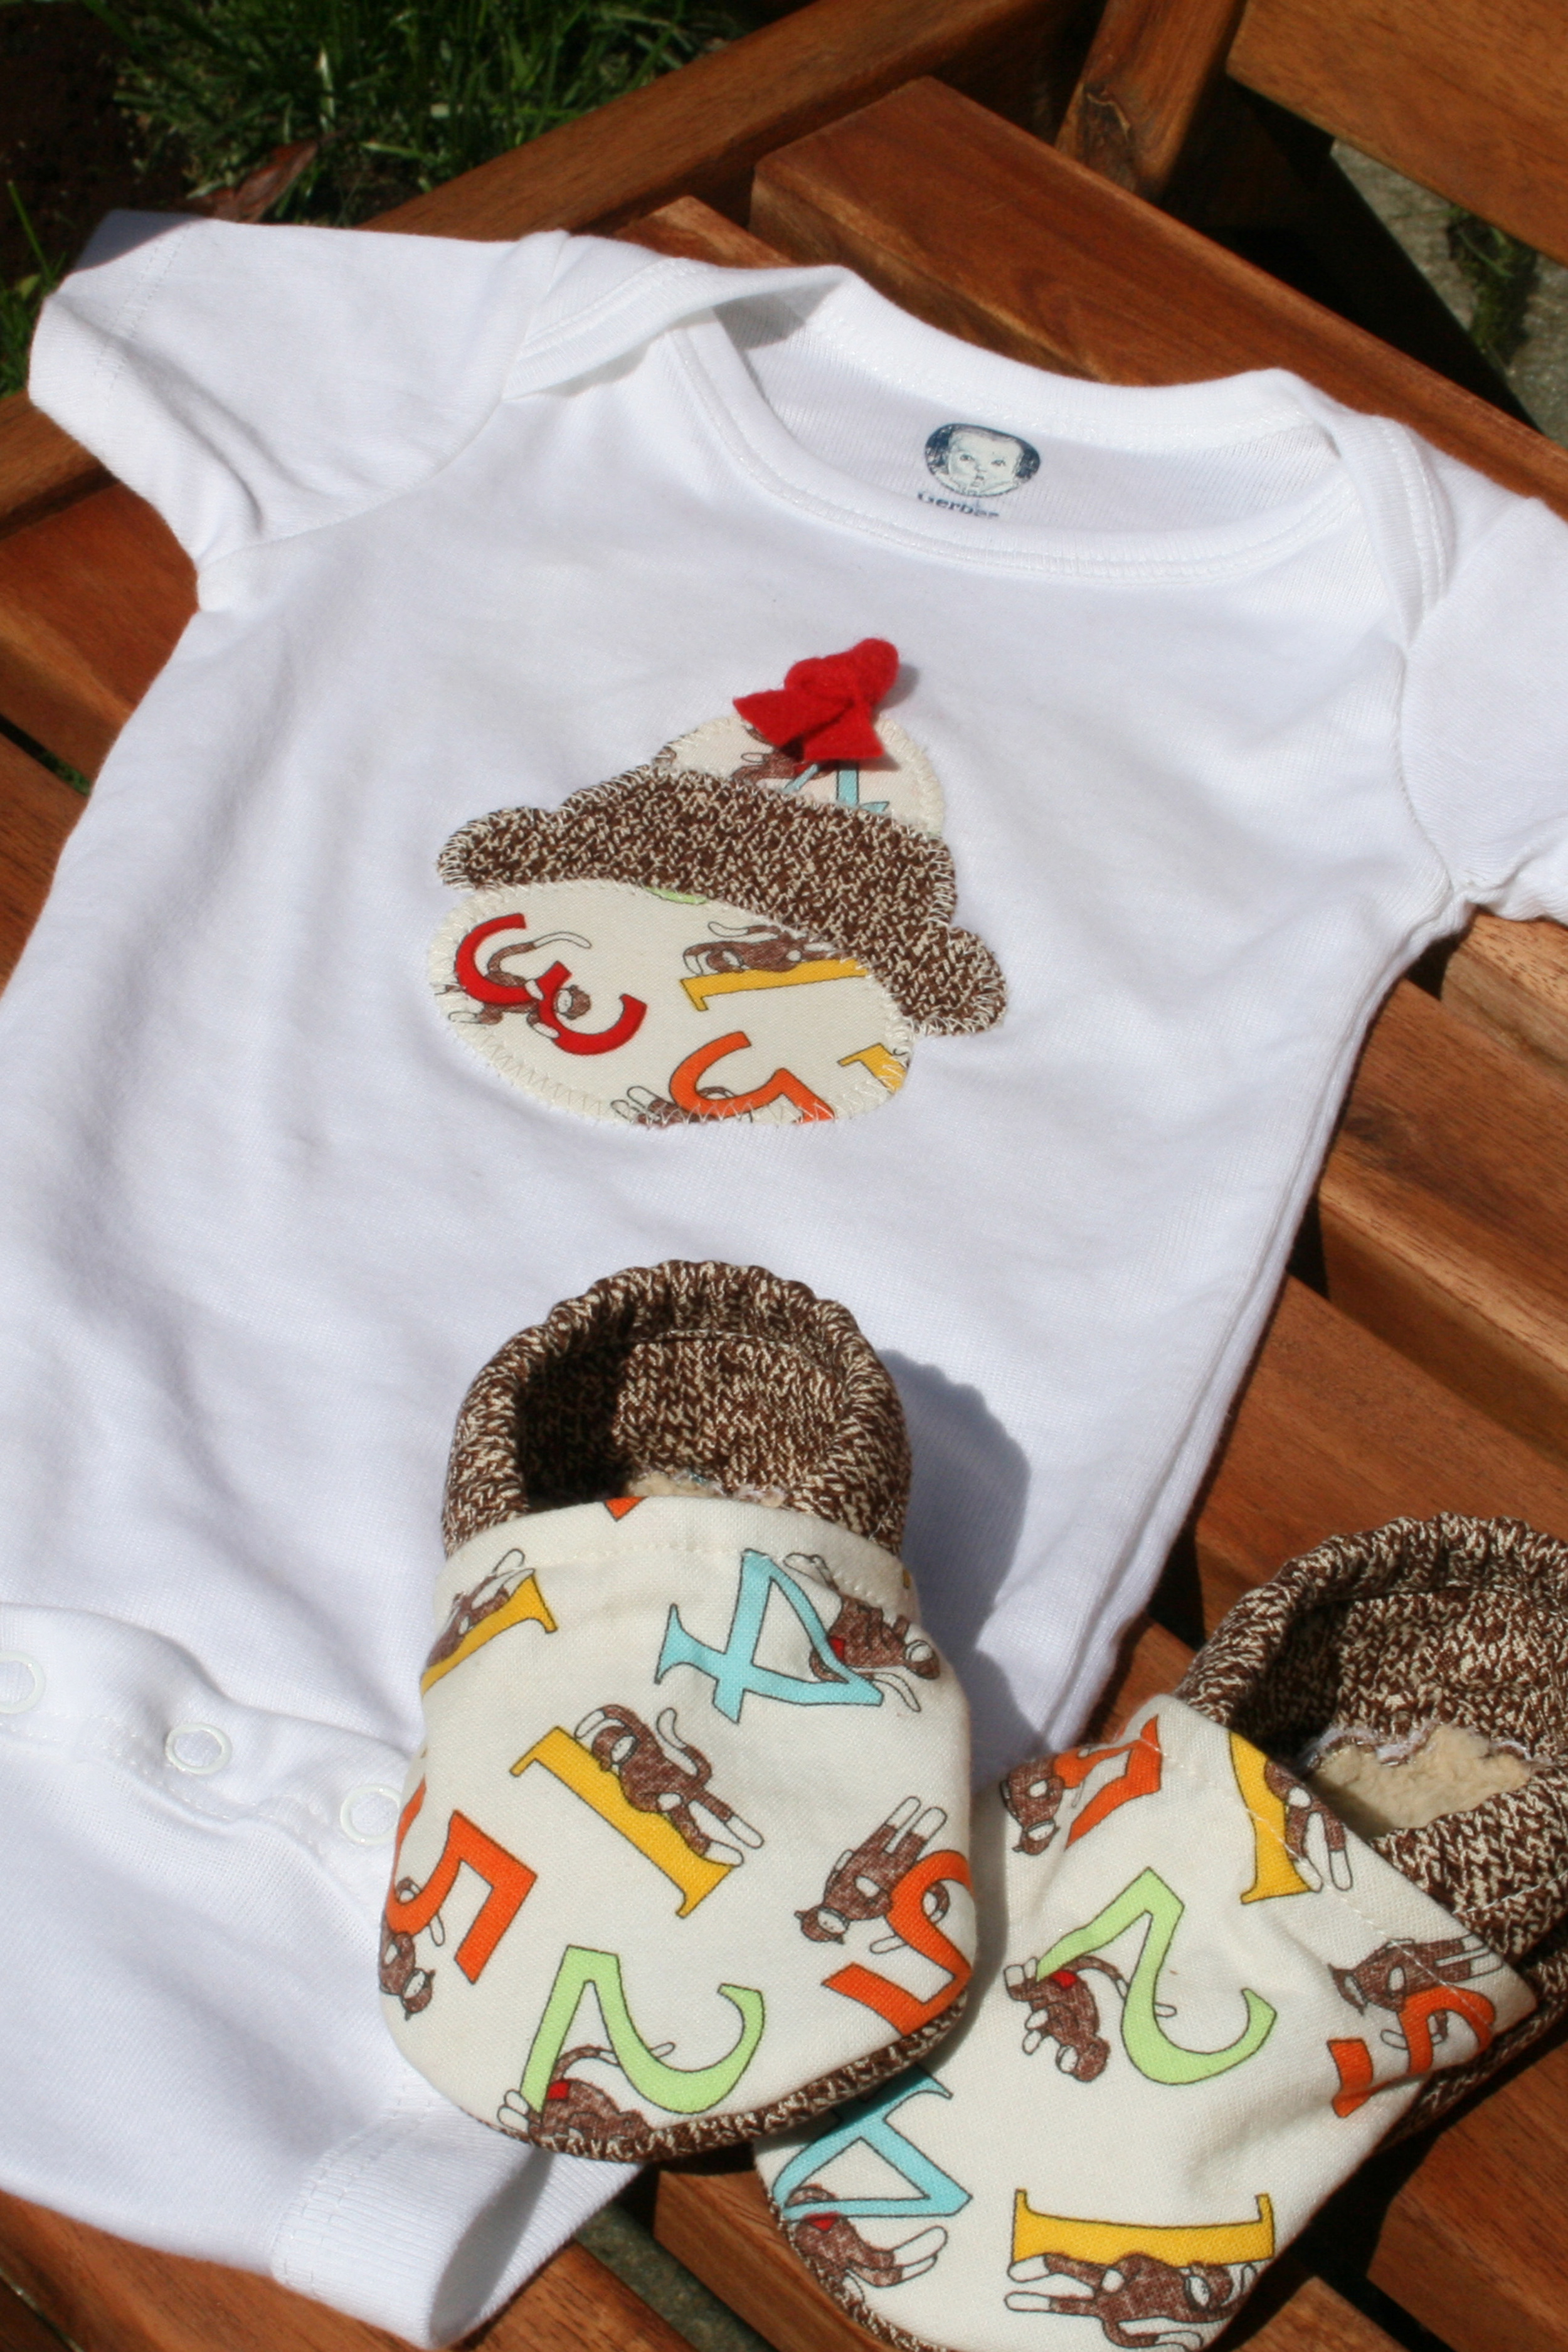
I’m at a point in my life where it seems like most of my girlfriends are either pregnant or just had babies, and as a result I’ve become slightly obsessed with making baby gifts for them. I started making applique onesies when Lindsey (awesome mama and best friend extraordinaire) was pregnant with her son, Will, last year. The necktie tutorial on Crap I’ve Made got me hooked and from there I started making my own applique designs. What I love about applique onesies is that they’re quick, a great way to use up fabric scraps, and there are endless design possibilities.
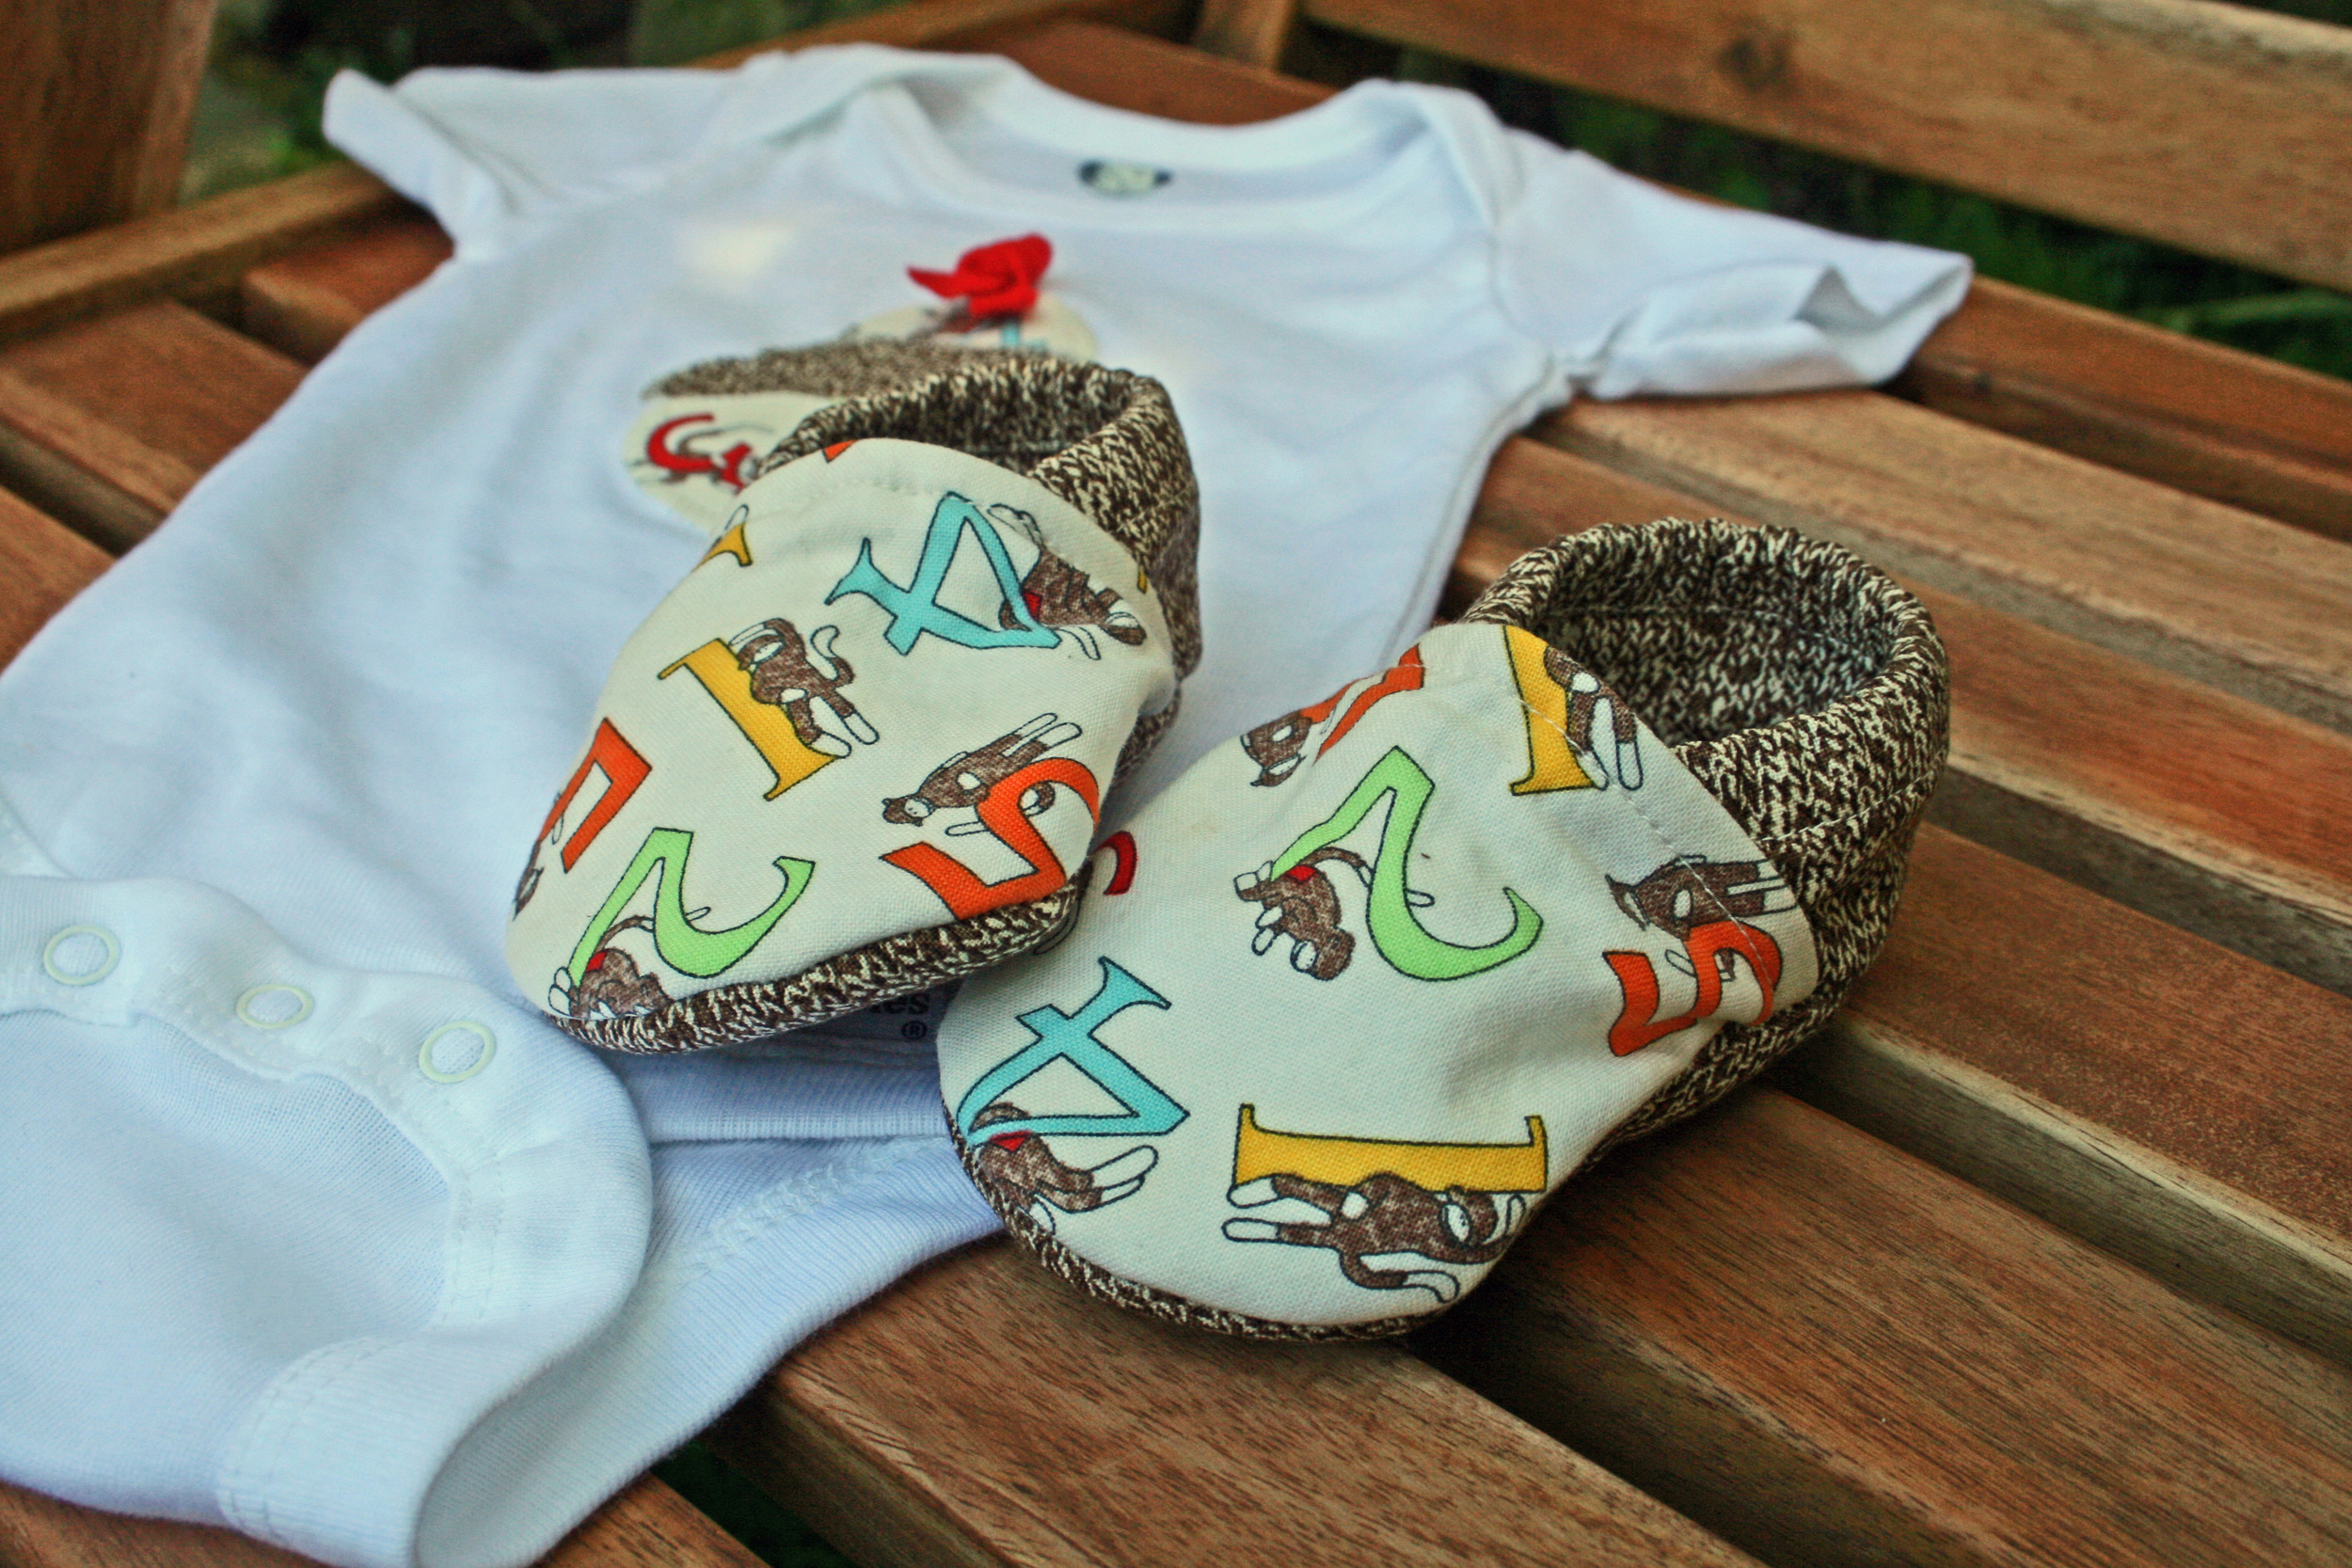
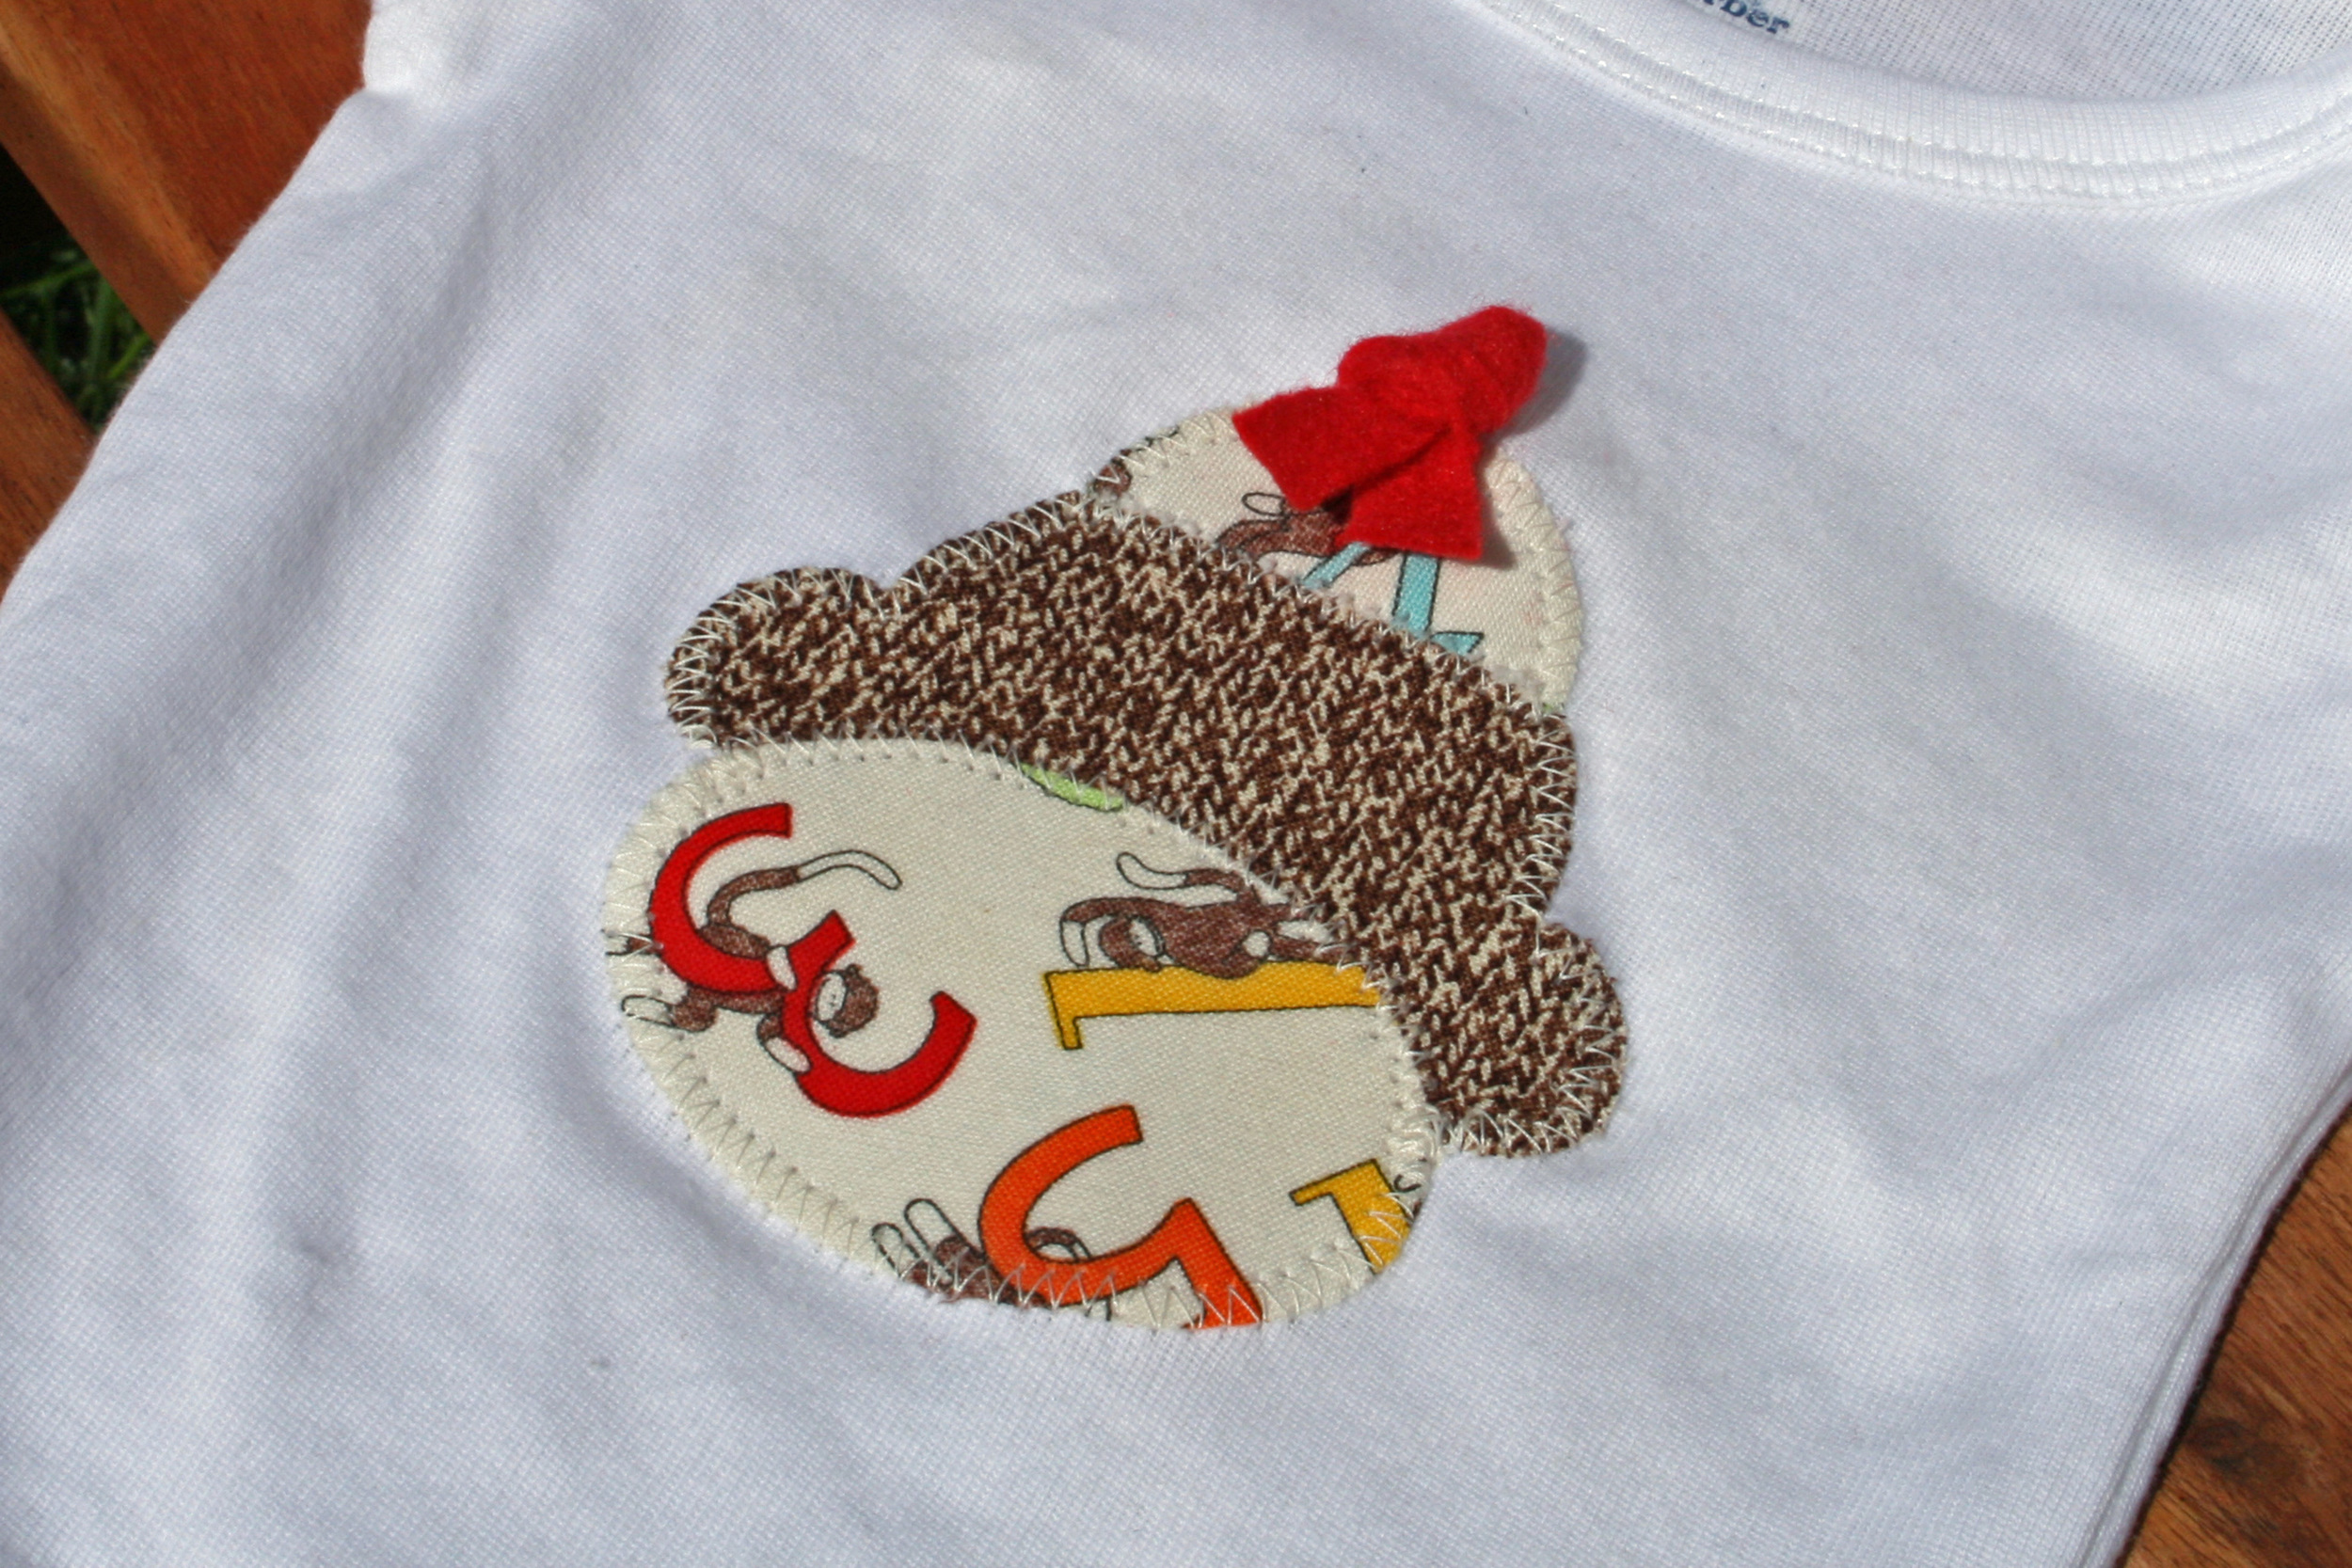
When deciding what to make for two of my girlfriends who are due this summer, I knew I wanted to try to use up some of my leftover Sock Monkey fabric so I created a Sock Monkey applique design using Microsoft PowerPoint (a program I use daily at work, but have recently started experimenting with for sewing and design projects). You've probably noticed by now that I have a hard time stopping at just one baby gift, so when I came across this tutorial for cloth baby shoes, the Sock Monkey gift set was born. They’re both having boys, but I think the set works for either a boy or a girl.
The cloth shoes were a little tricky to work with due to their small size and all the layers of fabric and interfacing, but - like most baby stuff - they were pretty quick to make. It probably took me longer to cut out all the pattern pieces than it did to actually sew them together. One thing I'd recommend is to play around with the length/tension of the elastic because if it's too tight it makes the tops of the shoes bunch up. If you're attaching a little ribbon or button to the tops then this won't matter so much, but it can look a little wonky if you're leaving them bare.
Okay, now on to the exciting part...
I'm so thrilled with how the Sock Monkey onesie design turned out that I decided to make it into my very first Made by Bird tutorial! Click here to download the PDF pattern: [dm]4[/dm](The materials list and instructions are in the PDF and located below, but you'll need to download the PDF to get the pattern pieces.)
Here are the materials you'll need to make the onesie (or tee if your tot is a little older):
- Baby bodysuit or tee
- Sock Monkey pattern (see PDF download)
- 4"x4” piece of cream colored Sock Monkey fabric by Moda
- 3"x4” piece of brown sock texture Sock Monkey fabric by Moda
- ½"x4” strip of red felt, ribbon, or fabric
- Wonder Under
- Thread
- Sewing machine
- Hand sewing or embroidery needle
And here are the instructions:
- Prewash your garment and fabric scraps in hot water. Prewash the red strip for the hat in the warmest water your material can tolerate. The goal here is to prevent any future bleeding when you wash the finished onesie or tee.
- Fuse Wonder Under to the wrong side of your fabric scraps (reference the Wonder Under packaging for fusing instructions.)
- Print the sock monkey pattern pieces found on page 2 of the PDF pattern.
- Trace the hat and mouth pieces onto the Wonder Under paper backing fused to your cream colored Sock Monkey fabric, and trace the face piece onto the backing fused to your brown sock texture Sock Monkey fabric.
- Cut out all three pieces and line them up on your onesie or tee. The top of the hat should be about 3-4” down from the neckline.
- Fuse the pieces to your onesie or tee.
- Zig-zag stitch around the perimeter of each piece. Be sure to remove the flat bed attachment on your machine so you can easily slip the onesie or tee around the base.
- Fold the red strip for the hat in half and knot the top.
- Hand sew the knot to the onesie using embroidery floss or strong thread. You’ll want to make sure it’s very securely attached to the onesie or tee.
If you have any questions or comments, please leave them in the comments section below. I'd probably pass out from excitement if anyone sent me pictures of their finished onesies, but since this is my first tutorial, any type feedback you have would be greatly appreciated. :-)


