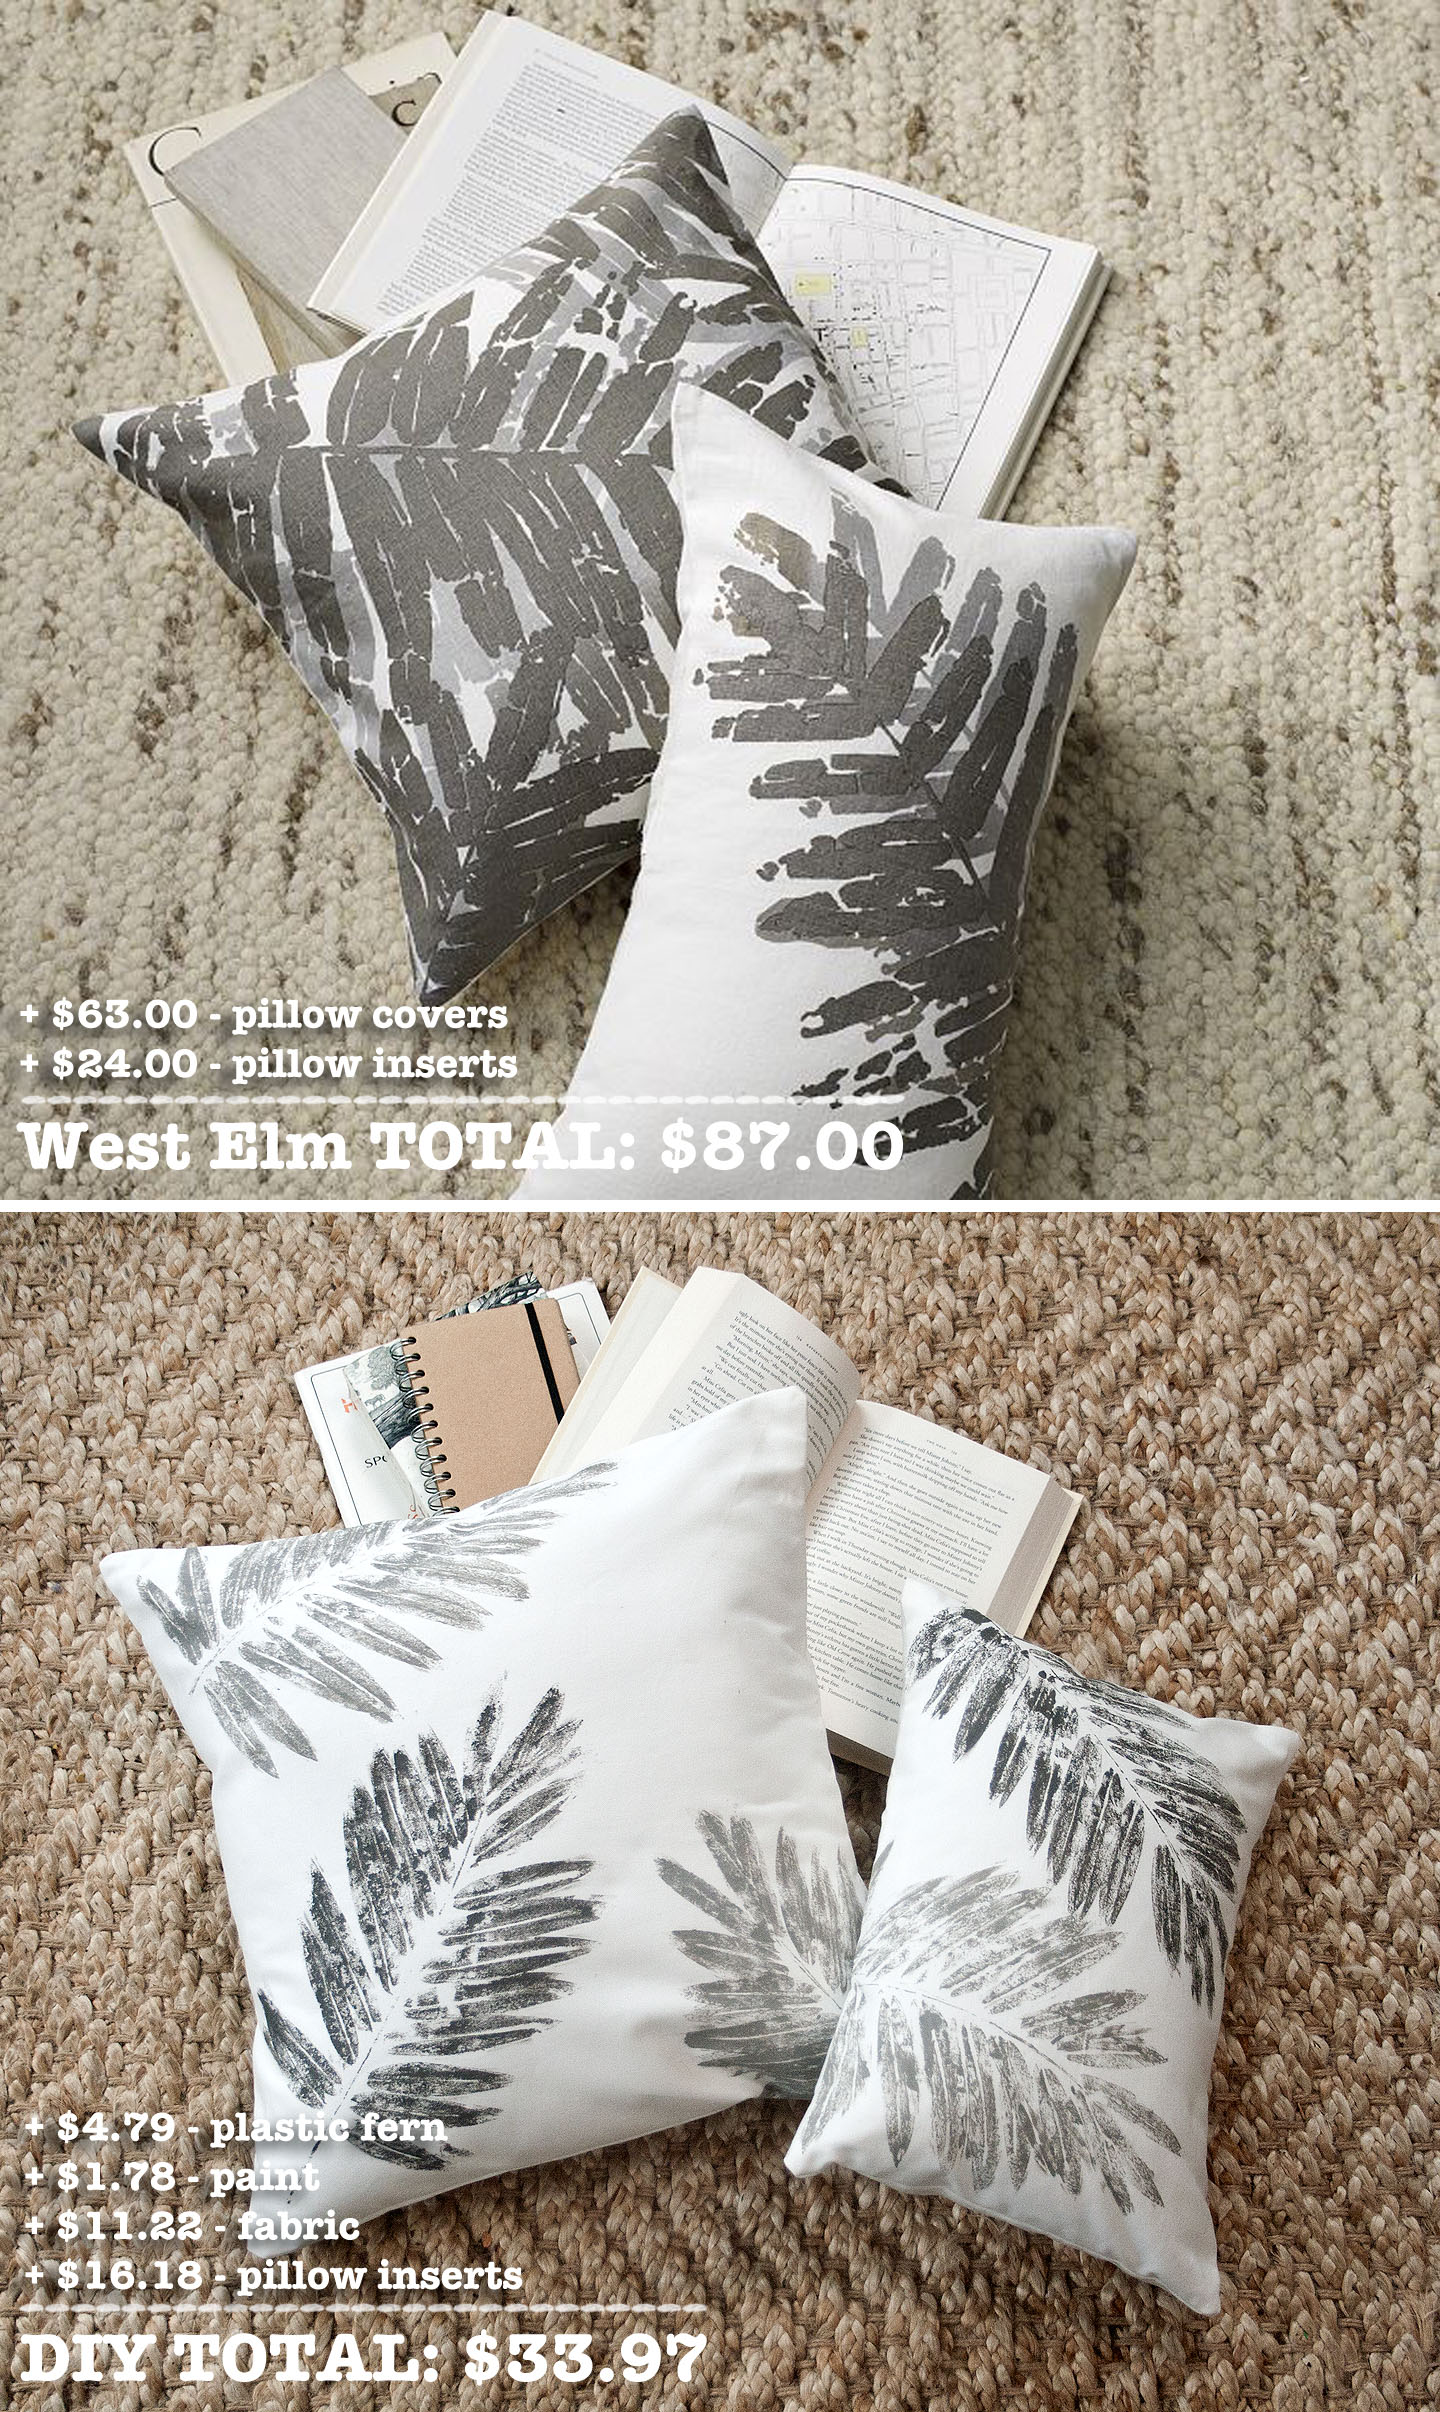
I immediately fell in love with these pillows when I saw them in the West Elm catalog. They seemed so unique and I love the go-with-anything grays. But I have a hard time spending a lot of money on throw pillows, so I got to wondering if I could DIY something similar using a fake fern as a stencil. The result? Well, see for yourself...
I love them! And I hope you do, too. Plus, hello... less than half the cost! Here's what you'll need to recreate the look.
Supplies:
- 1 1/2 yds fabric (heavy weight cotton)
- 2 shades of gray paint (I used Folk Art Steel Gray and Medium Gray)
- 2 fake ferns (I got mine in a bunch from Michaels)
- 18x18 pillow insert
- 12x16 pillow insert
Start by cutting your fabric... you'll need:
- 1 piece that's 18.5x18.5
- 2 pieces that are 18.5x12.25
- 1 piece that's 12.5x16.5
- 2 pieces that are 12.5x11.25
Then stamp the 18.5x18.5 and 12.5x16.5 pieces of fabric. Press firmly, but don't worry about any imperfections. This isn't supposed to look perfect.
Wait a few minutes (not several, just a few... if the paint dries on the fern it will peel off when you go to re-stamp) and re-stamp over what you just did with the same paint color. I found that double stamping made it look much better. Again, try to line it up but it doesn't have to be perfect. Then repeat with your darker paint color. The West Elm pillows have the darker gray layered over the lighter gray, but I tried that and it just looked like I screwed up. So this was my alternative.
Let the fabric dry overnight, then heatset with a dry iron. Use your other fabric pieces to sew a basic envelope pillow. I won't bore you with a tutorial since there are already several good ones online. I particularly like this one.
Here's how they look in their final resting place... our bedroom!
Let me know if you have any questions about the tutorial! I hope you guys are liking these DIYs. I have one more planned out for now and am looking for more, so let me know if you see anything you think is ripe for knocking off. :-)


