For Eloise, The Warrior

I'm putting a very special package in the mail today... 2013-08-18_0001

Yes, that's right... sometimes I still sew. I'm actually doing a lot of sewing lately, but this particular project was at the top of my priority list. One of my best friends, Heather, recently had her first baby. It was a difficult pregnancy and while it was expected that she would go into early labor, going into labor at 26 weeks wasn't exactly something you can prepare for. Her baby girl stayed put for a couple more weeks, but decided she couldn't wait any longer to meet her awesome parents and made her grand entrance at 28 weeks.

Early.

Scary early.

She was so tiny, but man was she a fighter. From day one, that much was clear. And that's why her parents named her Eloise - which means "warrior." I've honestly never heard of a more amazing premie... aside from being small and needing to develop a bit longer, she had zero serious complications and has been home for a few weeks now.

I was actually hoping to have this done by the time she got home, but let's be honest, I'm rarely ever that on top of things. Anyway, here it is... a special quilt for a very special baby girl. I hope it brings her comfort in those rare moments when she's not feeling so strong.

2013-08-18_0005

2013-08-18_0004

2013-08-18_0003

2013-08-18_0002

(For those that are curious, I used this tutorial as my starting point, and the fabric is Lotta Jansdotter's Glimma collection. The font is Janda Elegant Handwriting, and I used a narrow zig-zag stitch to applique it to the quilt. I also used a machine binding technique for the first time, thanks to this tutorial. I think I prefer finishing the binding by hand, but machine binding is definitely a huge timesaver.)

Our First House: Before & After

(Note: most of the before photos are from the original listing when we bought the house, and all of the after photos are what our photographer, Terry Iverson, took right before we went on the market.)
Front Before
Front After

{Changes made}

Nothing major... just landscaping maintenance and getting the trees trimmed back

Living Room After

{Changes made}

Nothing major... ahead of going on the market we took down our massive TV and decluttered the bookcases and mantle

Dining Room After

{Changes made}

- Painted the same color as the living room to make it feel more like one big space

- New curtains and hardware

- Ahead of going on the market we gave the main section of the buffet a new coat of paint so it would shine at the showings

Kitchen before
Kitchen after

{Changes made}

We upgraded all of the appliances except the dishwasher. You can't see it in this photo, but we also upgraded the refrigerator from a white side by side to a stainless steel with french doors with a pull out freezer drawer. It was roomy and wonderful.

We also replaced all of the cabinet hardware, which made a much bigger difference than I anticipated considering it only cost us about $100.

Landing Before
Landing After

 {Changes made}

Got rid of that hideous yellow and painted the whole area a nice neutral color

Sun Room before
Sun Room after

{Changes made}

This is one of the most changed rooms in the whole house, and you can get all the details here!

Guest Bedroom before
Guest Bedroom after

{Changes made}

It's amazing what a coat of paint will do! We got rid of that icky dark blue and painted the room one of my favorite colors ever, Benjamin Moore Woodland White. It's this super soft pale green and I love how it completely transformed the room.

We also replaced the outdated window treatments with simple roman blinds.

Guest Bathroom before
Guest Bathroom after

{Changes made}

You can't see it in either picture but we replaced the gross crooked builder grade round bulb light fixture with something much prettier (and level!)

We also gave the wainscoting another coat because whoever originally renovated this bathroom only gave it one coat and you could see the bare wood peeking through. Shame shame.
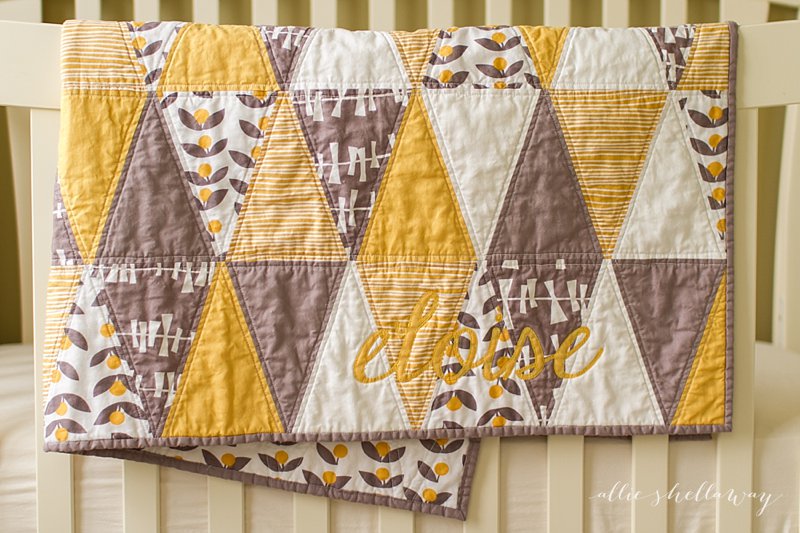
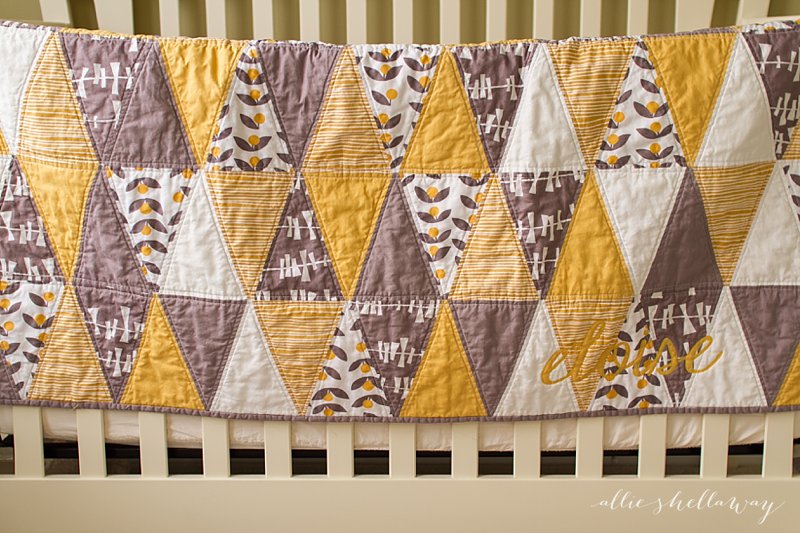
Nursery before
Nursery after

{Changes made}

This room still makes me so happy. :-) You can read about all the changes we made here.

Master Bathroom before
Master Bathroom after

 {Changes made}

Ah yes, the saddest master bathroom of all time. It's so tiny! It's definitely the thing I miss least about our first house. We were pretty limited in what we could do here, but we did give it a lighter paint color (Benjamin Moore Pearl River).

We also took the shelves out of that nook to the right of the shower and installed towel hooks and a basket, that way we could keep the walls clear and make it feel just the tiniest bit bigger.

Master Bedroom before
Master Bedroom after

{Changes made}

Let's be honest here, one look at the bedroom before and it's not hard to believe that the owners before us got divorced. From the paint, to the ceiling fan, to the TV where the vanity should be, it was all just plain bad.

The first thing we did was paint the walls the same Benjamin Moore Pearl River gray that's in the bathroom. We also gave the whole wall with the closets and vanity a fresh coat of white paint. The top to the vanity was bare wood before and it really came together once we painted it white.

We also replaced the old wooden ceiling fan (it had a plastic unicorn head at the end of it's pull string, I kid you not), the window treatments, and installed sconces on either side of the bed.

Basement before
Basement before
Basement after
Basement after

 {Changes made}

The basement was a huge labor of love, and I'm glad for it because by the time we moved we were spending the majority of our evenings down there.

We immediately replaced the Costco washer and dryer with my dream front loading washer and dryer. They almost made doing laundry fun.

We also tore out all of the remnants of old walls that used to be down there as well as the ceiling tiles. (I love how hours and hours of work end up getting packed into one small sentence.)

We installed carpet tiles when I was 8 months pregnant, and turned the space into a multi-use family room, with tv, crafting, and play areas. Jared even had a keezer (it's like a kegerator) down there! It wasn't fancy, but functionally the space really worked for us.

Backyard before
Backyard before
Backyard after
Backyard after

{Changes made}

The backyard was Jared's pet project for the 2+ years we lived there. He worked his tail off weekend after weekend, and it shows. He ended up creating so much more space for us back there, including areas for grilling, a garden box, and a fire pit. We moved before the weather got nice, and I would have loved to see it one more time in full bloom.

Whew! That's it! 2 years of hard work packed into one post. If you have questions about resources or anything else, just shoot me a comment or email.

nursery progress: the design plan

Before we found out the baby's gender, I thought I had my mind pretty made up about the direction I wanted to go in for the nursery if it was a girl. (I didn't really have a clue for the boy, so from a design perspective it was rather convenient that the baby turned out to be a girl.) I never ever thought I'd be a pink nursery kind of person, but when I saw this color palette I was a convert. It was the right combination of feminine, fun, pretty, and vintage. I just had to sell Jared on the idea. So I created two mood boards: one with the pink palette and one with a cute yellow/aqua palette I'd seen on one of the baby design blogs I subscribe to. The plan was to make the pink palette so good that he just had to go for it, and make the yellow/aqua palette just so-so. Hey, I never said I was going to be totally objective about this process. :-) Here's the pink mood board I came up with:

Here's the thing. I liked it, but didn't love it. I had a much harder time than I thought I would finding the right fabrics and accessories, and I'm still not 100% thrilled with what I ended up with. It's cute and girly, but it just didn't come together as well as I had hoped.

So then I moved on to creating the yellow/aqua mood board:

And you know what? I completely fell in love with this room. Creating this mood board was fun, unlike the stress I felt trying to create the pink one. It was so easy to find great fabrics, art, and accessories to bring the room to life - which gave me hope that actually shopping for all that stuff would be a breeze. And I really liked the feel of it once it was all done - it's so sweet and cheerful - girly without being too obvious about it.

So I sent the mood boards to Jared for his thoughts, not telling him which one I liked better. He genuinely liked them both, but said there was something about the yellow/aqua room that sold it for him. Phew!

Now that the design was done I went back to the budget worksheet I'd put together to see if we could really have the nursery of our (okay, my) dreams on a $1500 budget. Thankfully, with a good amount of DIYing and a bit of repurposing, it's actually possible. Here's the plan:

To buy:

  • Crib
  • Mattress
  • Dresser
  • Rug
  • Light
  • Sheers
  • Cornice kit
  • Hardware (the Anthro hardware is a bit of a splurge, but it's one of those elements that really makes the room for me)
  • Bookshelves
  • 3 Frames
  • Hot air balloon print
  • Slide out bins for the closet floor

To DIY/sew:

  • Painting the walls, ceiling, trim, Poang, bookshelves, and built-ins
  • Fabric covered 7" cornice for the window
  • 2 changing pad covers
  • Crib/play quilt (Amy Butler pattern from Little Stitches for Little Ones)
  • Gum Drop Ottoman
  • Padded arm rests for the Poang
  • Toss pillow for the Poang
  • Paper circles mobile
  • 2 DIY art prints

So yeah, kinda a lot in the DIY column. I'm desperately going to try to get at least the quilt and ottoman done before the end of my 2nd trimester. The other DIY projects are on the easier side and I can enlist help for those if need be.

We've already gotten the first step of the nursery makeover done - bringing in an electrician to install a light switch for the overhead light (fumbling to find that little chain the middle of the night just wasn't going to happen, plus we feel like having a switch that dims is going to come in very handy) and adding another outlet to the wall where the window is. (For the record, the electrical work was not included in the $1500 budget because we felt like it was something the room needed regardless of what we used it for.)

The next step is paint! Luckily, Jared's "never painting another room in this house ever again" vow is no match for the love he has for his pregnant wife and beautiful unborn daughter, so we'll be tackling the painting together. I'll try to post pics of our progress along the way, so stay tuned...