link love - 3.4.11

You might think from this week's favorites that I've been holed up in my hotel room all week eating chocolate and reading chick lit, but I promise that's not the case... these all just really grabbed me for one reason or another.  I hope you enjoy them as much as I did!

  • The SISTERS photography assignment on Pioneer Woman - I love PW, I love her photography assignments, and I especially love my sister.  She's been in South Africa the past two weeks and these photos make me miss her even more.  Life is just lonelier without a sister to obsessively play Words with Friends with.
  • No Big Dill's Love You Forever Skirt - While I love the Once Upon a Thread series, I love the book from this entry more than I love the skirt.  I'd never heard of it before, but after reading this quote I will definitely be buying it to read to my baby: "I'll love you forever.  I'll like you for always.  As long as I'm living my baby you'll be."  Seriously... total goner.  I can't even type those words without getting choked up by thoughts of her first day of school, seeing my little girl walk down the aisle, watching her become a mother.  I know, I know... but you try having a little person growing inside you and not get completely overwhelmed with love and cheesiness!
  • Selina's first quilt on The Fabulous Life of a Bean - I was so excited to finally see how Selina's first quilt turned out (amazingly, of course) but what really blew me away was the beautiful story that developed around it.  She set out to make a quilt for a friend's baby, and ended up helping her grandmother rediscover her passion for sewing.  The story is so touching, and I highly recommend taking a couple minutes to read it - even if you don't sew.

inside my makeup bag

Disclaimer: This post has absolutely nothing to do with sewing or crafting. I'm traveling for work this week which means taking a forced (and much needed) break from nursery prep.  So while I'm holed up in my hotel room in Miami watching Adventures in Babysitting, I thought I'd write about one of my other little pleasures in life - makeup.  I have drawers full up makeup at home, but when I travel I always try to bring only my go-to products.  Here's what I brought with me:
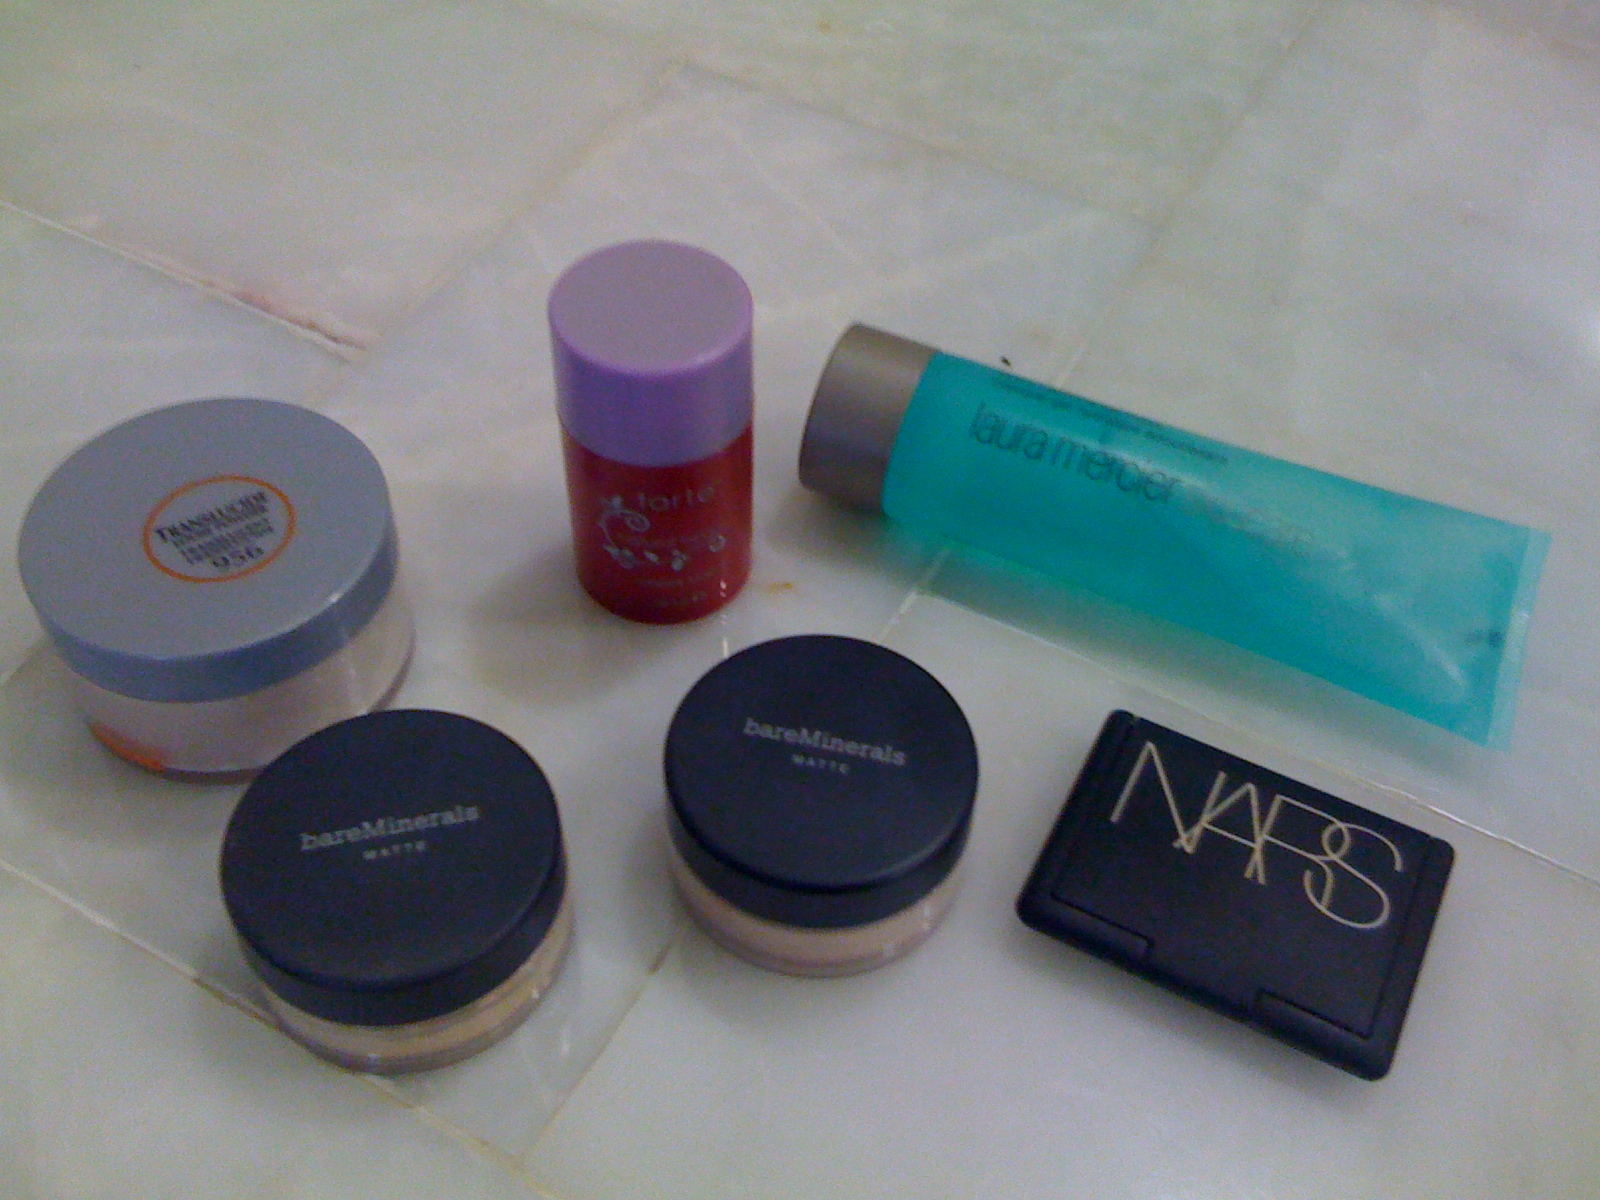
From top left:

1) L'Oreal Tanslucide Naturally Luminous Powder in Translucent - I use this interchangeably with Bare Escentuals Mineral Veil.  I put it on as the very last step before I put on mascara.  It's really lightweight and helps control shine throughout the day.

2) Tarte Natural Beauty Cheek Stain - I put a very small amount of this on with a foundation brush after foundation and before powder blush.  The color is perfect for fair skin... it matches the color of my cheeks when I've been working out.

3) Laura Mercier Hydra Smoothing Gel Mask - This isn't an every day product, but I always bring it with me when I travel to rehydrate my skin after flying.  A salesgirl at Nordstrom turned me on to this amazing mask just before my wedding, and now I use it any time I have a big event or when my skin is looking particularly dull.

4) Bare Escentuals bareMinerals Matte foundation in Fair and Fairly Light - I started using bareMinerals when it first came out several years ago but wasn't a huge fan of how cakey it looked by the end of the day.  After trying a lot of other foundations since then, I recently went back to bareMinerals - but this time with their new Matte formula.  It's SO much better.  I use the Fairly Light all over, and the Fair as a concealer.  I love how it looks and feels on my skin, it stays matte throughout the day, and doesn't cake up like the old formula did.  Plus it doesn't feel like I'm wearing a lot of makeup, which is always nice.

5) NARS blush in Deep Throat - Dear NARS, please never ever stop making this blush.  Thank you.  Sincerely, fair skinned girls everywhere.


From top left:

1) Maybelline Expert Eyes Brow Pencil in Blonde - Finding a natural looking brow pencil when you have light eye brows isn't easy.  I've tried a ton of brow products (powders, waxes, pencils) from both expensive and drugstore brands, and this is the second most natural looking one I've found.  The best one is by Cover Girl in Soft Blonde, but I can never find it anywhere.

2) Bare Escentuals Prime Time lid primer - My eyeshadow always gets creasy if I don't use a primer, and while I prefer Urban Decay Eyeshadow Primer Potion, there's no Sephora in downtown Portland where I can buy it so this is the next best thing.

3) Maybelline Line Stiletto liquid liner in Brownish Black - I just started using this but am liking it so far.  The applicator is easy to use and the liner stays put.  Can't ask for much more than that.

4) bareMinerals Flawless Definition Volumizing mascara - Best mascara I've used in a long time, maybe ever.  1 coat is great for every day, and 2 coats looks like I'm wearing false lashes. Either way, it doesn't budge during the day, doesn't end up on my brow bone, and comes off super easily with eye makeup remover.

5) MAC Eyeshadow in Blanc Type - I use this from lash to brow as a base for my other shadows.  Nothing special, really... just what I've always used.

6) Stila Eyeshadow Quad - I have no idea how old this is, definitely a seasonal palette, but the gold color inside is perfect so I dread the day it finally runs out.  I think the closest color they make right now is Sparkle.

7) Maybelline Cover Stick in Ivory - Again, under eye concealer is another one where I feel like I've tried them all and I always come back to this oldie but goodie.

8 ) bareMinerals Big & Bright Eyeliner in Chocolate - I use this on the inner rim of my lower lids.  It's just so-so, but I haven't made the effort to replace it.  I'll probably go back to MAC liner in Teddy once it runs out.
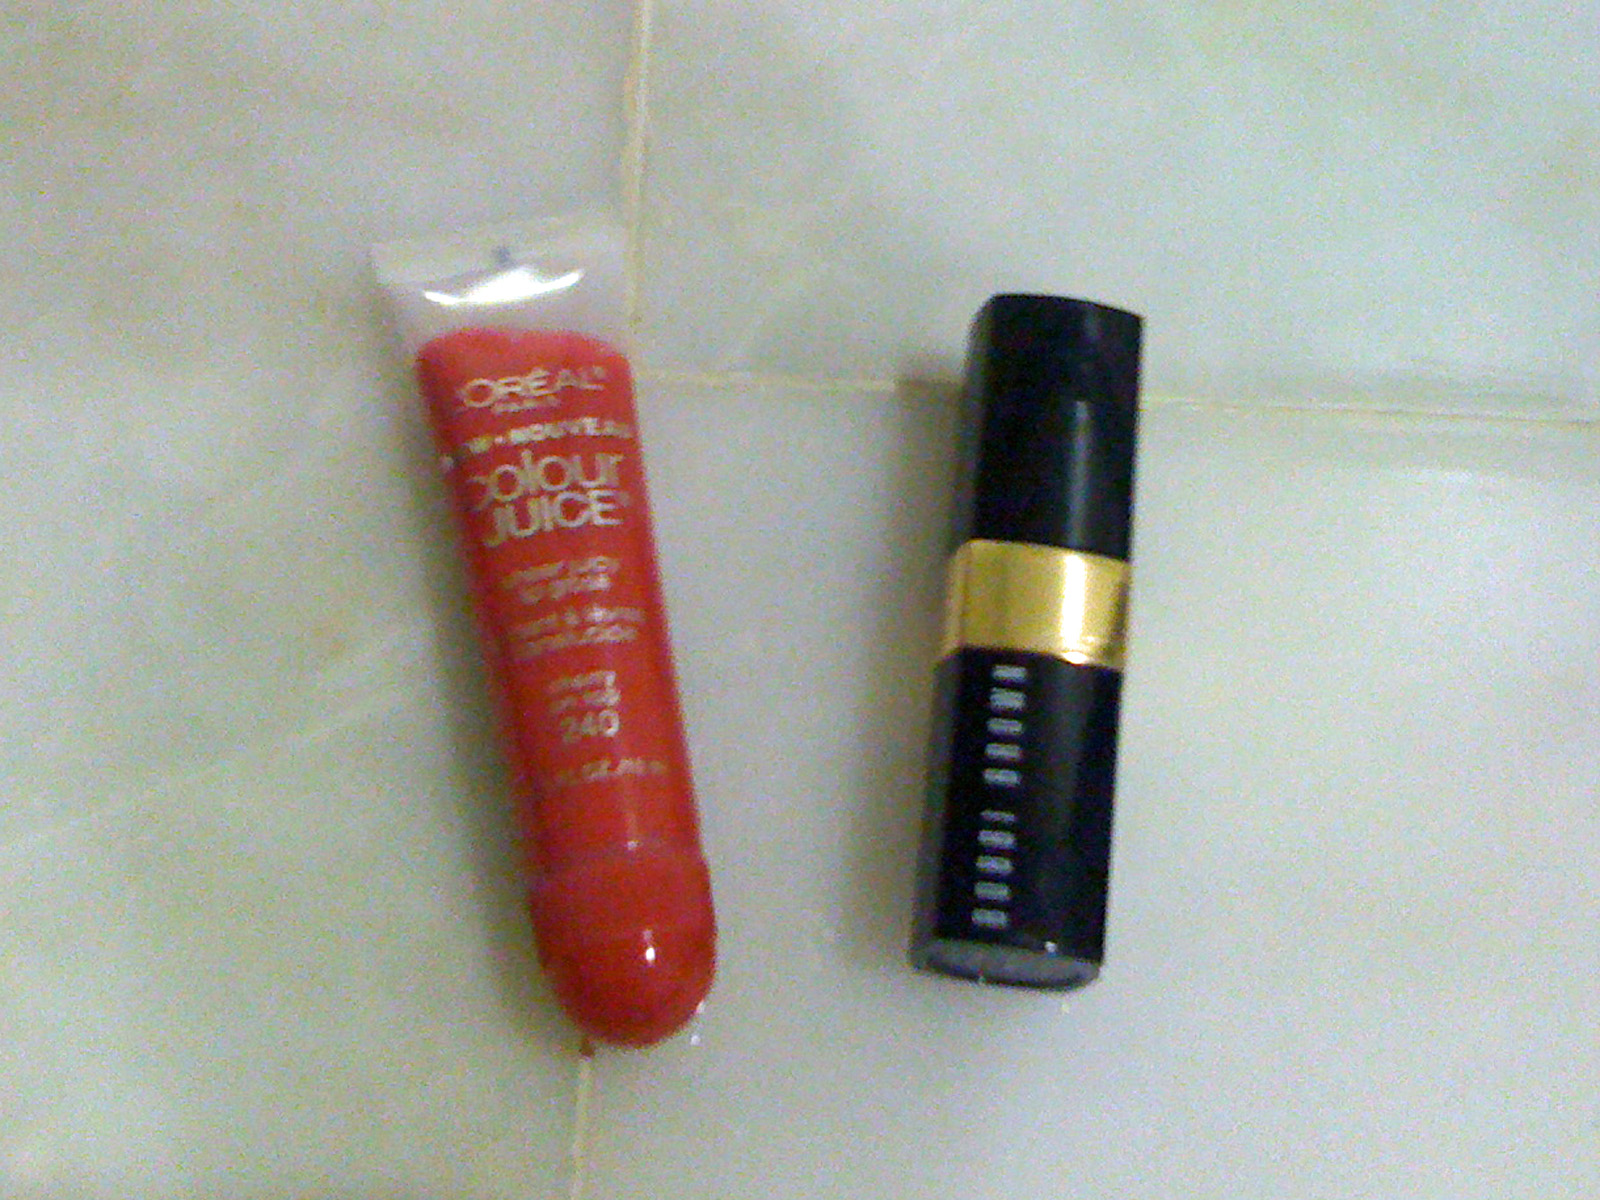
 

From left to right:

1) L'Oreal Colour Juice in Cherry on Top - I love these Colour Juices.  They're just like Lancome's Juicy Tubes, but less expensive.  This color is great on it's own but I usually pair it with lipstick or liner.

2) Bobbi Brown Lip Color in Soft Rose - I was a pinkish nude lip color wearer for a long time, but have recently started embracing wearing a slightly brighter lip.  This color is what I wore for my wedding and it looks pretty much how it sounds - a nice warm pink. I was never really big on lipstick because I felt like it dried my lips out, but this one is actually fairly moisturizing.

So there you have it... it probably seems like a lot, but the whole routine takes me about 10 minutes from start to finish.  We'll see if I can still swing all those steps after the kiddo's born. :-)

link love - 2.25.11

Here are some of my favorite things from around the web this week:

  • The "Ask a Photographer" series on ohdeeoh... as someone who's still learning how to use her camera properly (and not just making up for it after the fact thanks to Photoshop, which is my default approach to photography), this series has been so so so helpful.  There's a big focus on photographing kids and kids' things, but the advice they give is pretty universal.
  • Obsessed with this photo series from Irina Werning... isn't it fantastic?  Makes me want to reenact this photo and give the before and after to my mom for Christmas:

Come on, we could totally still rock those easter dresses.

{nursery progress} the baby quilt


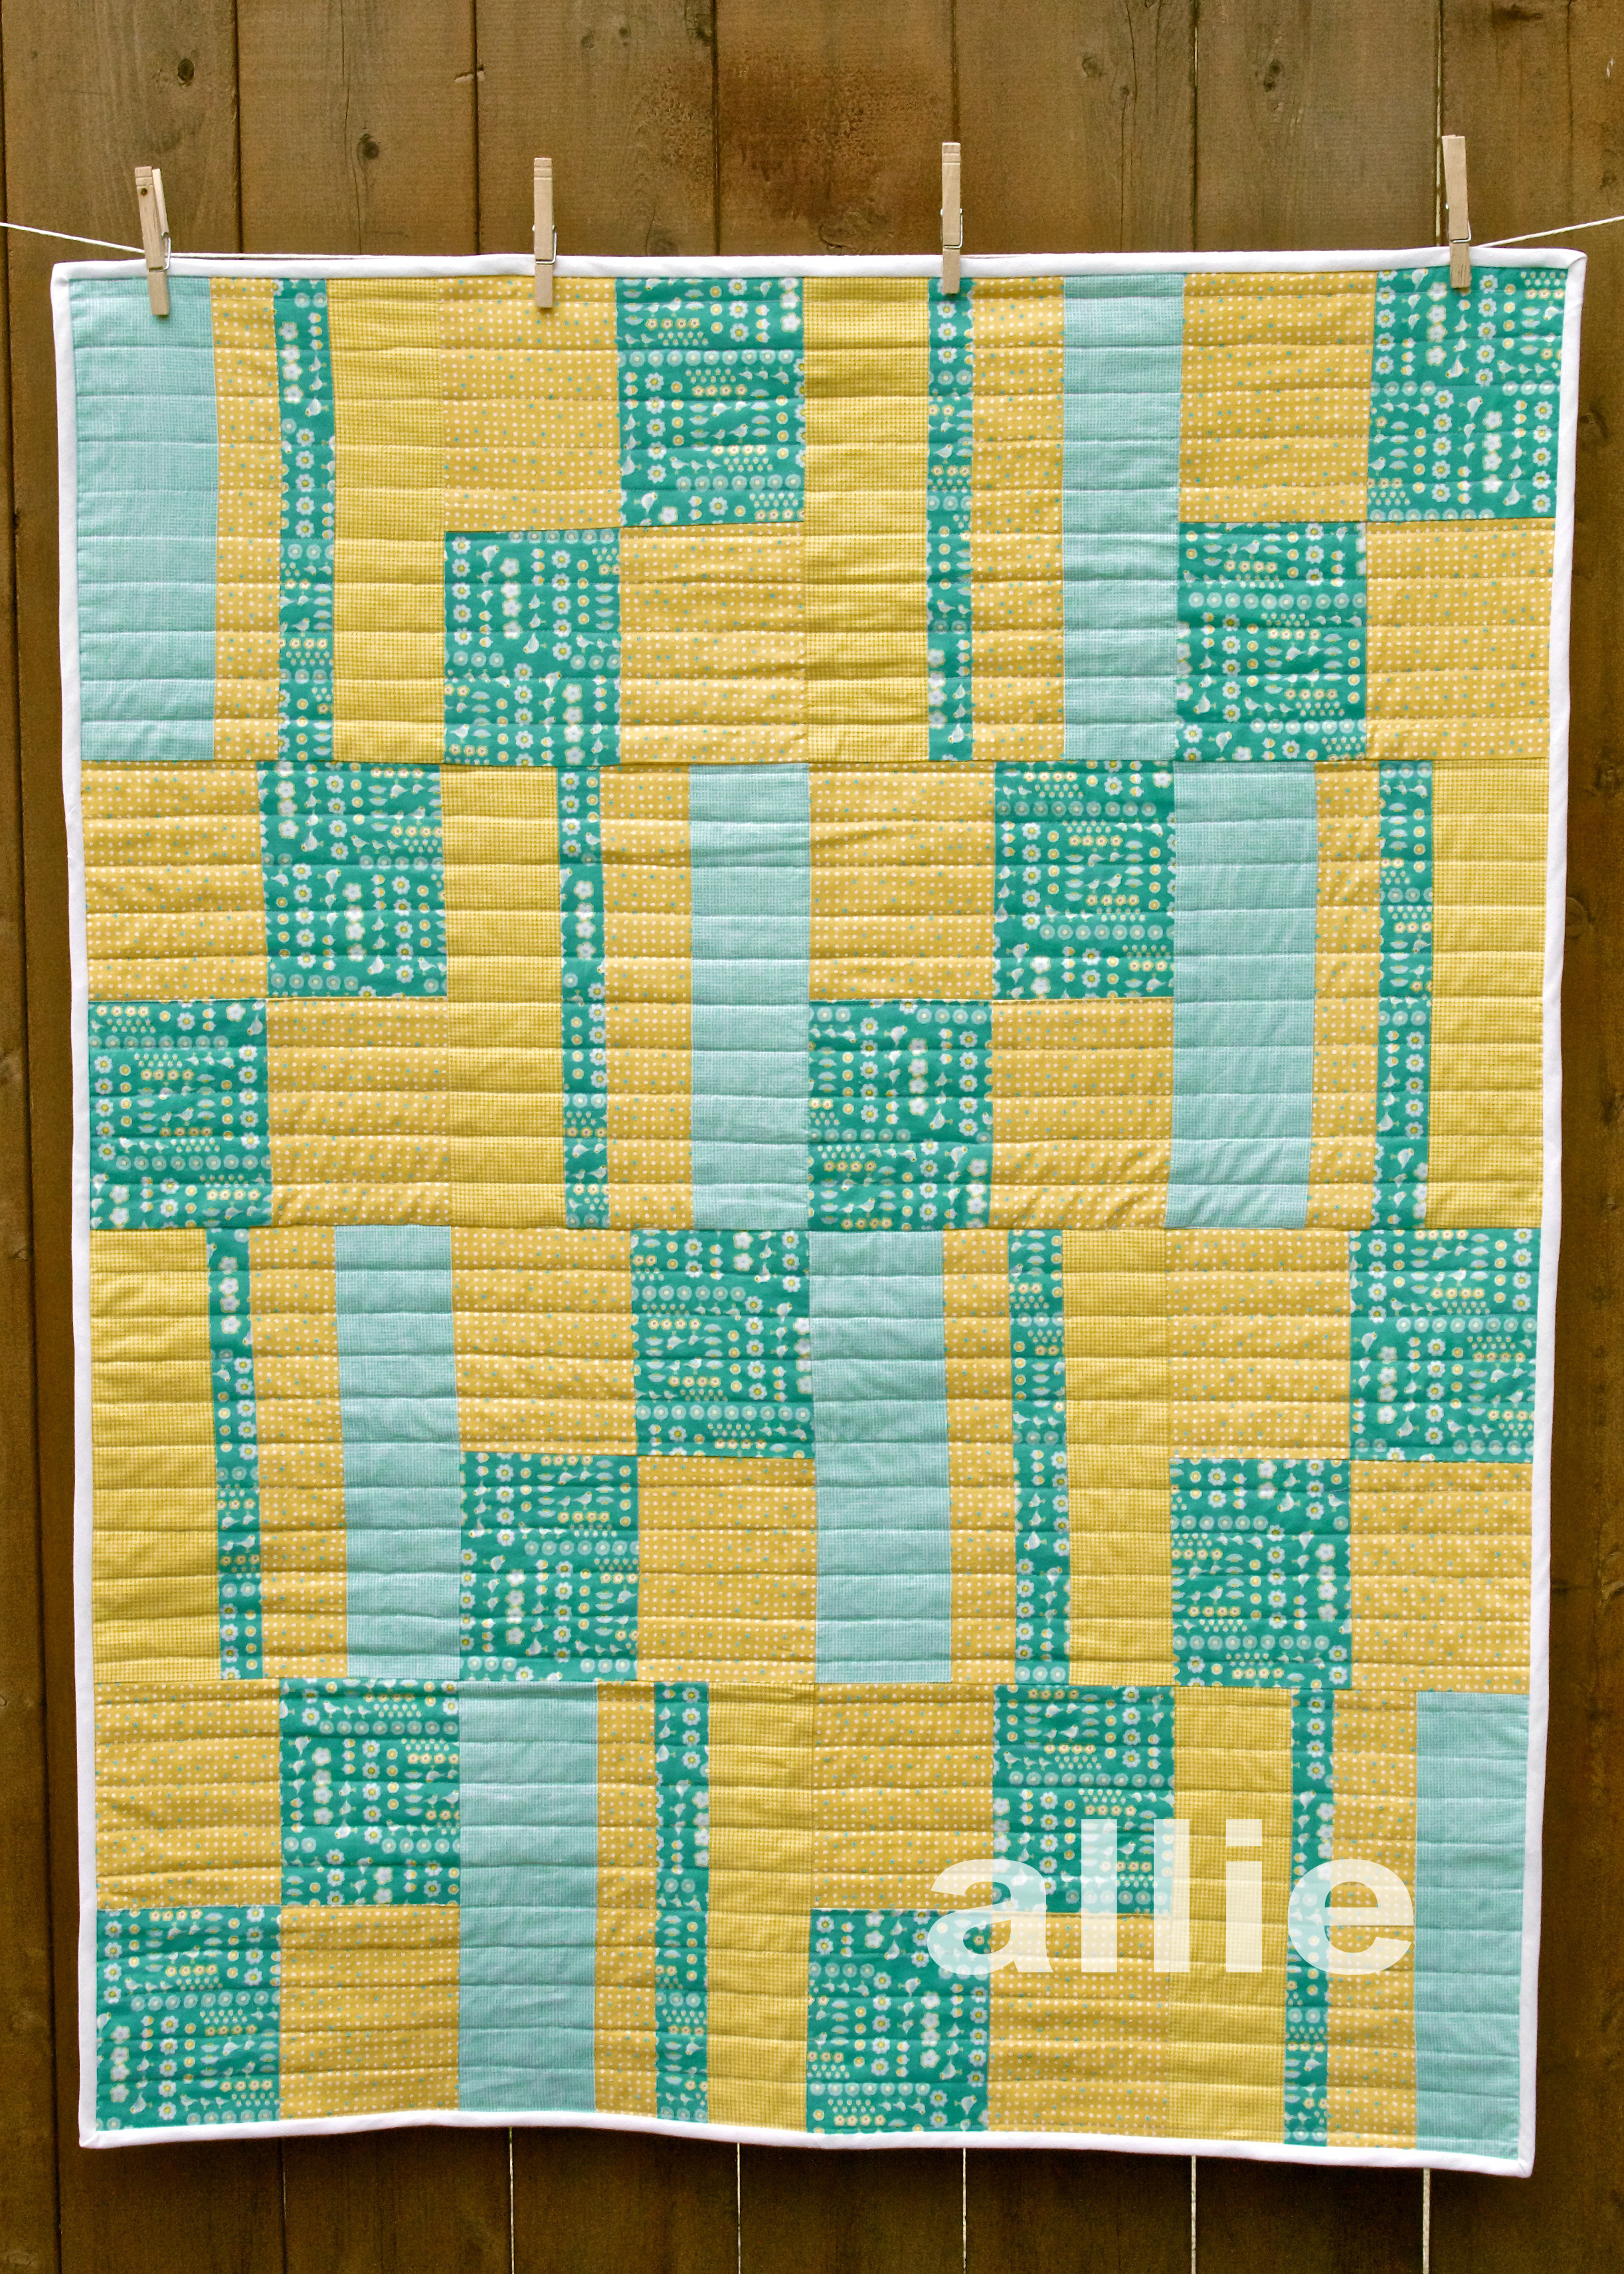
The baby quilt is DONE!  It took me a little over a week, which honestly wasn't as long as I thought it would take. I'm not sure why I was always so intimidated about quilting... I think it's the whole culture of it.  Or at least the culture I always saw at the fabric store - middle aged to elderly women scouring for batiks and taking forever at the cutting counter with their 1/4 yard cuts of 100 different fabrics. It just seemed like it wasn't for me. But I was determined to make a quilt for my little girl and when I started piecing it together I was delighted to discover that I actually really like quilting. It's like putting together a pretty puzzle... kinda nerdy, kinda artistic, definitely challenging, and all the sewing is in straight lines! What's not to love? And the more I googled for tips and inspiration, the more I realized that there's a whole new generation of quilters making really amazing, fun, modern quilts. I might be hooked.

Okay, enough babbling... here's how things went down with my first quilt.  I started with Amy Butler's Patchwork Crib/Playtime Quilt pattern from her Little Stitches for Little Ones book, and made some small deviations along the way. She laid out a specific order for piecing the blocks together, but I reordered things so that the blue and yellow would be alternated. I also used a straight-line approach for the quilting instead of stitch-in-the-ditch like AB used in the pattern.

I used 2 1/2" bias strips for the binding instead of the 3 1/4" specified in the pattern, because that's what worked with the attachment I had for my bias tape maker.  The pattern was pretty weak on instructions for doing the binding, but thankfully this tutorial and this tutorial saved me.

The last step to finishing the quilt was to applique our baby's name to the bottom right corner.  I used the same approach described here and hand embroidered the letters with white embroidery thread.  It pretty much makes the whole quilt so I'm sad I can't show you pics until after she's born (we're keeping the name a secret).  So until then, here's a not-nearly-as-cute idea of how it looks (thanks Photoshop!):

Oh, and here are the fabrics I used: the yellow checks and blue checks are both City Weekend by Liesl Gibson for Oliver + S for Moda, and the yellow and blue dots and blue with white birds are both Hideaway by Lauren + Jessi Jung for Moda.

Now that I've gotten over my quilt-phobia, I'm already planning my next quilt!  The fabric arrived last week, but I have a lot of other sewing to get done for the nursery before I can dive back into quilt land.  Next up... the ottoman.


17 things

  1. I love the smell of my dog's stinky feet.
  2. My iPhone is the best and worst purchase I've ever made.
  3. I wish Tim Riggins played for the Eagles.
  4. I fight the urge every single morning to wear yoga pants and a hoodie to work.
  5. I've cried more this week than I have in the past year.
  6. I've peed approximately 136 times today.
  7. I haven't finished my first quilt yet but I've already ordered the fabric for my second one.
  8. Jared doesn't know about #7.
  9. Jared thinks I take on too much.
  10. Jared is sometimes right.
  11. Where is that neighbor girl with my Girl Scout cookie order?
  12. I've entered to win the HGTV Dream Home giveaway almost every day for the past month and a half.
  13. I am not going to win the HGTV Dream Home giveaway.
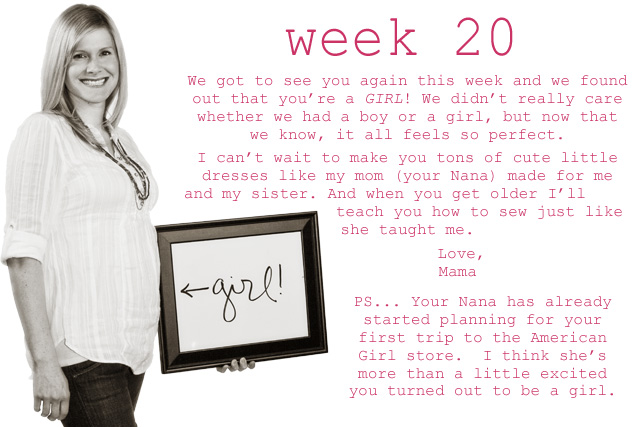
  14. We've known what we were going to name our daughter since before we got married.
  15. I have a theme song for my pregnancy.
  16. I like making things to keep or give to friends and family way way way more than I like making things to sell.
  17. My sister is a incredible person.

nursery progress: the design plan

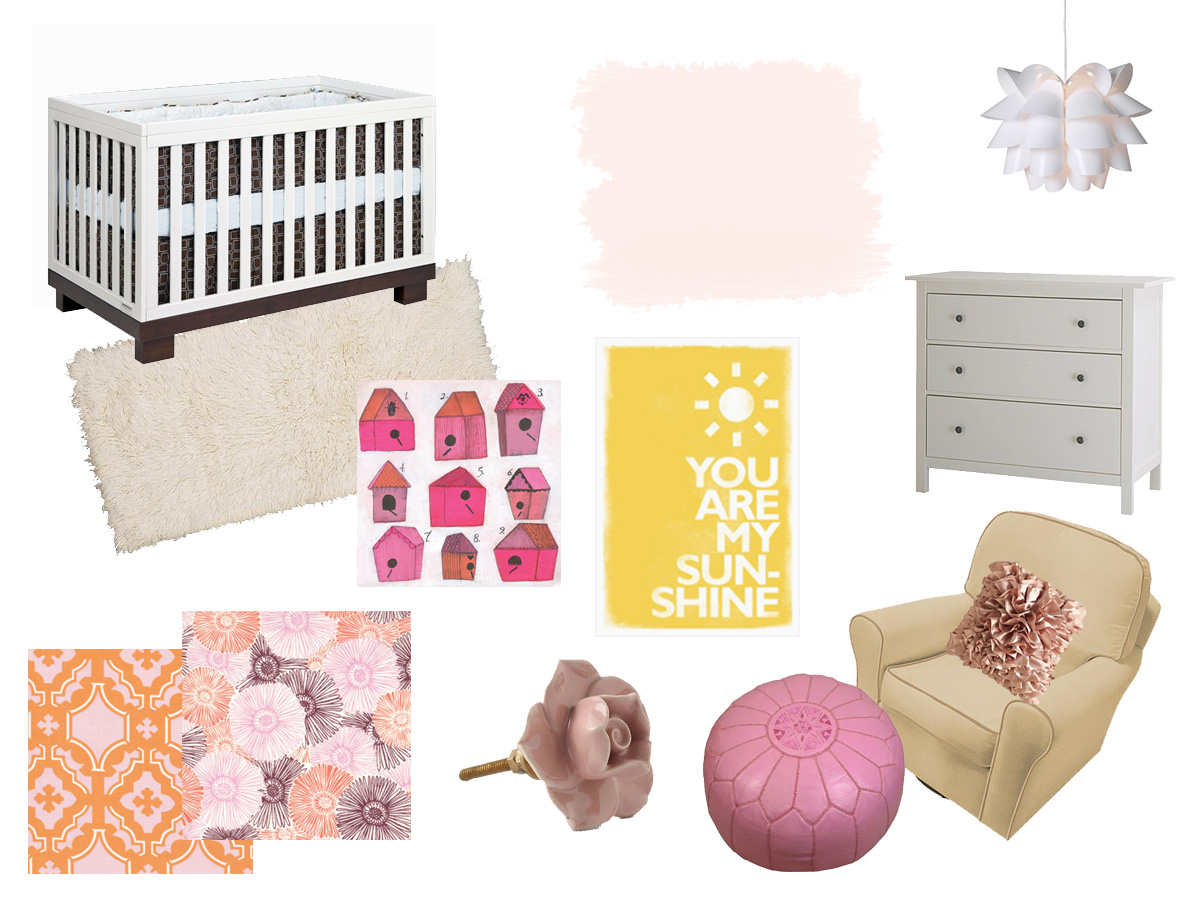
Before we found out the baby's gender, I thought I had my mind pretty made up about the direction I wanted to go in for the nursery if it was a girl. (I didn't really have a clue for the boy, so from a design perspective it was rather convenient that the baby turned out to be a girl.) I never ever thought I'd be a pink nursery kind of person, but when I saw this color palette I was a convert. It was the right combination of feminine, fun, pretty, and vintage. I just had to sell Jared on the idea. So I created two mood boards: one with the pink palette and one with a cute yellow/aqua palette I'd seen on one of the baby design blogs I subscribe to. The plan was to make the pink palette so good that he just had to go for it, and make the yellow/aqua palette just so-so. Hey, I never said I was going to be totally objective about this process. :-) Here's the pink mood board I came up with:

Here's the thing. I liked it, but didn't love it. I had a much harder time than I thought I would finding the right fabrics and accessories, and I'm still not 100% thrilled with what I ended up with. It's cute and girly, but it just didn't come together as well as I had hoped.

So then I moved on to creating the yellow/aqua mood board:

And you know what? I completely fell in love with this room. Creating this mood board was fun, unlike the stress I felt trying to create the pink one. It was so easy to find great fabrics, art, and accessories to bring the room to life - which gave me hope that actually shopping for all that stuff would be a breeze. And I really liked the feel of it once it was all done - it's so sweet and cheerful - girly without being too obvious about it.

So I sent the mood boards to Jared for his thoughts, not telling him which one I liked better. He genuinely liked them both, but said there was something about the yellow/aqua room that sold it for him. Phew!

Now that the design was done I went back to the budget worksheet I'd put together to see if we could really have the nursery of our (okay, my) dreams on a $1500 budget. Thankfully, with a good amount of DIYing and a bit of repurposing, it's actually possible. Here's the plan:

To buy:

  • Crib
  • Mattress
  • Dresser
  • Rug
  • Light
  • Sheers
  • Cornice kit
  • Hardware (the Anthro hardware is a bit of a splurge, but it's one of those elements that really makes the room for me)
  • Bookshelves
  • 3 Frames
  • Hot air balloon print
  • Slide out bins for the closet floor

To DIY/sew:

  • Painting the walls, ceiling, trim, Poang, bookshelves, and built-ins
  • Fabric covered 7" cornice for the window
  • 2 changing pad covers
  • Crib/play quilt (Amy Butler pattern from Little Stitches for Little Ones)
  • Gum Drop Ottoman
  • Padded arm rests for the Poang
  • Toss pillow for the Poang
  • Paper circles mobile
  • 2 DIY art prints

So yeah, kinda a lot in the DIY column. I'm desperately going to try to get at least the quilt and ottoman done before the end of my 2nd trimester. The other DIY projects are on the easier side and I can enlist help for those if need be.

We've already gotten the first step of the nursery makeover done - bringing in an electrician to install a light switch for the overhead light (fumbling to find that little chain the middle of the night just wasn't going to happen, plus we feel like having a switch that dims is going to come in very handy) and adding another outlet to the wall where the window is. (For the record, the electrical work was not included in the $1500 budget because we felt like it was something the room needed regardless of what we used it for.)

The next step is paint! Luckily, Jared's "never painting another room in this house ever again" vow is no match for the love he has for his pregnant wife and beautiful unborn daughter, so we'll be tackling the painting together. I'll try to post pics of our progress along the way, so stay tuned...

nursery progress: the starting point

And so it begins... now that we know the gender of our little one I - uh, we - can finally get started on figuring out what her room will look like!  Our goal is to do the whole nursery for $1500 (there are a couple of smaller things we're registering for like crib sheets and a changing pad, but the vast majority we're planning to get ourselves.) Here's a little idea of what we're starting with:

The nursery is pretty small (I'd estimate 7x10 ft) so having a built in dresser is a nice plus.  What the closet lacks in height it makes up for in depth, which means lots of hidden storage in the back of the closet for seasonal items, bigger toys, and all the other stuff I'm told babies accumulate in droves. The wall to the left is where the changing table will go. We opted for more of a multitasker dresser instead of a traditional changing table in hopes that we can use it in her room long after she's in diapers.

To the left of this window is where the glider/rocker will go.  Despite how great and comfortable they're supposed to be, I just can't get past the look of traditional gliders.  So I'm going to try to use one of the two Ikea Poangs we already have. I'm planning to paint the wood on the chair the same color as the trim and add padded arm rests for additional comfort while nursing.  I've heard mixed things about using Poangs as gliders, but since we already have one I figure I might as well give it a shot. If you see me driving around town with a newborn this summer frantically trying to find the holy grail that is the affordable, modern, comfortable glider, you'll know the Poang was a bust.

This is the wall where the crib will go (parallel to the short wall.)  And that is the door that we will sadly be replacing.  I love the little glass window, but the door itself is old and loud (not great for middle of the night check-ins) and the knob and lock are totally busted.  I could replace the knob and lock, but then I'm back to the same polished brass mortise lock issue from last year and since I can't be using stripping agents and spray paint while pregnant, it's just a whole lot easier to replace the door with a new one and a standard knob. We plan to donate the door to the Rebuilding Center so hopefully someone else will give it the love it deserves.

Up next... the design plan!

{made for dinner} penne with two tomatoes and mozzarella

Finally, another post in this series!  I'm so excited to share this recipe with you because it's one of my all time favorite weeknight pasta dishes.  Penne with two tomatoes and mozzarella has all the ingredients for a perfect weeknight meal - simple, quick, and delicious.

Here's what you'll need:

  • 6 oz fresh mozzarella cut into 1/2-inch pieces
  • Coarse salt and ground pepper
  • 12 oz penne rigate
  • 1 tbsp olive oil
  • 1 pint cherry or grape tomatoes (I prefer cherry, but either will work)
  • 1/2 cup sun-dried tomatoes, sliced (usually found in the produce aisle by the tomatoes)
  • 2 garlic cloves, sliced
  • 1/4 cup snipped chives

Place cheese pieces in the freezer (this will help the mozz keep its shape once you add it to the pasta later.)  In a large pot of boiling salted water, cook pasta until al dente.  Reserve 1/2 cup of pasta water; drain pasta and set aside.

In pasta pot, heat oil over medium-high.  Add the cherry tomatoes, sun-dried tomatoes, garlic, and pasta water.  Cook until cherry tomatoes soften, 2 to 4 minutes.

Add pasta, chilled cheese, and chives to the pot, season with salt and pepper, and toss to combine.

That's it!  So easy.  The recipe usually makes enough for both of us to have a healthy portion, and for me to take some to work the next day for lunch.  It pairs great with a small side salad with balsamic dressing and bread (though it's filling enough we usually just have it on its own.)

Original recipe courtesy of Martha Stewart.

amy butler's short pleated aprons

As late as last summer I was still secretly hoping to do a 100% handmade Christmas... yyyyyeah, that didn't really work out. But I did manage to make a couple things for my sister and mom - well 2 of the same thing: Amy Butler's Short Pleated Aprons from her In Stitches book.

If you're thinking about tackling this pattern, I can assure you it's about as easy as Amy Butler gets. You can make each apron in only a few hours (I'm pretty sure the pressing took longer than the actual sewing,) and all you need is thread and a yard and a half of fabric - no special notions - which is very rare for an Amy Butler pattern.

Here's a close up of the waist band, pocket, and towel loop:

And here are the beautiful recipients!

(FYI, in case you're curious... I used Midwest Modern Fresh Poppies and an unknown Westminster fabric for my sister's apron, and Daisy Chain Clematis for my mom's apron.)

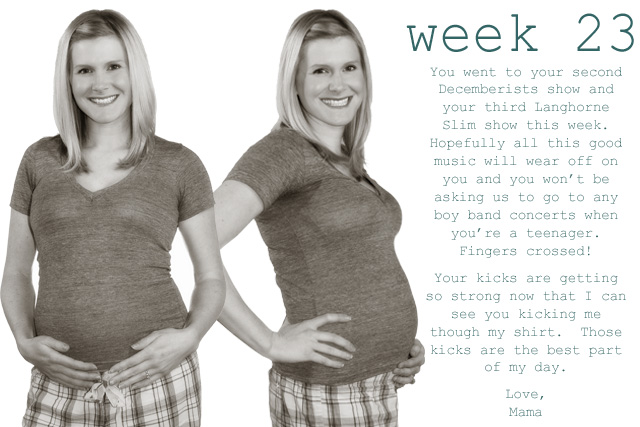
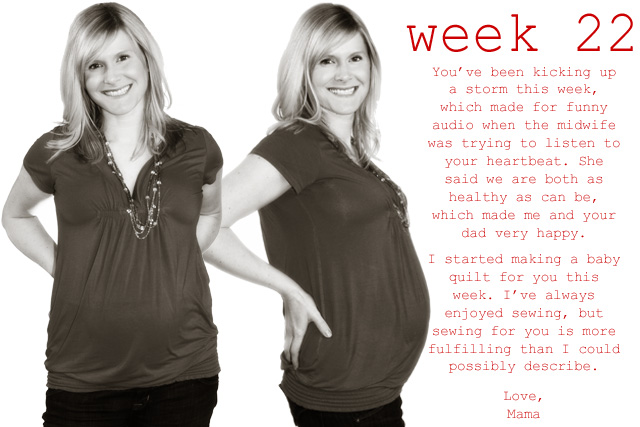
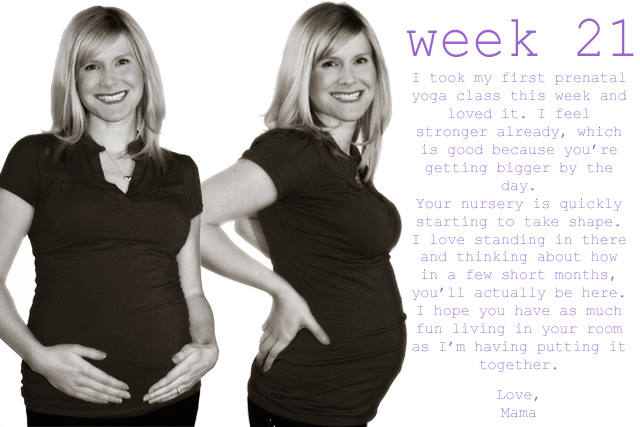
{maternity series} week 16

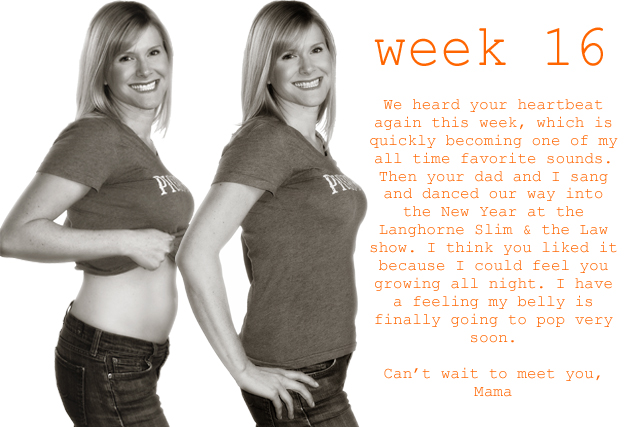
I hinted last week that I had a big photography project planned for 2011... well here it is! Welcome to the first week of my maternity series project. Inspired by two other moms-to-be (Lexia and Cole), I plan to post pictures of my growing belly along with a note to the baby every week until delivery day. I realize that this week's set might seem a bit more like my weight loss "after" photos from several years back than pregnancy pics, but I promise I have actually gained weight. Hopefully my bump will be a bit more prominent in next week's post. :)

five for 2010: a year-end review

For everything that happened in 2010, I can't believe it flew by as quickly as it did!  We bought a house, painted nearly every room, built a dining room table, took a couple trips back east, ran races, went to Hawaii, found out we're going to have a baby (yay!), and then it was already the holidays.  Whoosh!  If you'll remember, I started the year with a little to-do list.  I was well on my way at the 6 month mark, and am happy to report that as 2010 comes to a close I've managed to cross everything off my list.  Here's a recap: 1) Make our first house feel like home - This house looks quite different than it did a year ago.  The navy blue guest bedroom is now a calming pale green, the mustard colored landing and stairwells are now a neutral cream, our red bedroom and yellow bathroom are now a light gray, and our sun room got a total makeover:

As thrilled as I am with how the sun room turned out, I think the room I'm proudest of is our dining room:

The decision to build our own dining room table was a little crazy, but so worth it.  There's not a meal eaten at that table that I don't think of the hard work that went into building it.  (Okay, I also notice the little flaws in the stain I wish I could fix, but then I tell myself that no one but me will ever notice... hopefully.)

Up next for the house in 2011... making over the nursery and DIYing a family room in our totally unfinished basement.  I'll still feel like taking on home improvement projects when I can no longer see my feet, right?  Suuuuuure.

2) Re-engage at work - I checked this off my list not long after we moved into our new permanent offices this summer.  There's something about having your own desk, filing cabinet, a monitor and keyboard that does wonders for employee morale.  And it doesn't hurt that the economy has picked up a bit and our clients are spending research dollars again, so we've been nice and busy in the 2nd half of the year.

3) Open my own Etsy shop - DONE! In the first 6 weeks of my shop being open I'm thrilled to have sold through just over half of my inventory, including all but 2 of the Roll-up Shopping Slings.  I'm hoping to add more Shopping Slings in the first few months of 2011 using Amy Butler's new fabric collection, Soul Blossoms.  I also plan to add some baby-related items, like nursing covers and applique onesies.  I'll, of course, have some projects for my own kid in the works (so excited to break in the new serger my mom got me for Christmas!), but I'm hoping my back will hold out and I can get at least a handful of new products listed before my big belly takes over.

4) Run a marathon - Well, I ran 2 half marathons.  That sort of counts, right?  :)

5) Improve my photography skills - This one is still an ongoing to-do, but I'd like to think I've come a long way in the past year.  I learned how to use the manual setting on my camera, got much better at Photoshop, and thanks to my very generous husband am now the proud owner of a 50 mm lens and an external flash.  He also got us Aperture for Christmas, so I'm quickly trying to get up to speed on that.  I even have a big photography project in the works for 2011!  (More on that in a couple weeks, so stay tuned.)

I feel really good about everything I accomplished in 2010, which might lead you to believe I'm about to present an all new list for 2011, but you'd be wrong.  If I have a single to-do for 2011 it's to decrease the amount of pressure I usually put on myself... to be as flexible as possible with what comes my way.  Trust me, I could write post after post about how I want the rest of my pregnancy to go, everything I'd like to get done before the baby comes, what I want for the birth, what kind of mom I want to be, etc, etc, etc.  Truth be told, there are few things I find more satisfying than planning (and planning to plan, and planning for alternate plans should the original plans not work out.)  Planning is my Prozac.  But if there's one thing I've learned from watching my friends become parents over the past couple years it's that the most important thing you can do for yourself is to try to just enjoy every minute of this crazy ride... to not stress about everything being just-so, because it's not going to be, but it will be better than anything you could have imagined or planned for.  So that's what I'm going to try to do... 2011 will be the year of Breezy Allie.  (Heaven help me.)

gooey corn flake holly wreaths

I first had these in the 2nd grade when I traded for them in the lunch room.  My mom tended to make fancier cookies (nut balls, thumbprints, etc.)... nothing as gooey and colorful as what my friend Melissa pulled out of her lunch bag.  It should tell you something that one of the many things I looked forward to about adulthood was getting to choose which Christmas cookies to make during the holidays, knowing that these would always make the list.

The recipe follows the same basic approach as making Rice Krispie treats, but the corn flakes and shape create a much more tender, though no less crunchy, texture.  And the Red Hots give it a nice seasonal twist.  Here's what you'll need:

  • 1 (16 ounce) package large marshmallows
  • 1/2 cup butter, softened
  • 1 1/2 teaspoons vanilla extract
  • 1 1/2 teaspoons green food coloring (much less if you're using gel food coloring)
  • 4 1/2 cups cornflakes cereal (about half a box)
  • 1 (2.25 ounce) package cinnamon red hot candies

The first step is to melt the marshmallows, butter, and vanilla over low heat.  You could add the food coloring at this point, too, but I prefer to wait until everything has melted together so I have better control over the color.

Go ahead and add the food coloring now if you haven't already.  Be sure to use less than the recommended amount if you're using gel food coloring.

Now you're ready to add the corn flakes.  (Mix them in gently.)

Here comes the tough part.  You'll want to work fast, and keep the mixture over very low heat while you work so it doesn't cool to a big clump.  There are two ways of going about assembling the wreaths - the over-achiever way, and the lazy way.  I opt for the lazy way, but if you're feeling up for a challenge, the over-achiever way produces some very cute treats (that actually look like wreaths.)

Here's the over-achiever way:

Portion warm cereal mixture evenly by using a 1/4 cup dry measure coated with cooking spray. Using sprayed fingers, quickly shape into individual wreaths. Dot with cinnamon candies, using prepared frosting to hold candies in place.  Store in single layer in airtight container.

Here's the lazy way (aka my way):

Take a spoonful of the mixture and drop it onto wax paper.  Stick the candies on while the mixture is still warm (so they'll stick).  Let cool completely, then store in an airtight container with wax paper between layers so they don't all stick together.

Whichever way you choose, they'll be delicious.